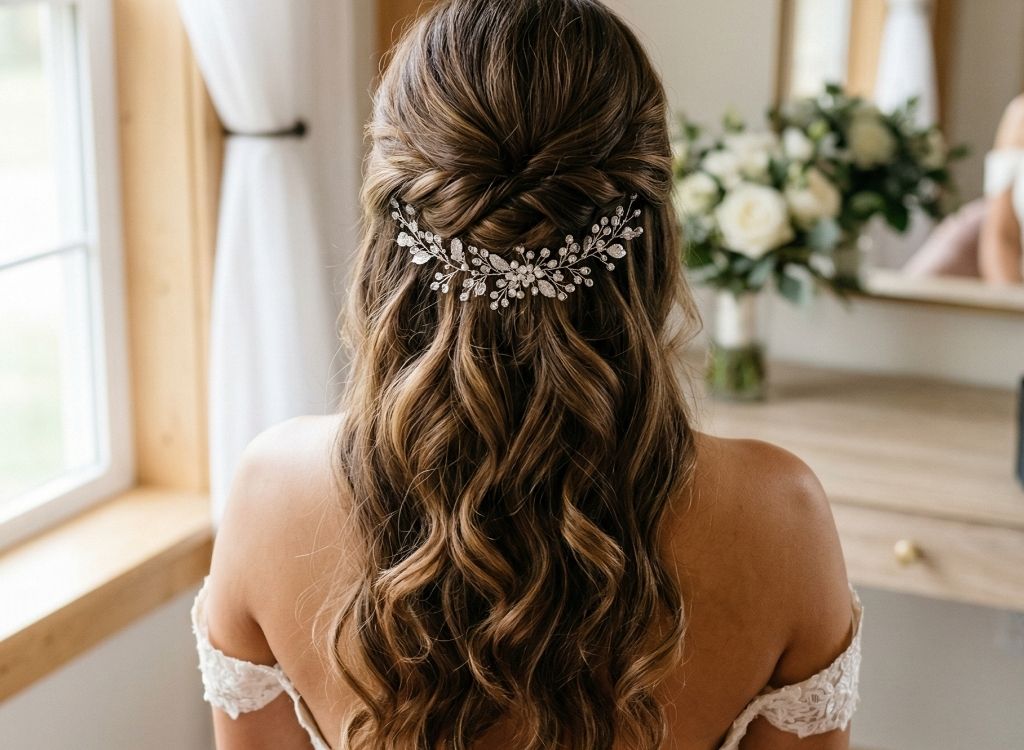
There’s a reason brides keep coming back to half-up and half-down hairstyles. They hit that rare middle ground. You get the softness and movement of wearing your hair down, but you also get the hold, shape, and face-framing control that comes from pinning part of it up.
And for weddings, that balance matters.
Maybe you want something romantic with curls and flowers. Maybe you want a cleaner, sleeker finish that won’t budge halfway through the ceremony. Either way, half-up and half-down hairstyles for weddings give you options without boxing you into one look. That’s why they work so well for classic brides, boho brides, glam brides, and the ones who just want their hair to feel pretty without looking overworked.
This list rounds up 26 styles you can actually picture wearing. Each one includes a description, easy how-to tips, and quick adjustments for fine hair, thick hair, natural texture, or shorter lengths. Because yes, inspirational photos are helpful, but knowing how a style behaves on real hair? That’s the part most people need.
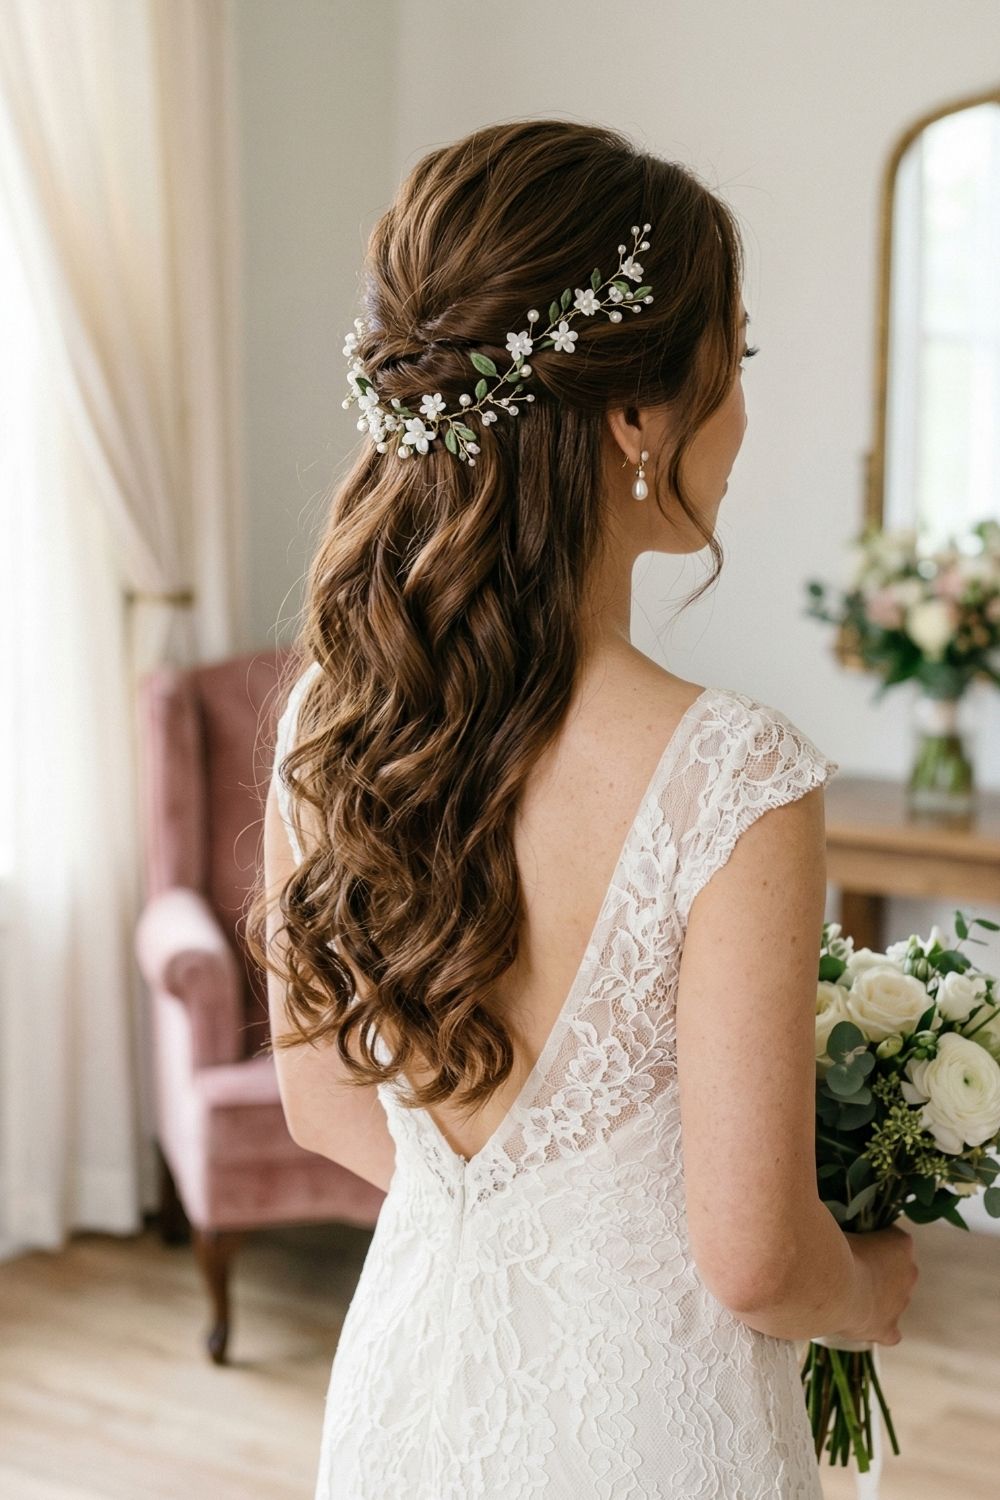
How to recreate it
- Curl the hair with a 1 to 1.25-inch iron and let it cool fully.
- Brush through the curls to soften them into smooth waves, then twist one section from each side back toward the center.
- Pin the twists in an X shape and place the vine over the join, anchoring both ends neatly.
Quick adjustments
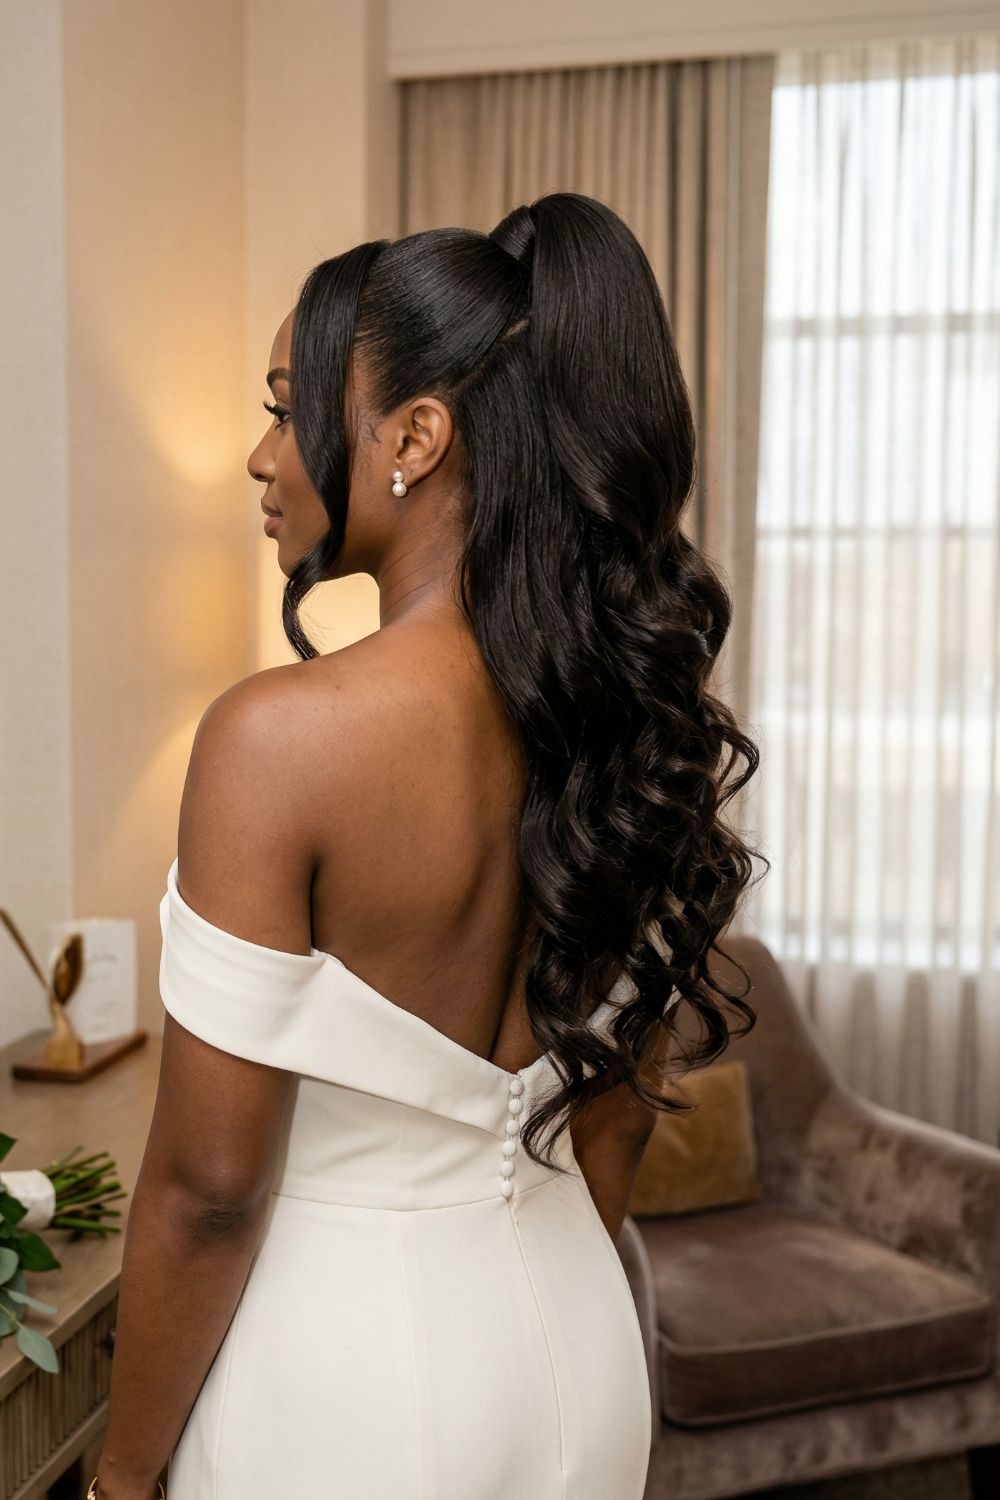
How to recreate it
- Brush the top half upward and secure it high with a strong elastic.
- Add a second elastic if you want extra lift and wrap a section of hair around the base.
- Curl both the ponytail and the bottom section so everything blends together.
Quick adjustments

How to recreate it
- Curl the hair in larger sections so the finish stays relaxed.
- Twist both sides back and pin them into an X at the center.
- Tuck baby’s breath into the seam so it looks nestled into the hairstyle instead of sitting on top.
Quick adjustments
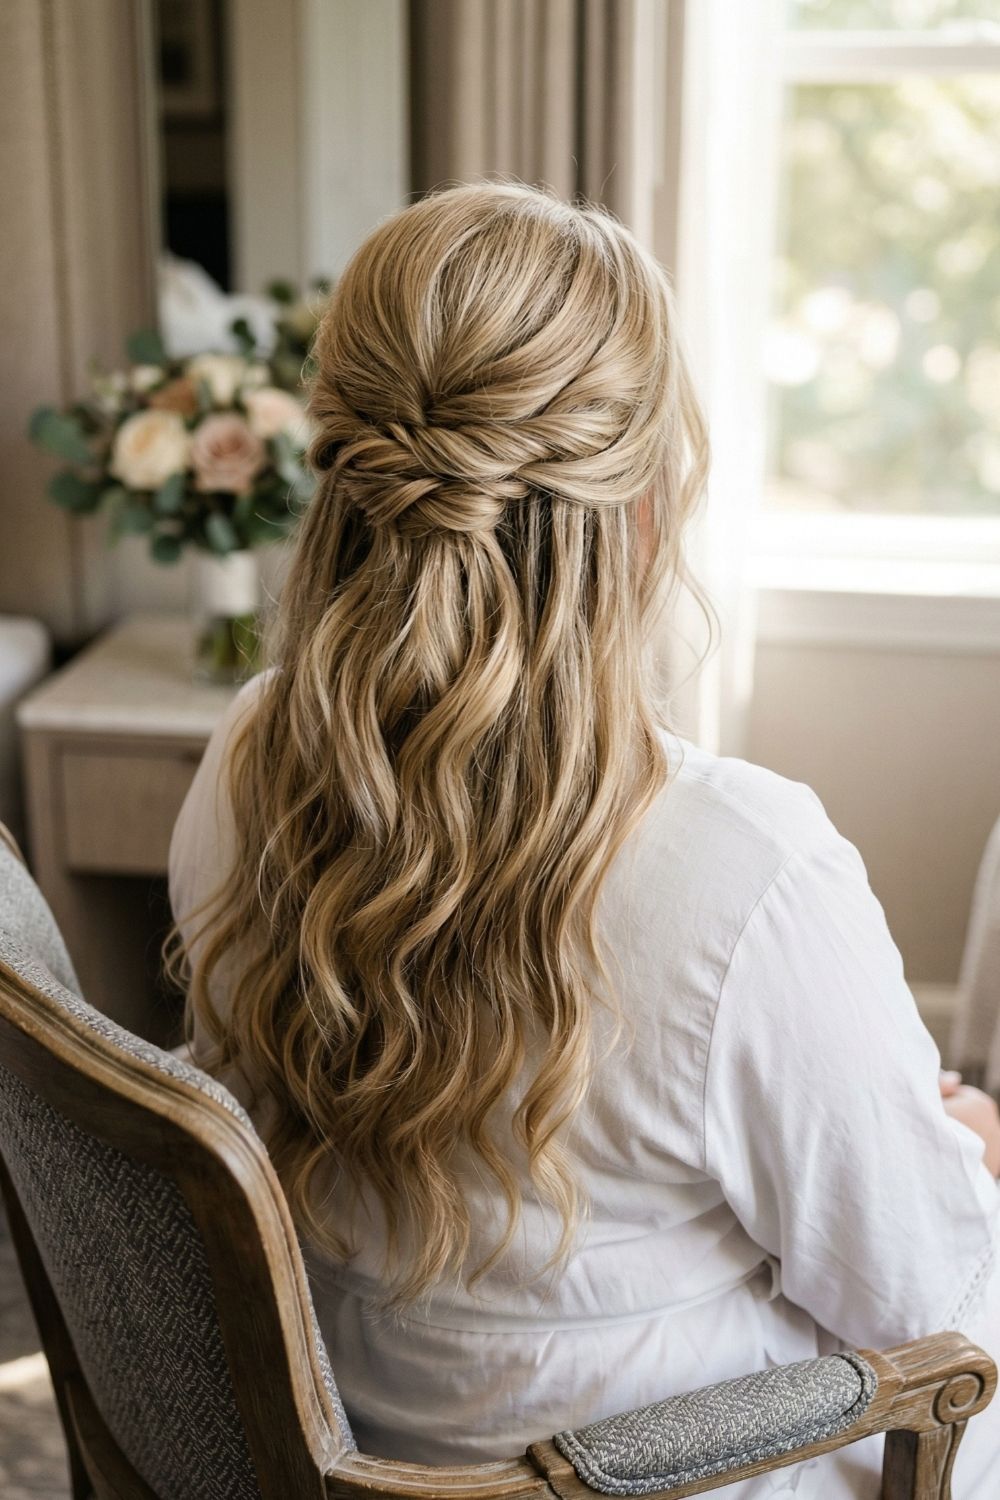
How to recreate it
- Curl the hair in alternating directions so the texture looks natural rather than too uniform.
- Finger-comb the waves and twist one section from each side.
- Cross the twists at the back, pin them underneath, and tug them slightly so they look airy.
Quick adjustments
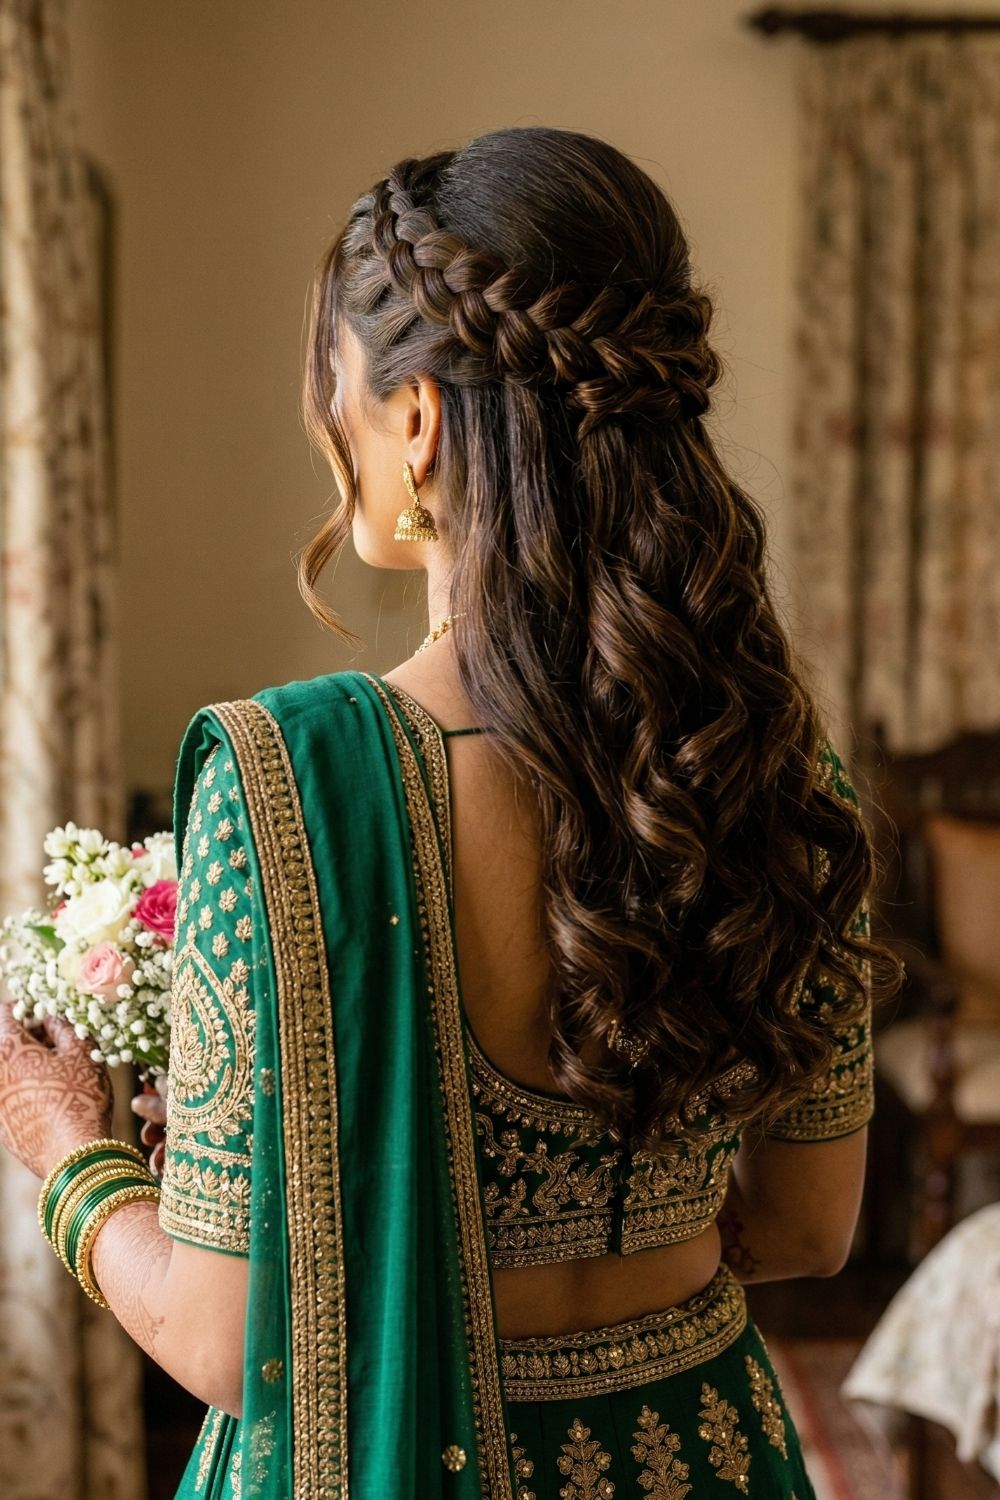
How to recreate it
- Create a Dutch braid from the front hairline toward the back and secure it when you reach the meeting point.
- Gently pancake the braid by tugging the edges for extra fullness.
- Pin the tail into a soft tucked base and curl the rest of the hair if needed.
Quick adjustments
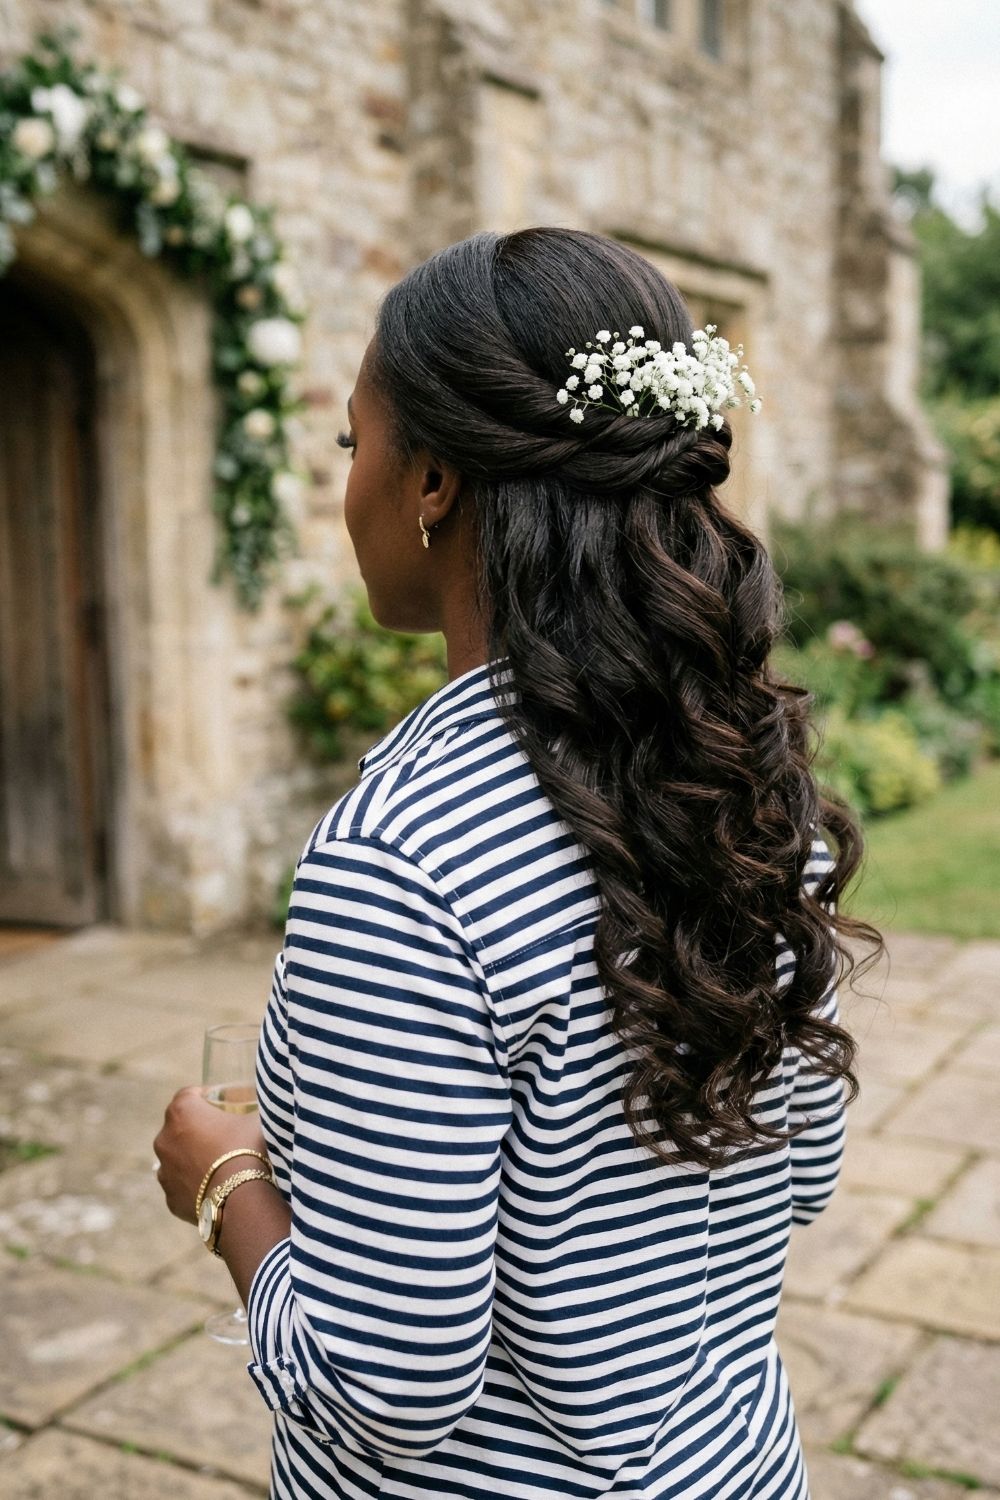
How to recreate it
- Apply smoothing cream to the crown and brush the top into place.
- Twist both side sections back and pin them in an X where they meet.
- Tuck a small cluster of baby’s breath into the seam and pin through the stems to secure it.
Quick adjustments
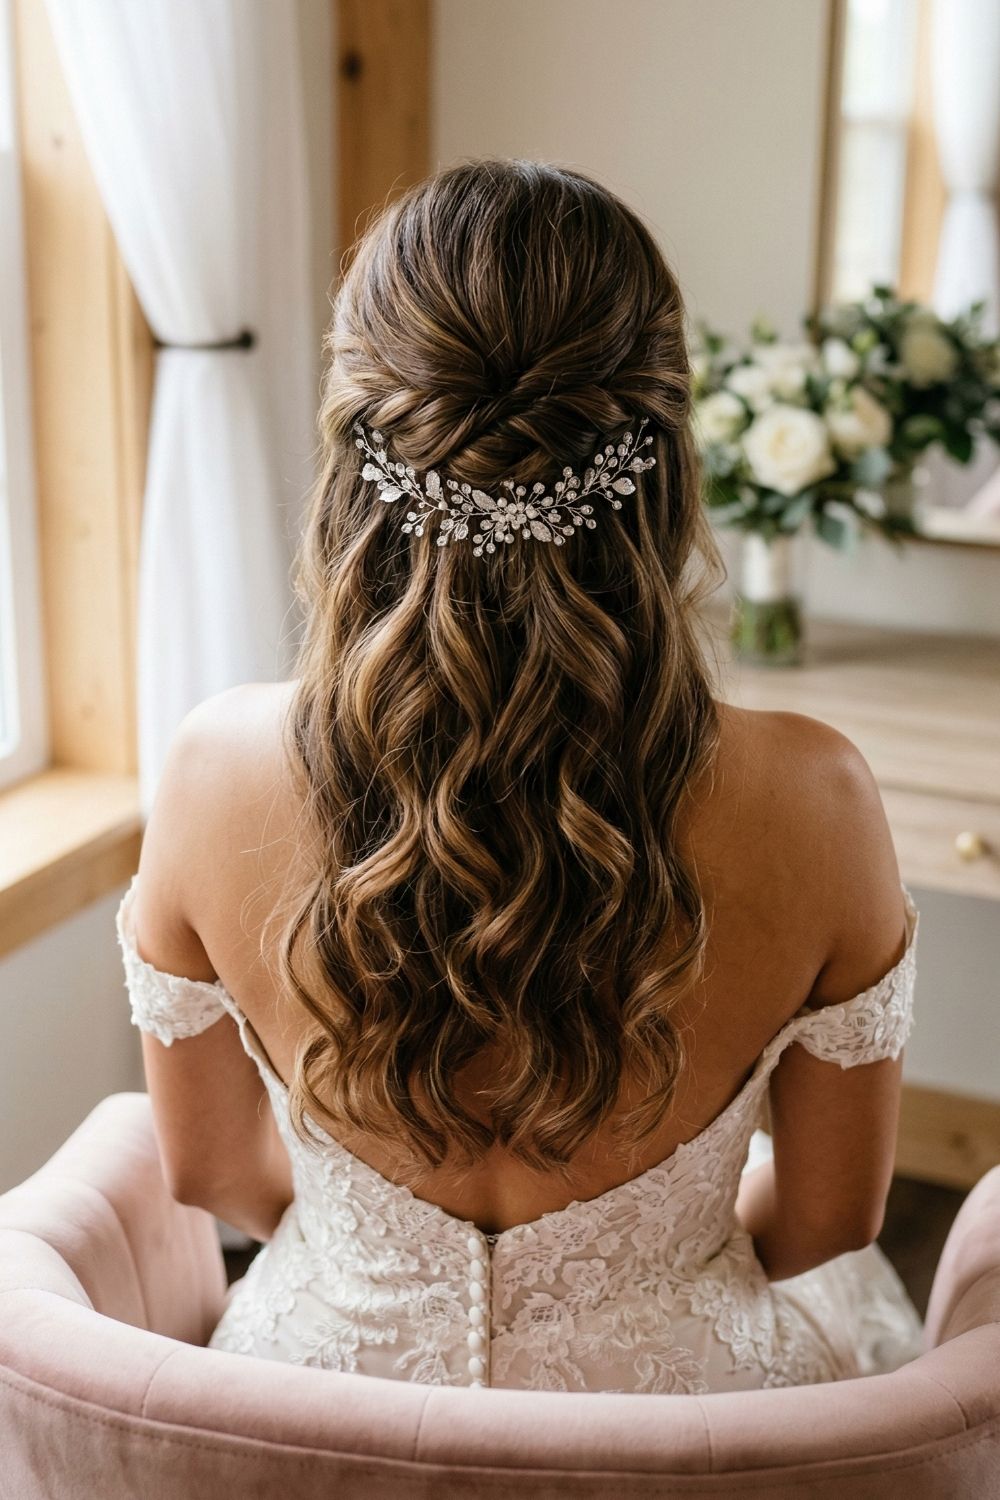
How to recreate it
- Curl the hair and break the curls up gently with your fingers.
- Twist the side sections back and pin them under the overlap so the seam stays hidden.
- Slide the comb into that seam to anchor it while covering the join.
Quick adjustments
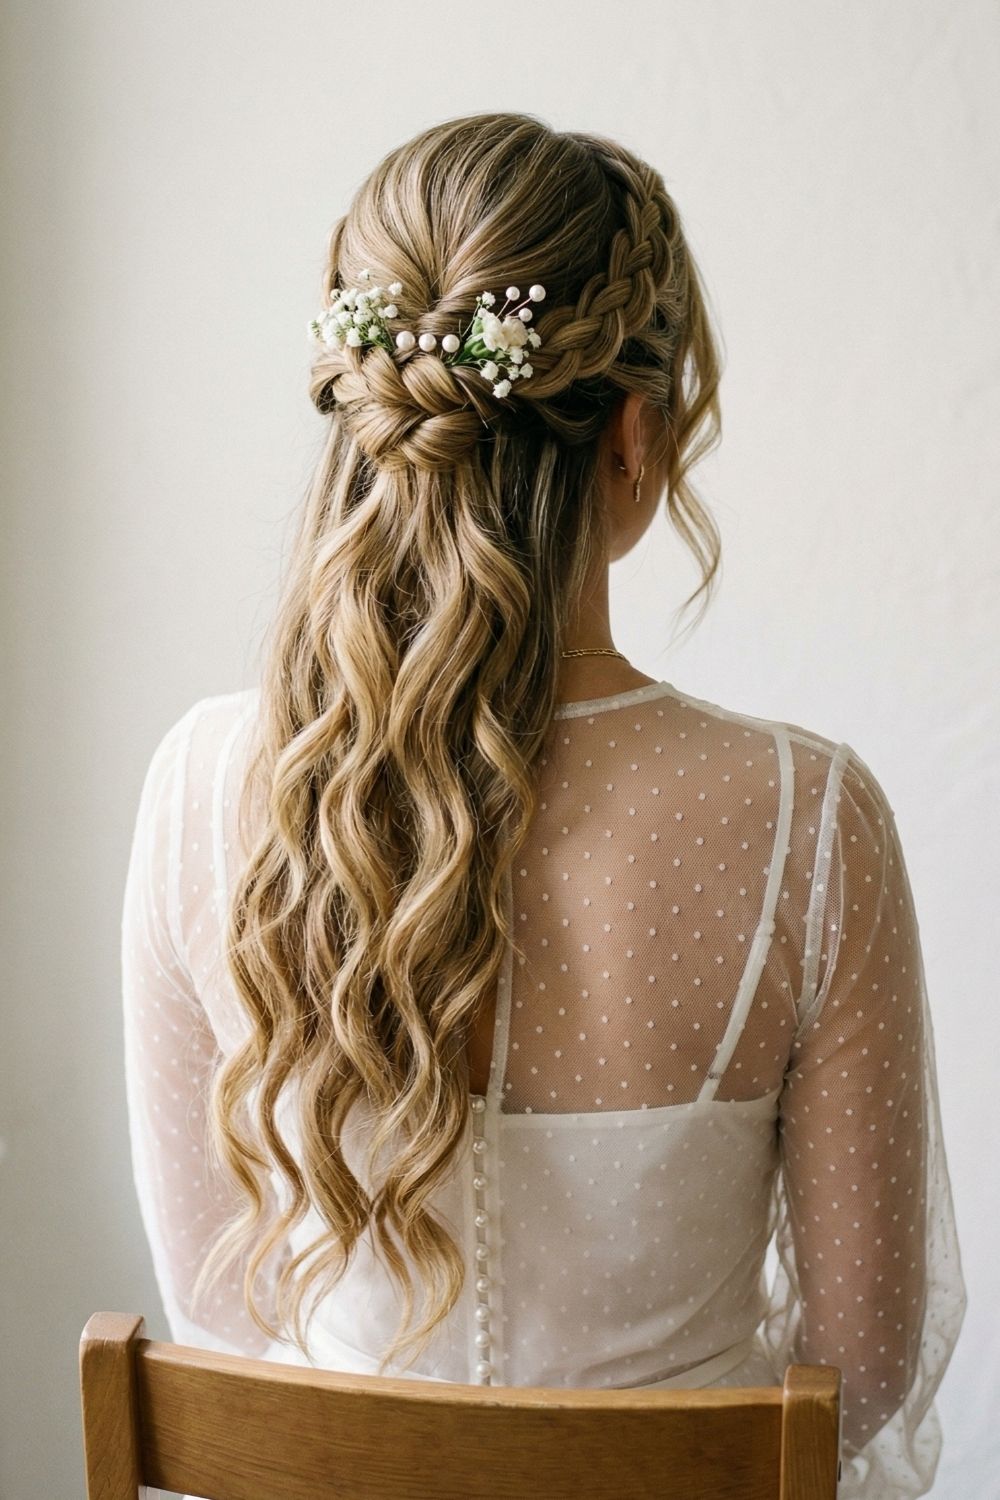
How to recreate it
- Create two Dutch braids, one on each side, and guide them toward the back.
- Secure them temporarily, then cross the braid tails over each other and tuck the ends underneath.
- Pin everything securely and add baby’s breath into the braid seam.
Quick adjustments
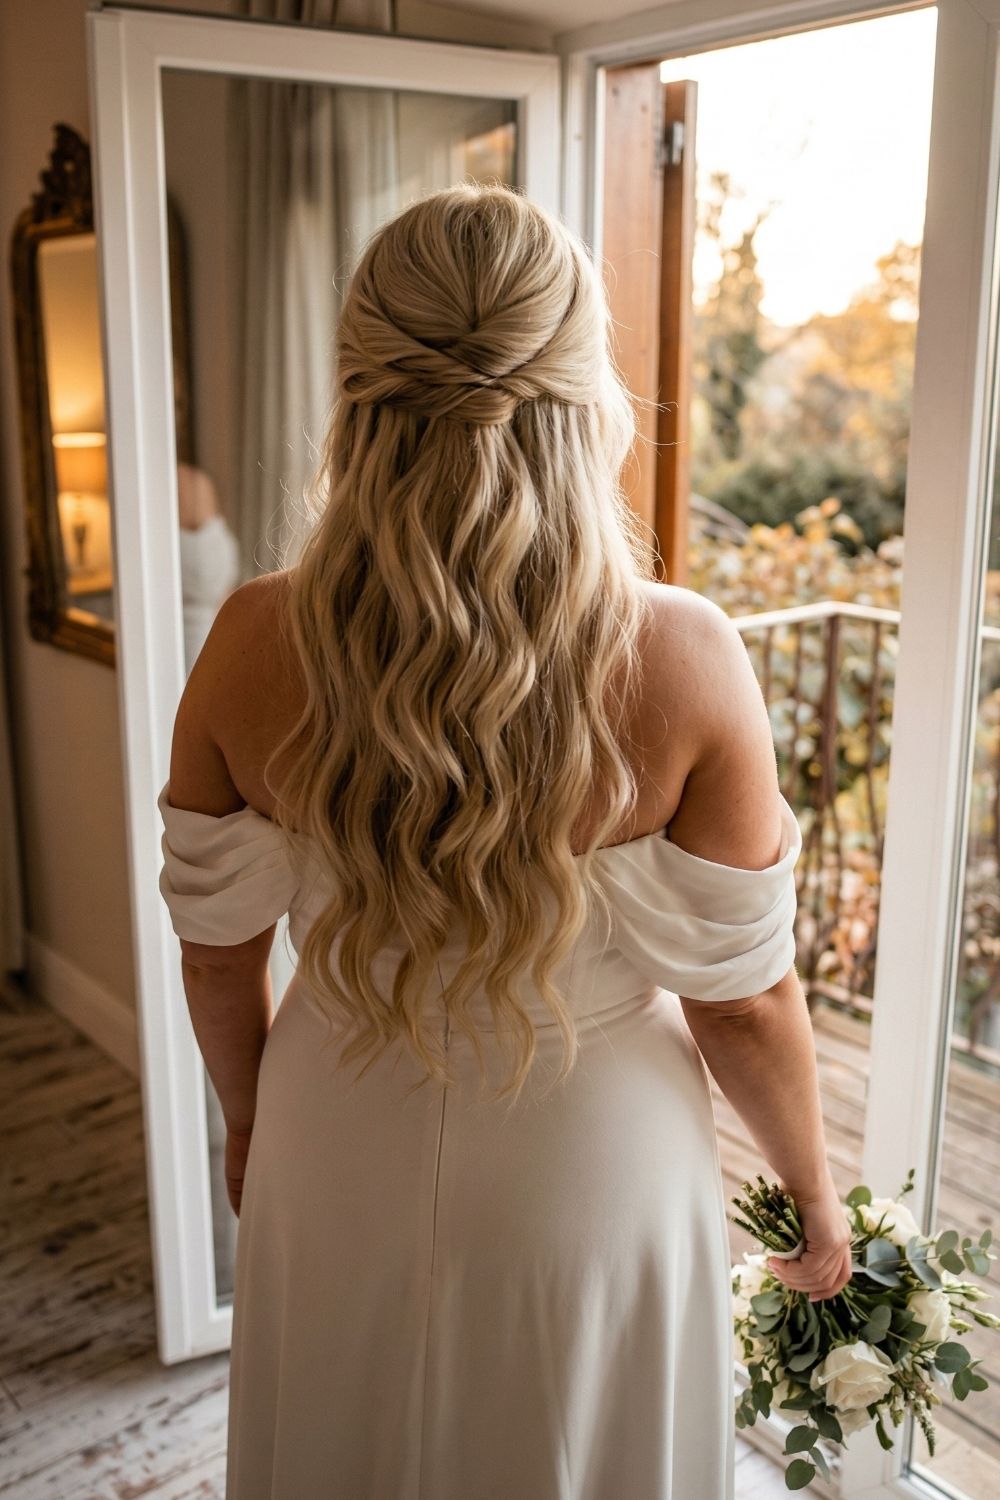
How to recreate it
- Create loose waves with a large iron, or work with your natural texture if it already has movement.
- Twist both sides back and secure them at the center.
- Wrap a small strand over the elastic or pins to finish the look cleanly.
Quick adjustments
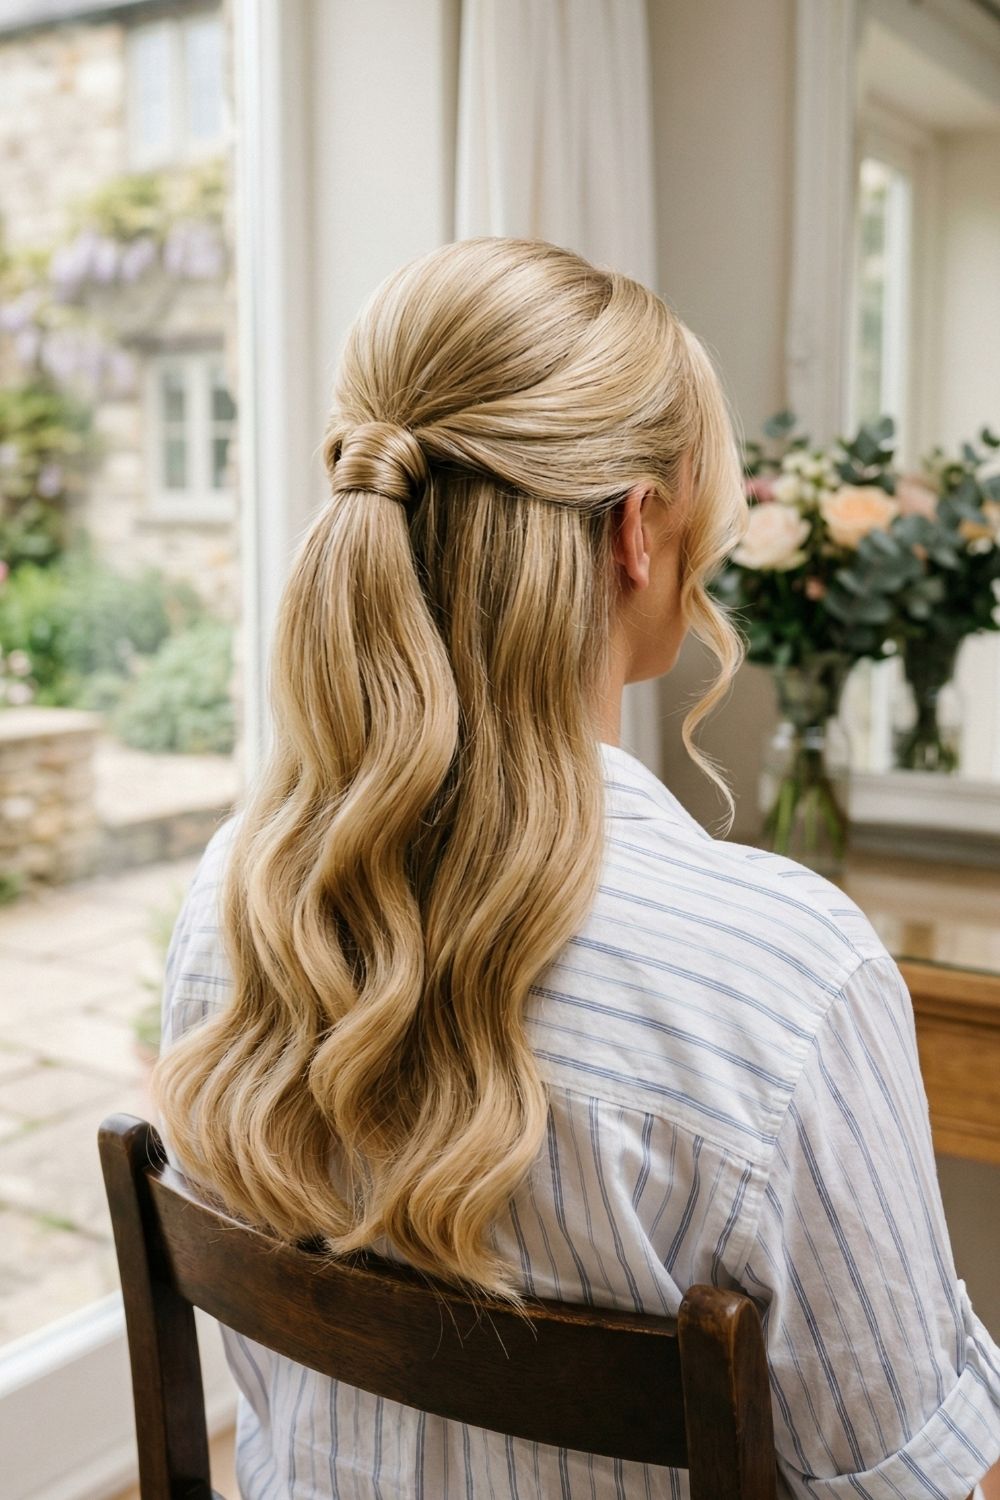
How to recreate it
- Gather the top half of the hair at the mid-back and secure it with a clear elastic.
- Take a small strand from the ponytail and wrap it around the elastic.
- Pin the strand underneath and brush the waves gently so they blend into a smooth shape.
Quick adjustments
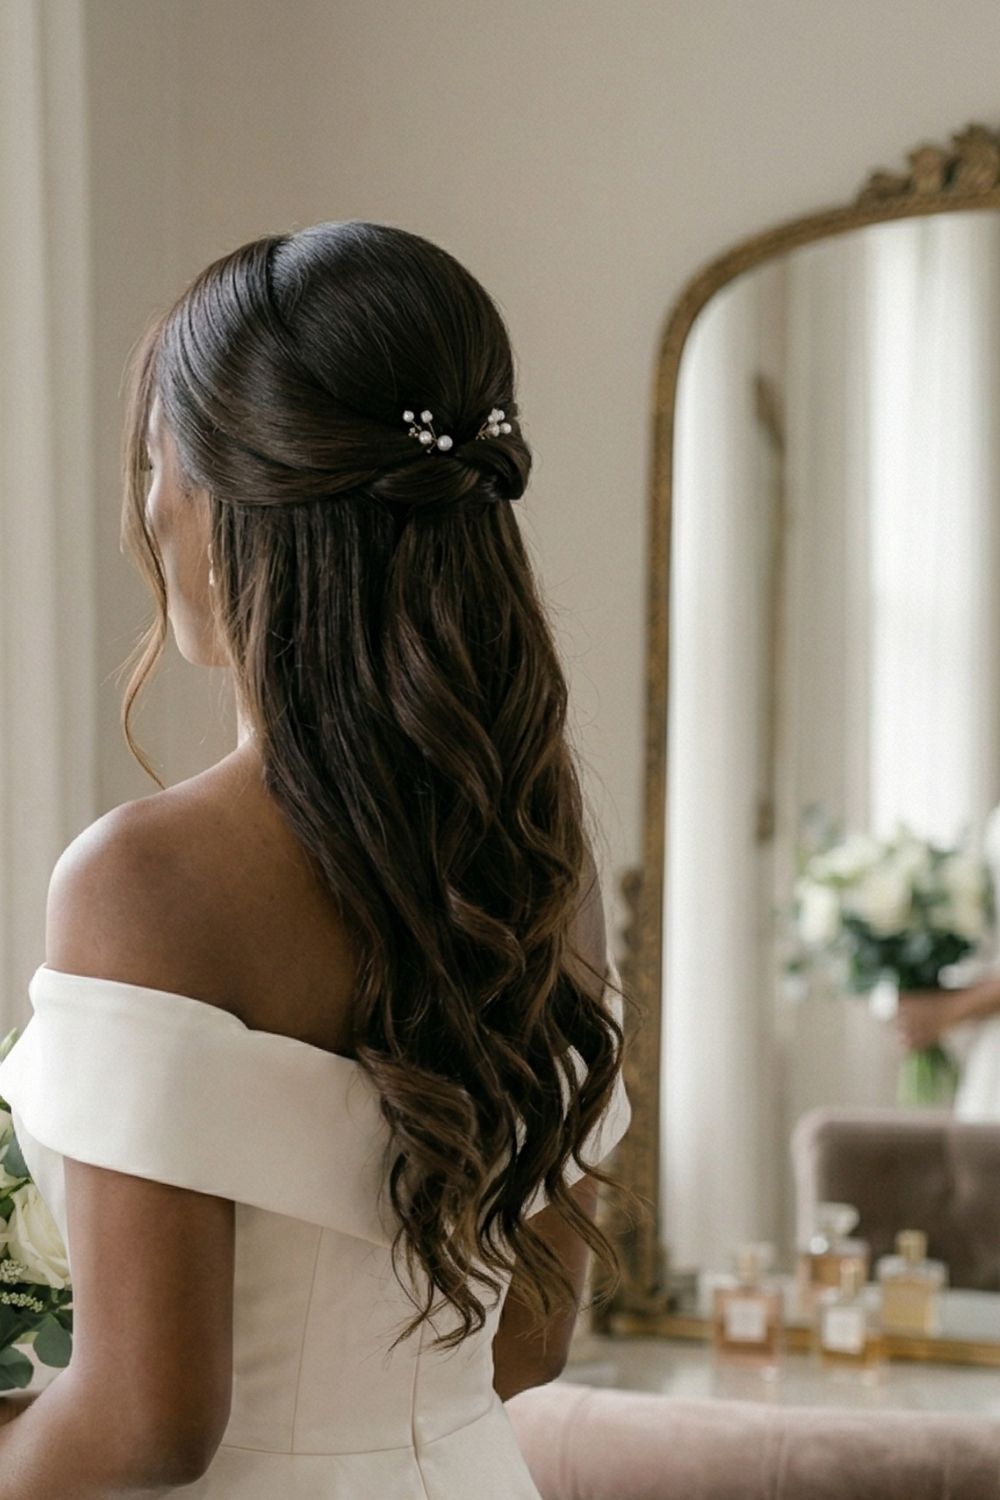
How to recreate it
- Create loose curls and finger-comb them so they soften into waves.
- Twist both sides back and pin underneath the overlap.
- Place mini pearl pins into the seam so they work as decoration and extra grip.
Quick adjustments
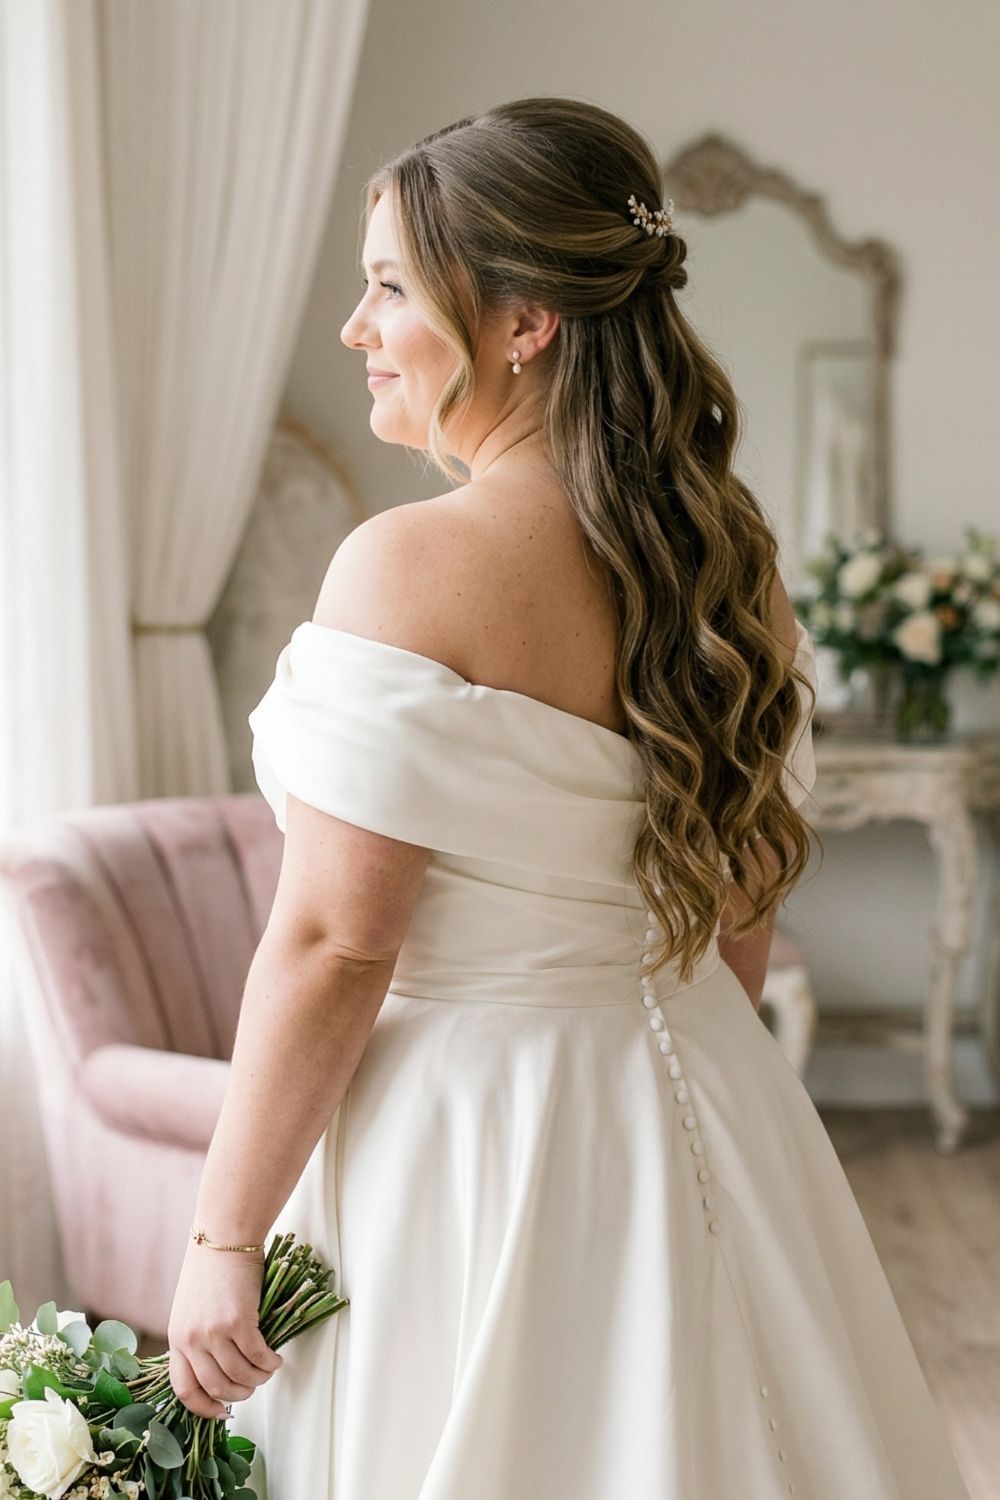
How to recreate it
- Curl from the mid-lengths down, keeping the very ends a little straighter for a more modern finish.
- Sweep back two side sections and twist them once where they meet at the back.
- Pin underneath the join and slide the sparkle pin right into the seam.
Quick adjustments
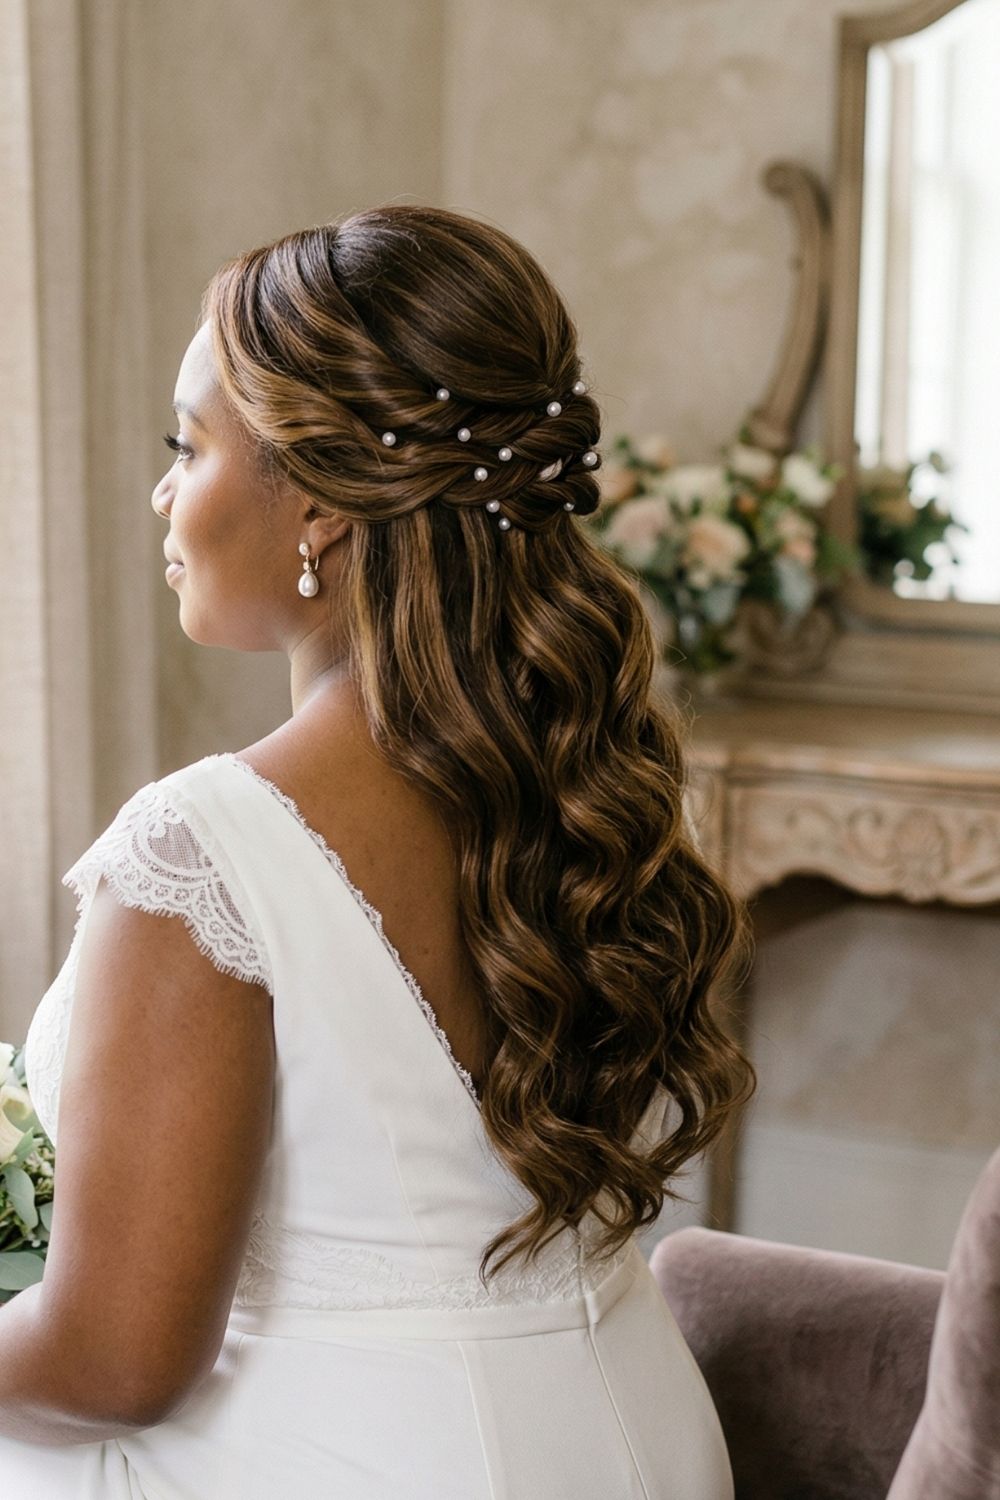
How to recreate it
- Curl the hair into medium, structured waves first.
- Twist and pin an upper section on each side, then repeat with a lower section so the layers build into each other.
- Add pearl pins into the seams where the twists overlap.
Quick adjustments
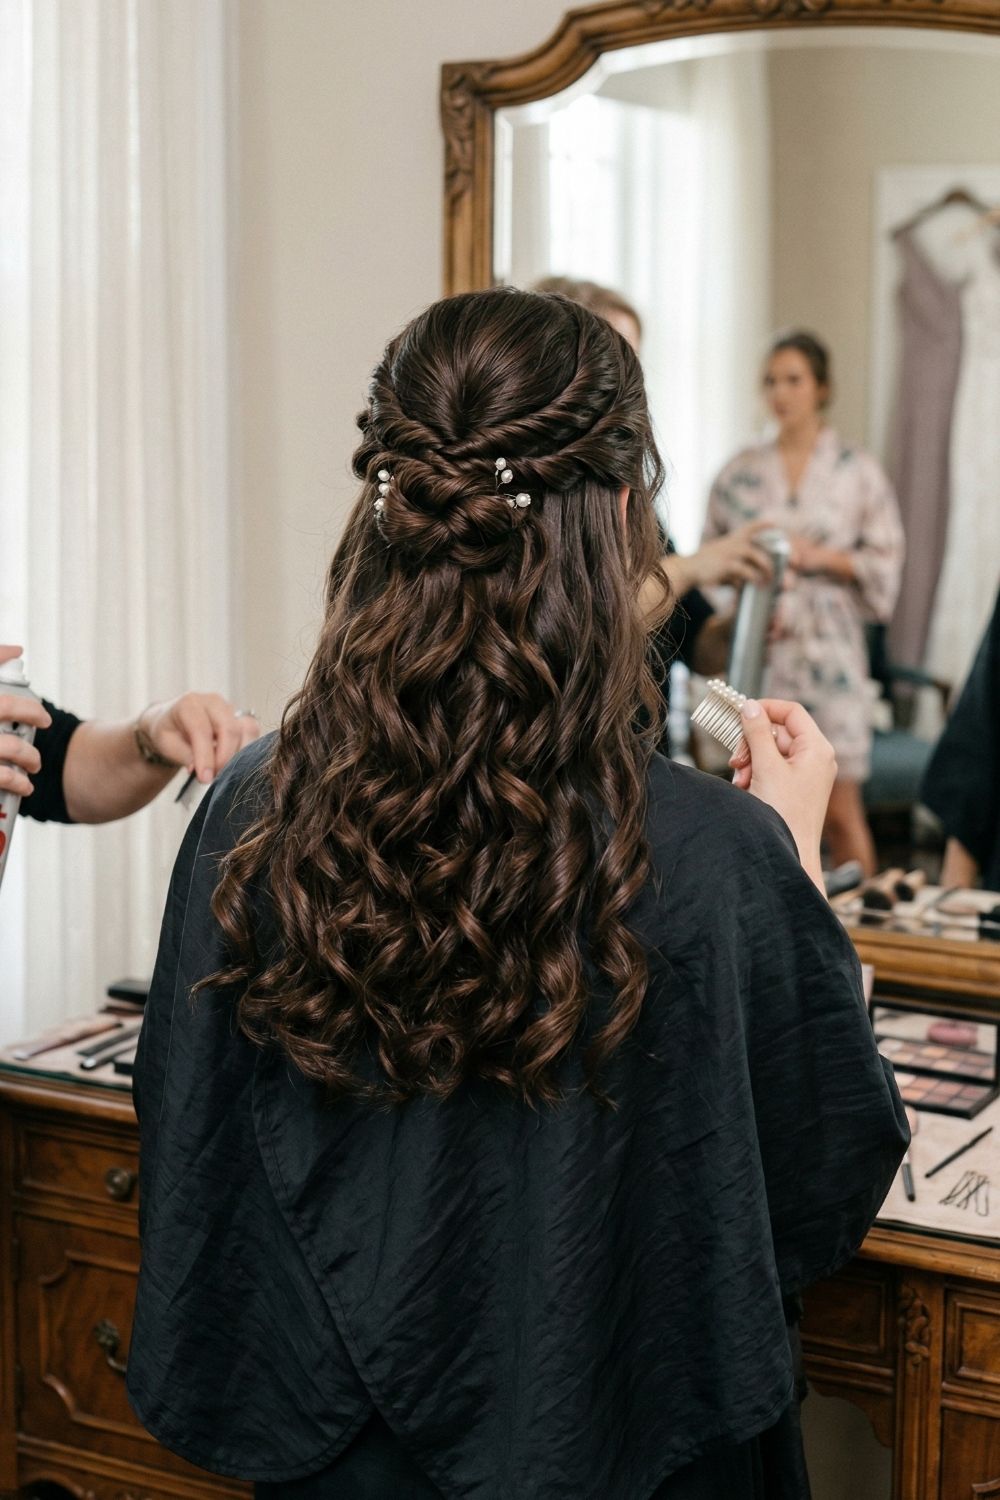
How to recreate it
- Create a rope braid on each side using a two-strand twist and bring both braids to the center.
- Secure them together, braid the tail if needed, and coil it into a small knot.
- Pin with U-pins and place pearl pins into the braid seam.
Quick adjustments
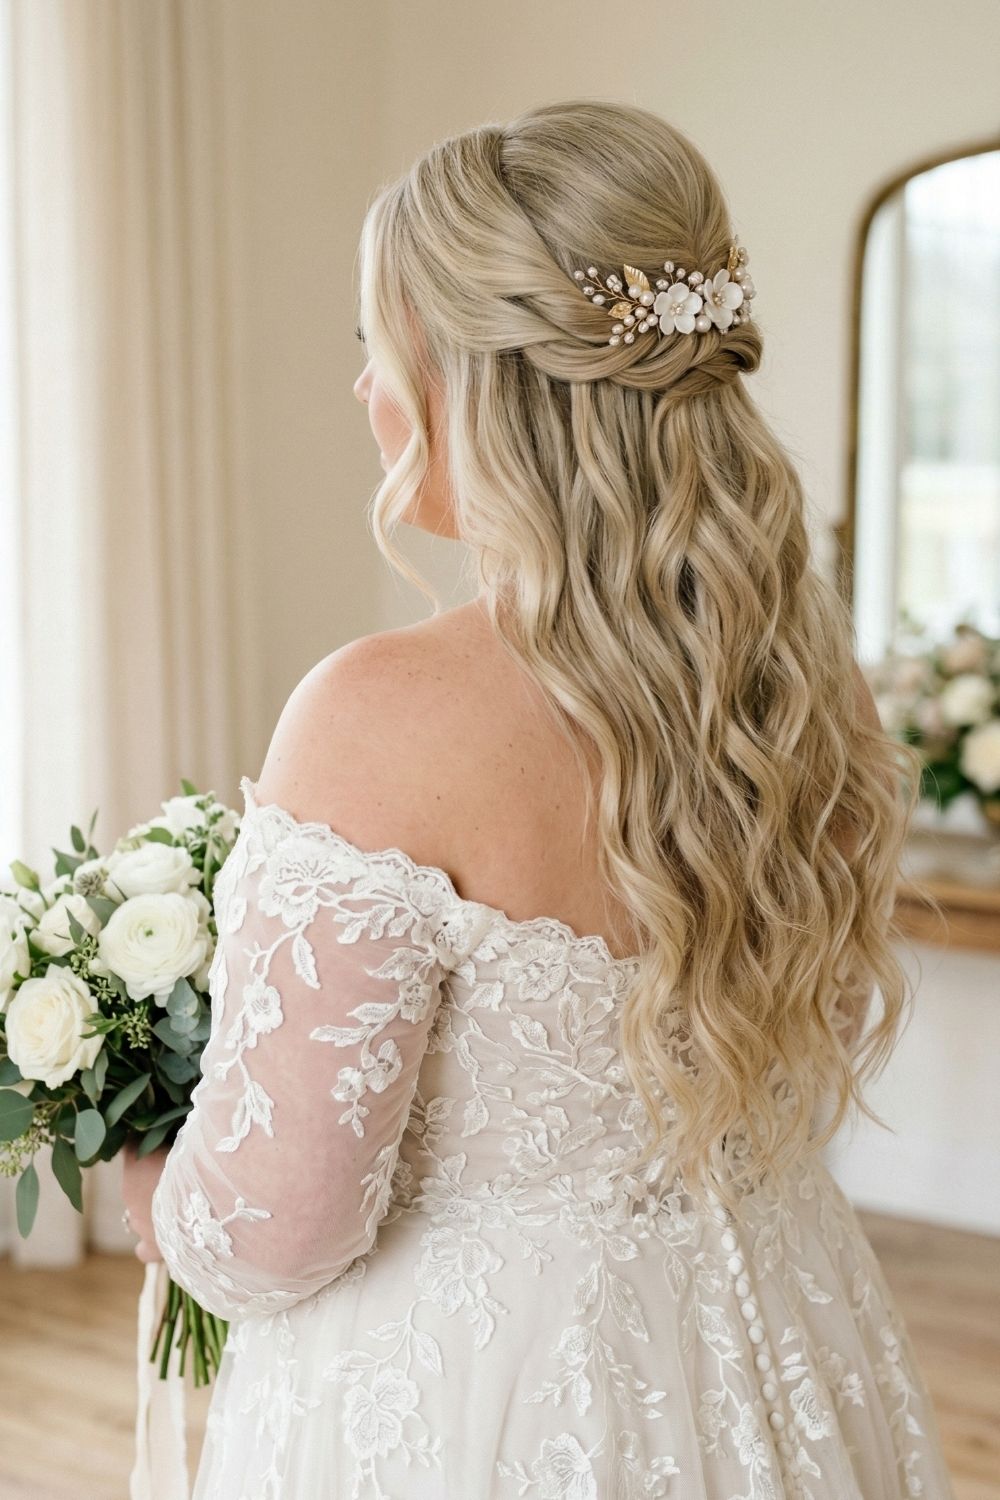
How to recreate it
- Curl the hair with a 1 to 1.25-inch iron and keep the texture airy.
- Twist both side sections back, overlap them at the center, and pin underneath the wrap.
- Clip the floral or pearl accessory into the seam rather than onto the surface of the hair.
Quick adjustments
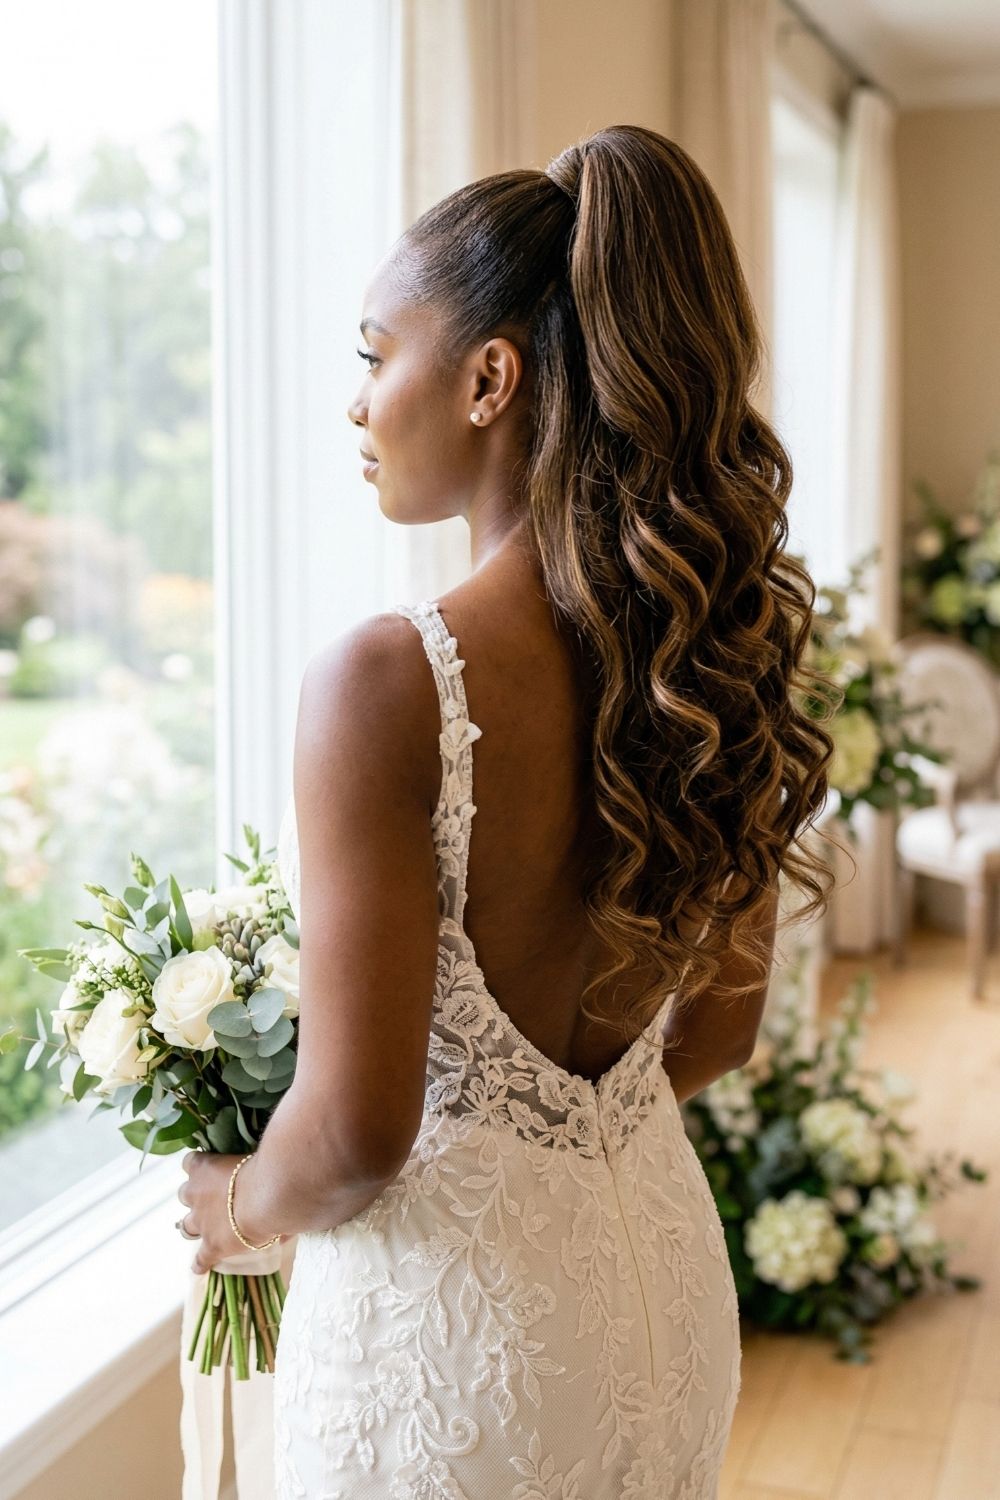
How to recreate it
- Pull the top half up high and secure it firmly.
- Add a second elastic beneath the first if you want more lift, then wrap a piece of hair around the base.
- Curl both the ponytail and the lower section so the whole look flows together.
Quick adjustments
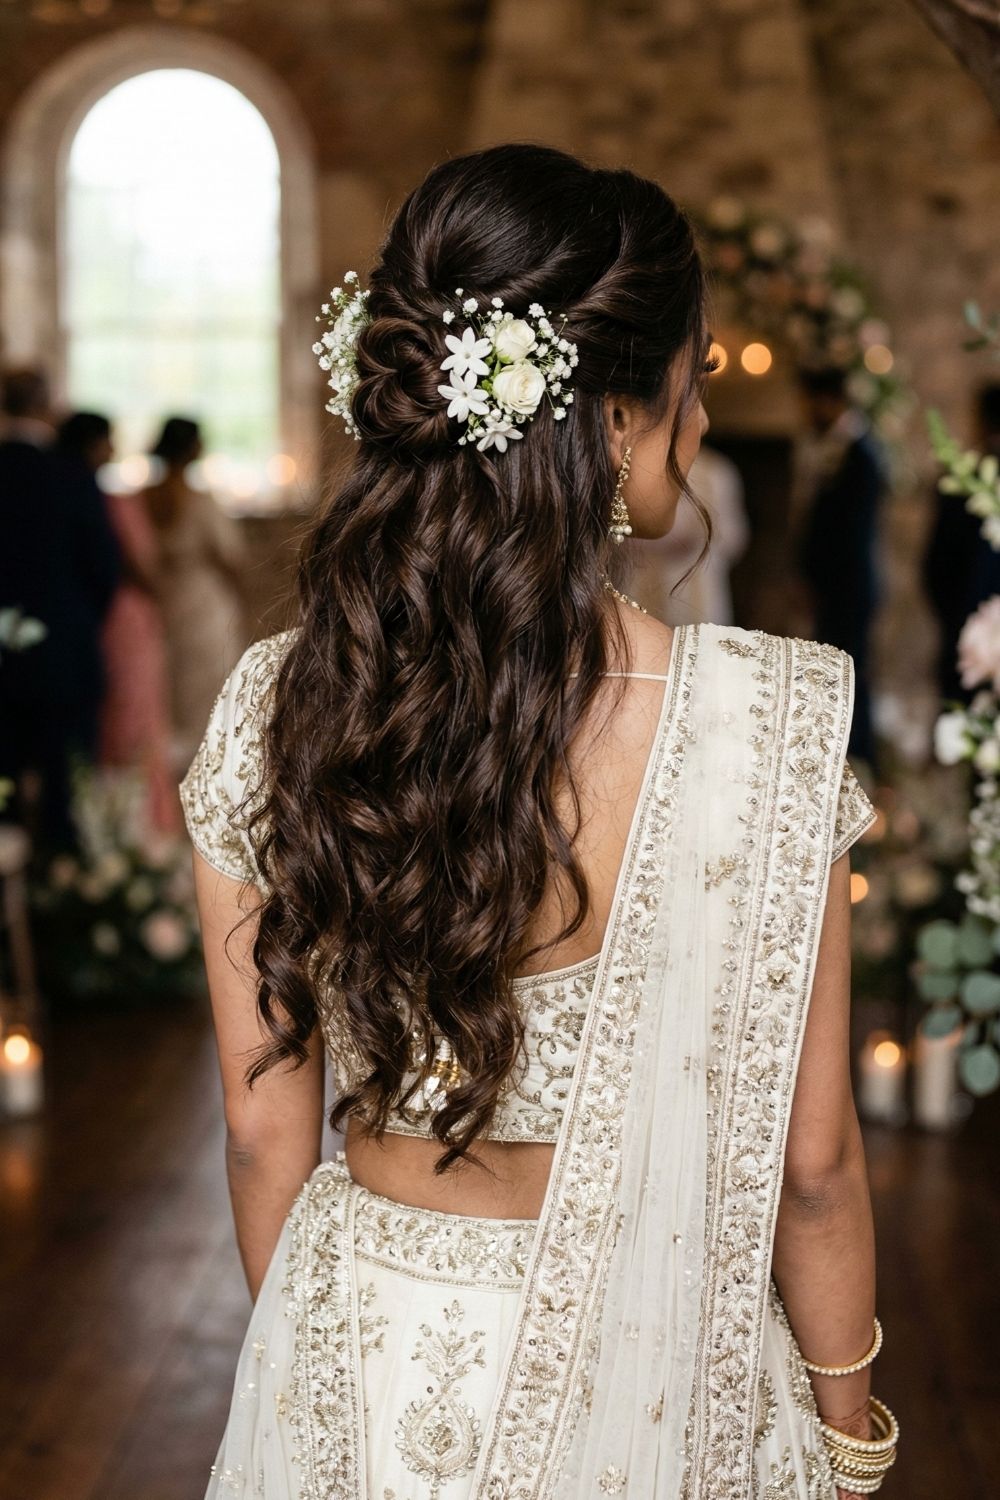
How to recreate it
- Curl the hair first, so the whole style feels cohesive.
- Pull the side sections back, twist or tie them together, and coil them into a small rosette.
- Pin the shape with U-pins and add flowers last by pinning through the stems into the base.
Quick adjustments
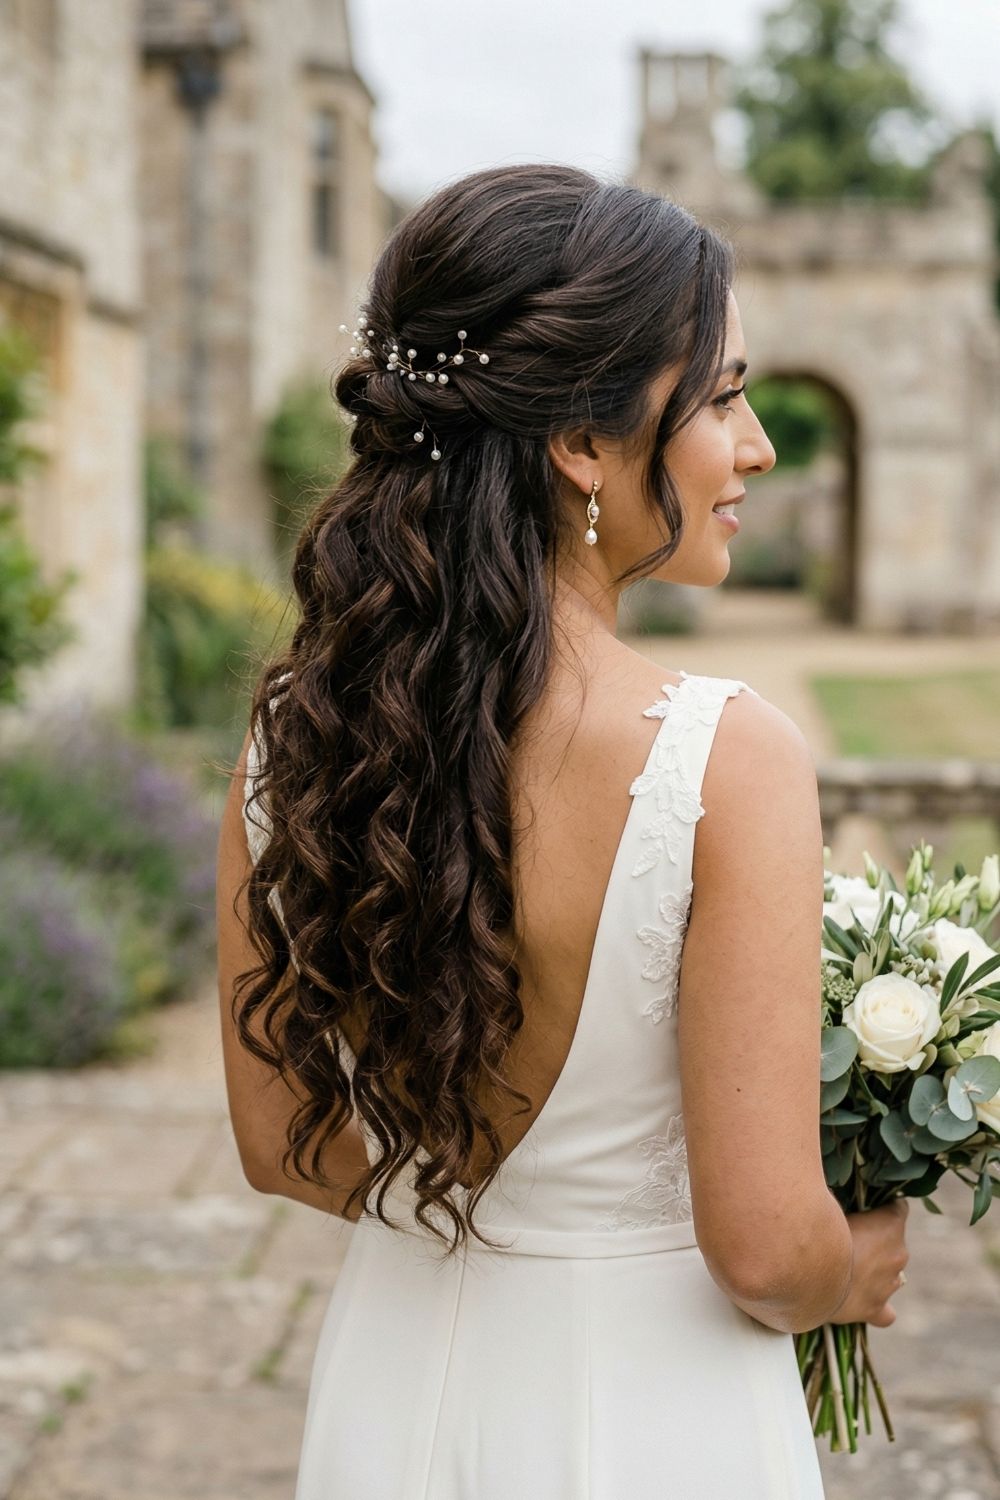
How to recreate it
- Use a 1-inch wand and let the curls cool completely before touching them.
- Twist both sides back and pin them in an X at the center.
- Anchor the pearl vine at each end right into the seam so it follows the shape of the twist.
Quick adjustments
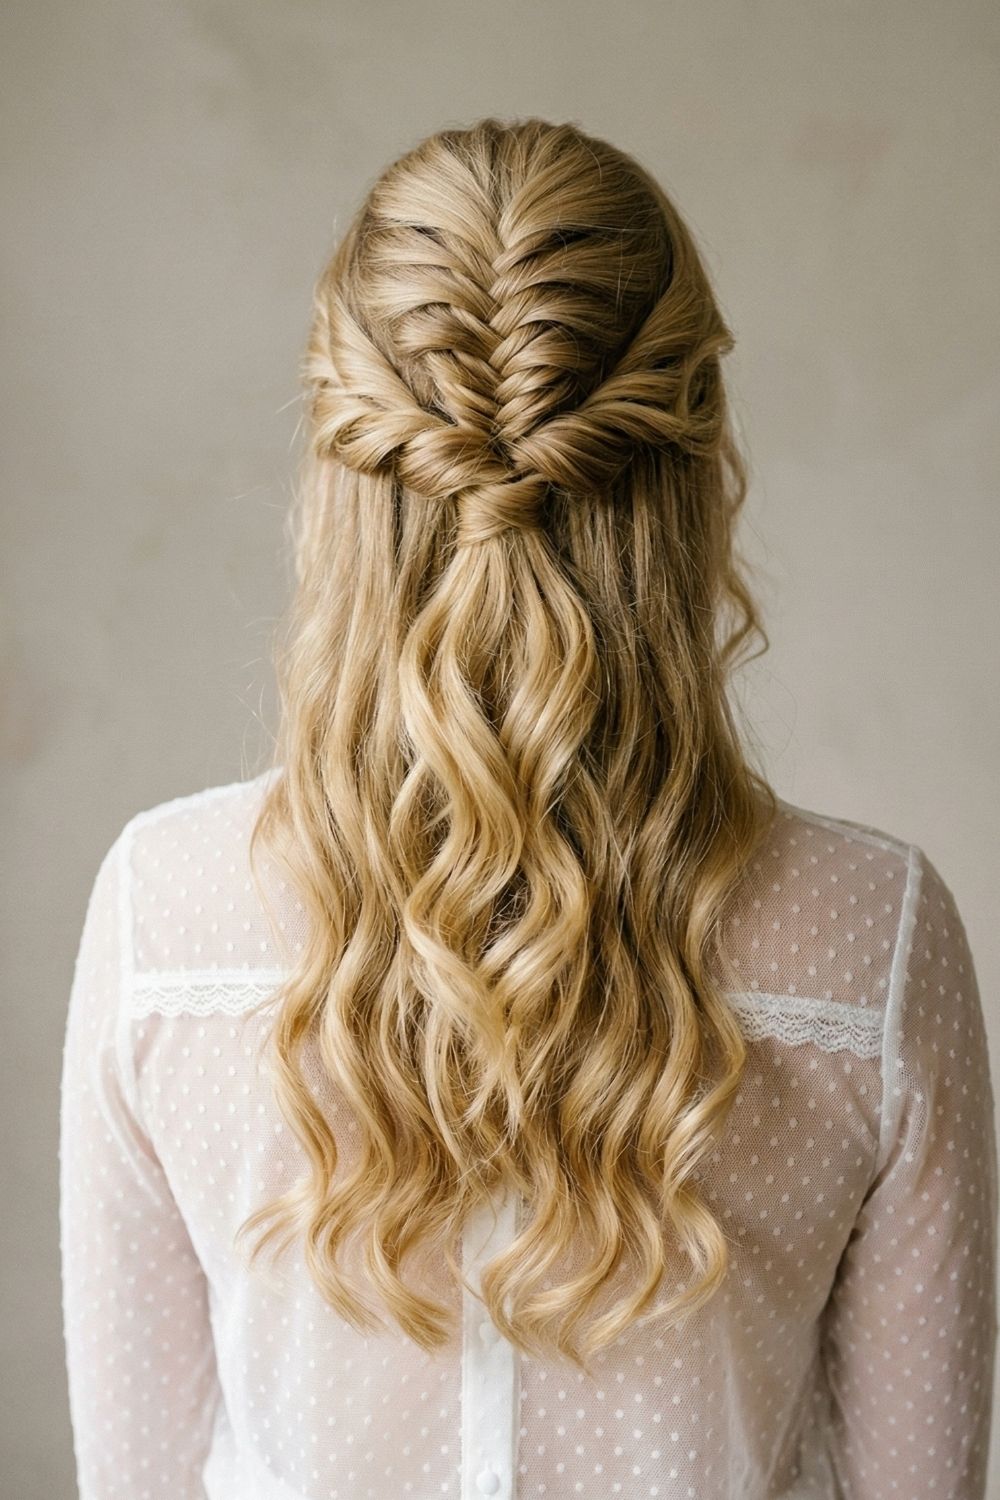
How to recreate it
- Start a fishtail braid at the crown and keep it fairly loose.
- Twist the side sections back and cross or weave them into the braid as you go.
- Secure everything and pancake the fishtail gently for extra fullness.
Quick adjustments
Fine hair usually looks better here with clip-in wefts, especially if you want the fishtail to read clearly. Thick hair is easier to manage when the fishtail sections are kept smaller and more controlled.
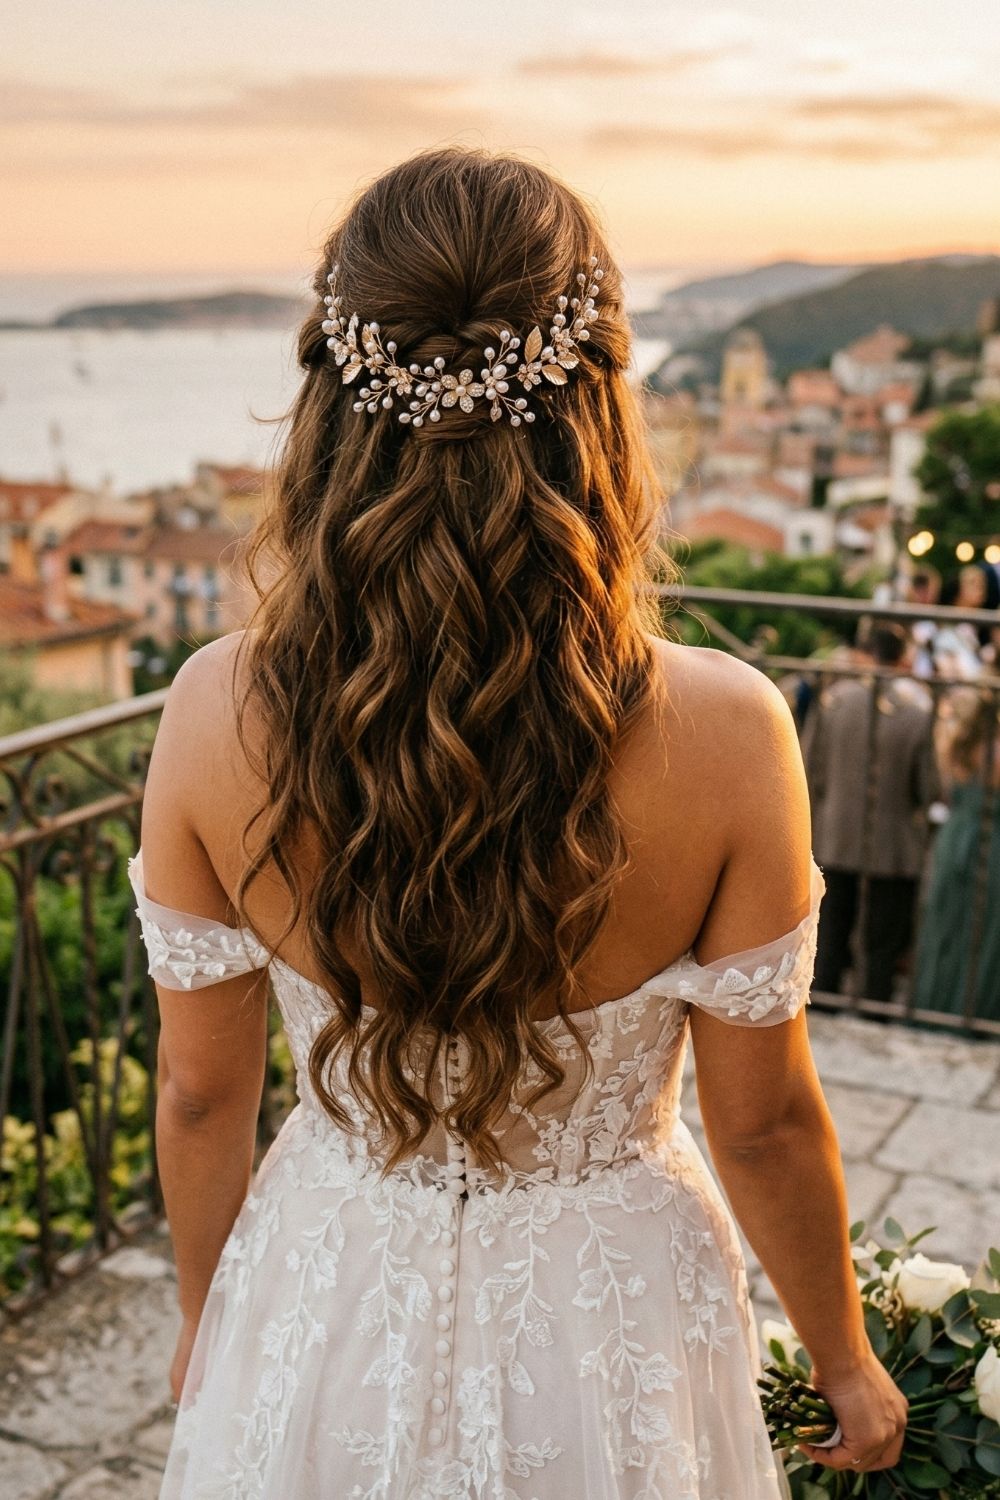
How to recreate it
- Tease the crown lightly and smooth the top layer over it.
- Create a half-up base with either a discreet elastic or crossed pins.
- Lay the vine across the back and anchor the ends, plus the center if the accessory feels flexible.
Quick adjustments
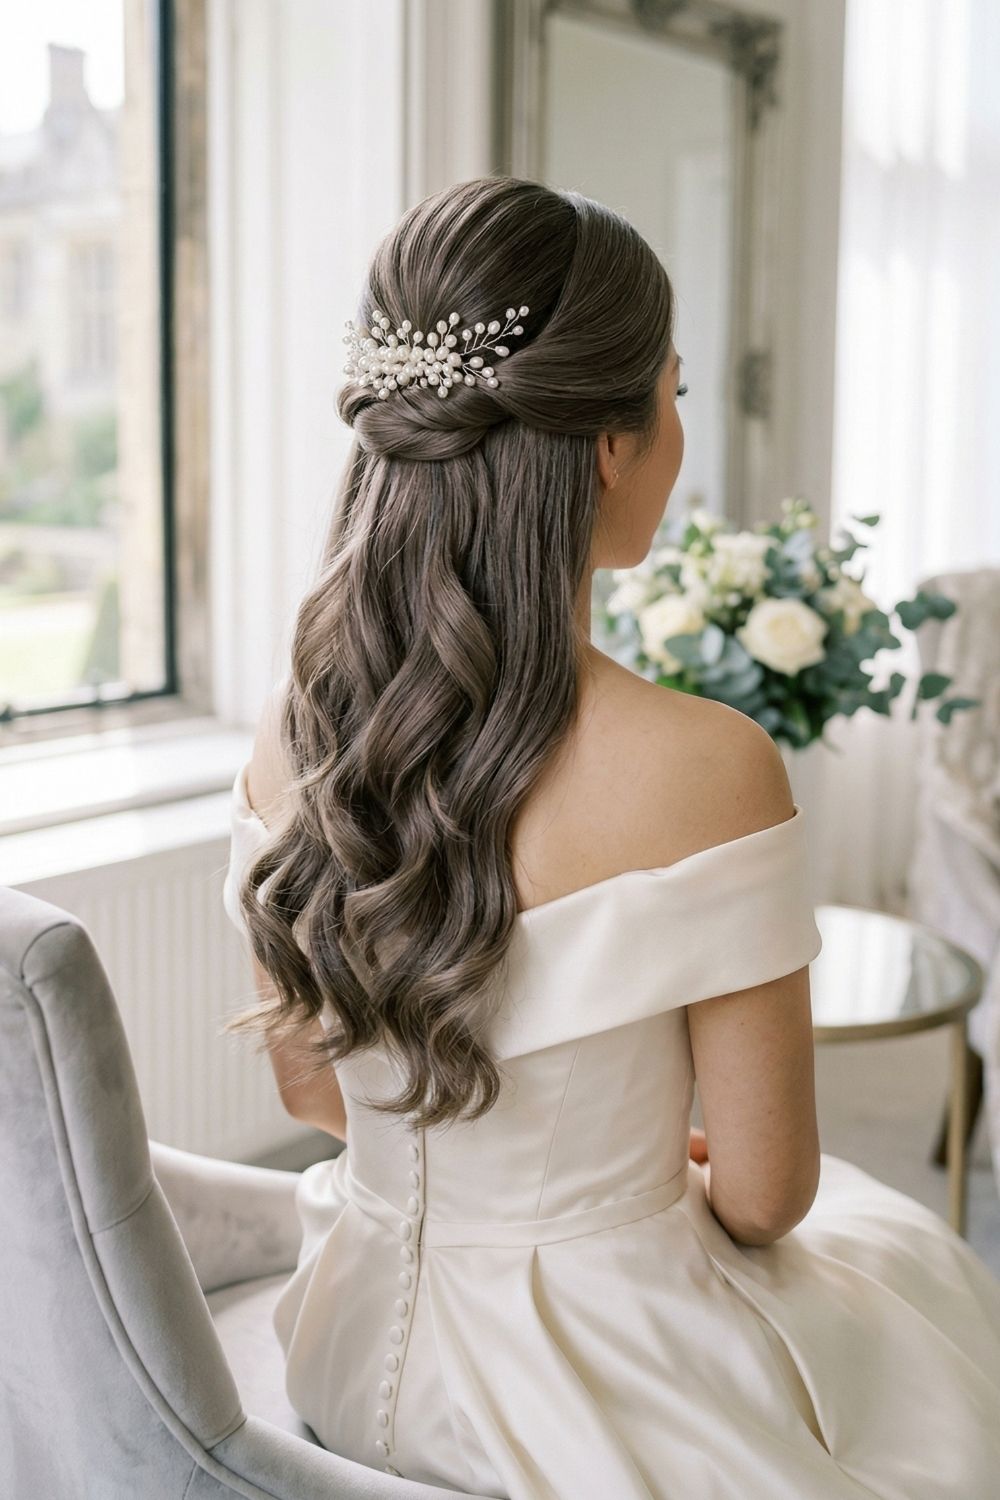
How to recreate it
- Pull the top half back with a clear elastic.
- Flip the ponytail through itself, then tuck the tail upward to create a soft roll.
- Pin it underneath and place the pearl clip directly into the seam.
Quick adjustments
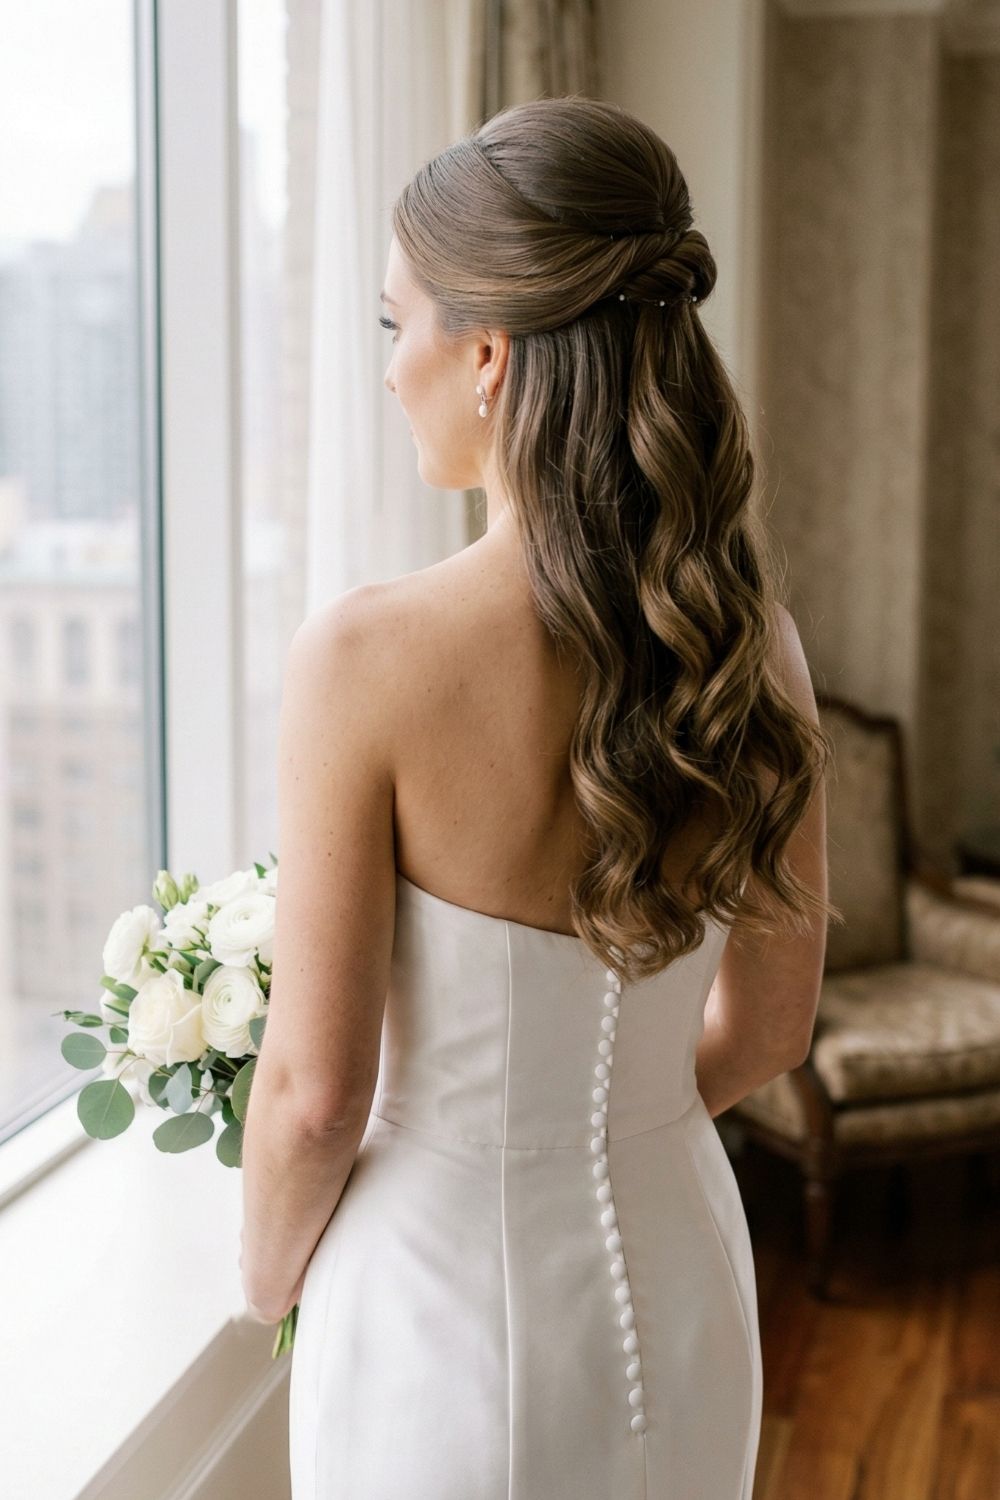
How to recreate it
- Curl the hair in one consistent direction from mid-length to ends.
- Secure the half-up section and flip it through itself.
- Tuck it into a neat roll and add small decorative pins into the seam.
Quick adjustments
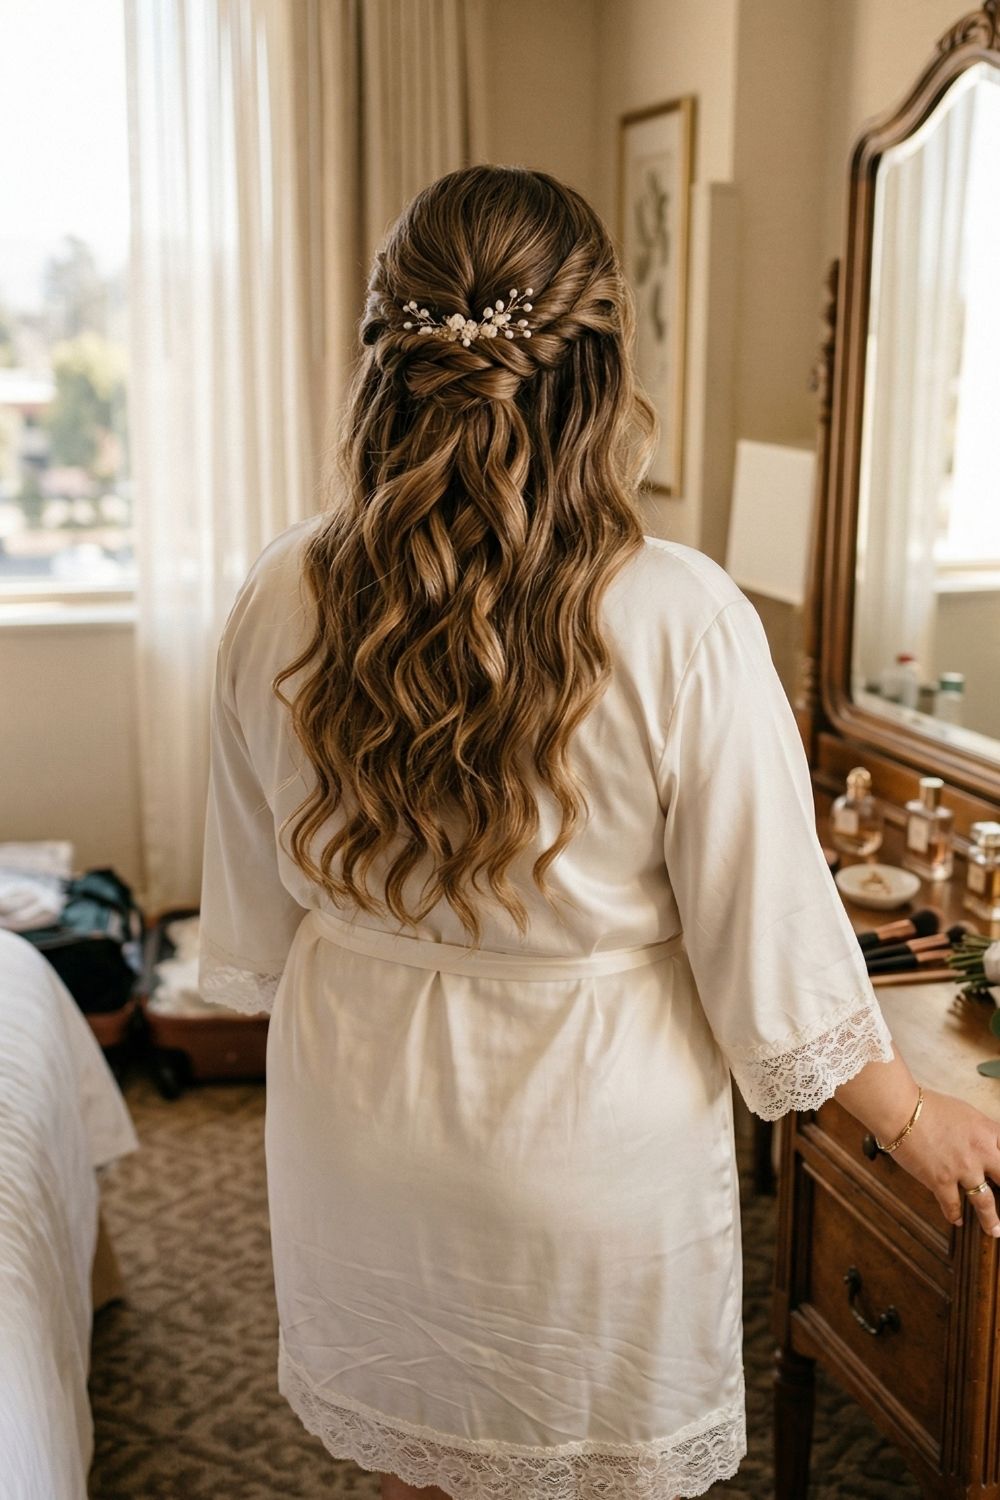
How to recreate it
- Curl the hair with a 1 to 1.25-inch iron and finger-comb it so the finish stays airy.
- Twist each side back and tie a loose knot once at the center.
- Pin underneath to hold the shape, and insert the pearl spray pin into the knot seam.
Quick adjustments
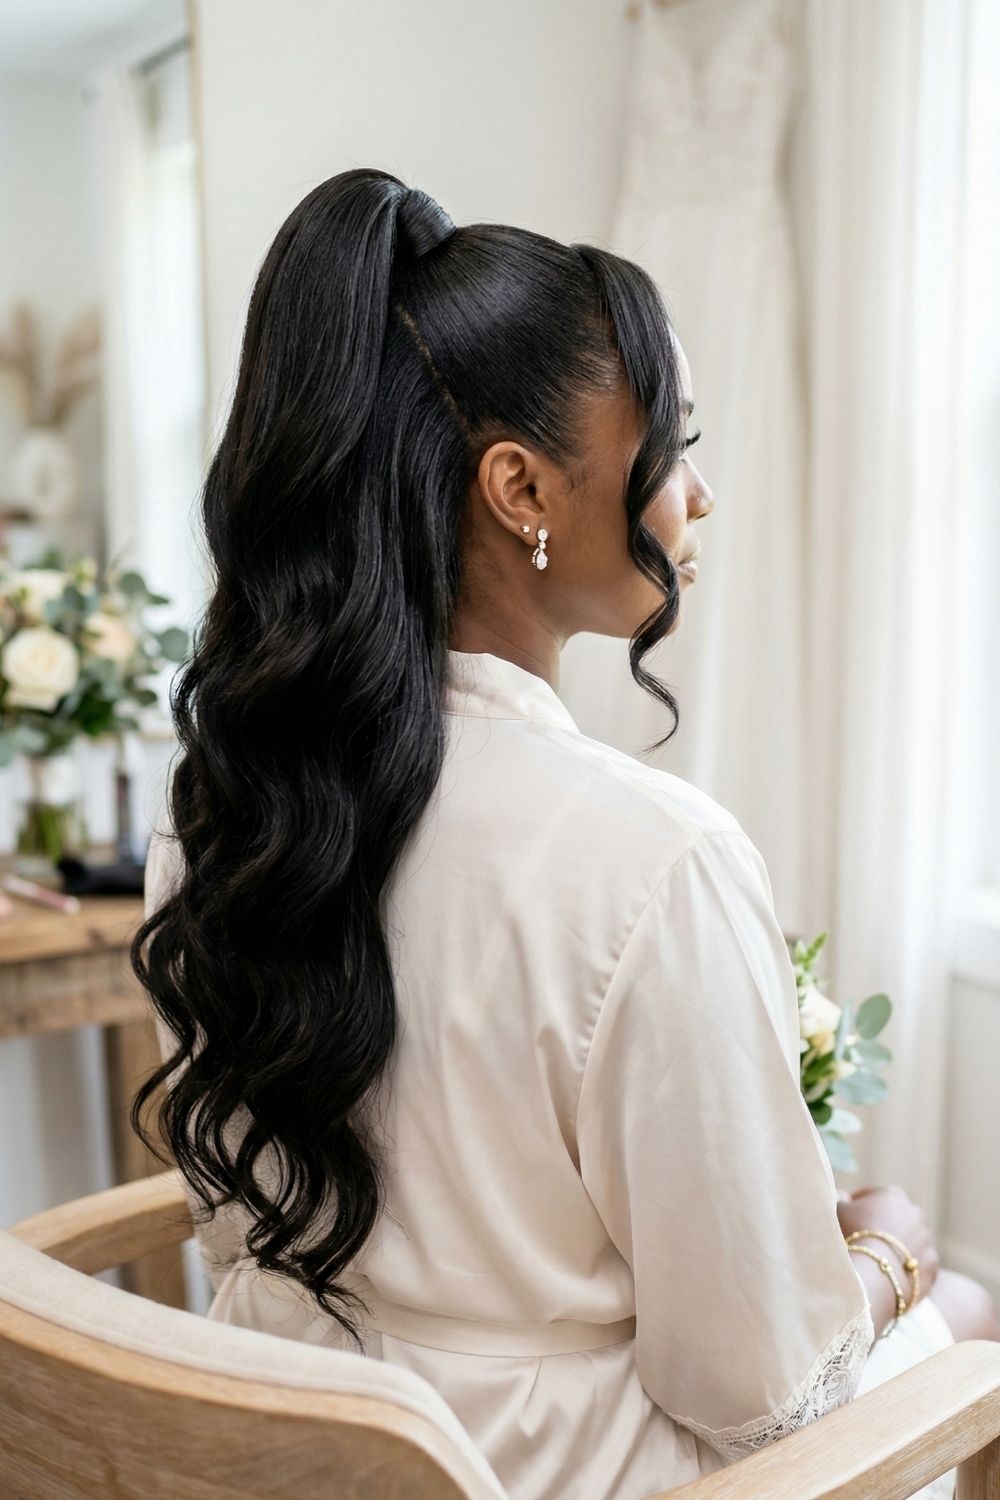
How to recreate it
- Smooth the crown with gel or cream and brush the top section upward.
- Secure it high and wrap the base with a strand of hair.
- Pin the wrap underneath and curl the lengths in larger sections so the waves stay smooth and reflective.
Quick adjustments
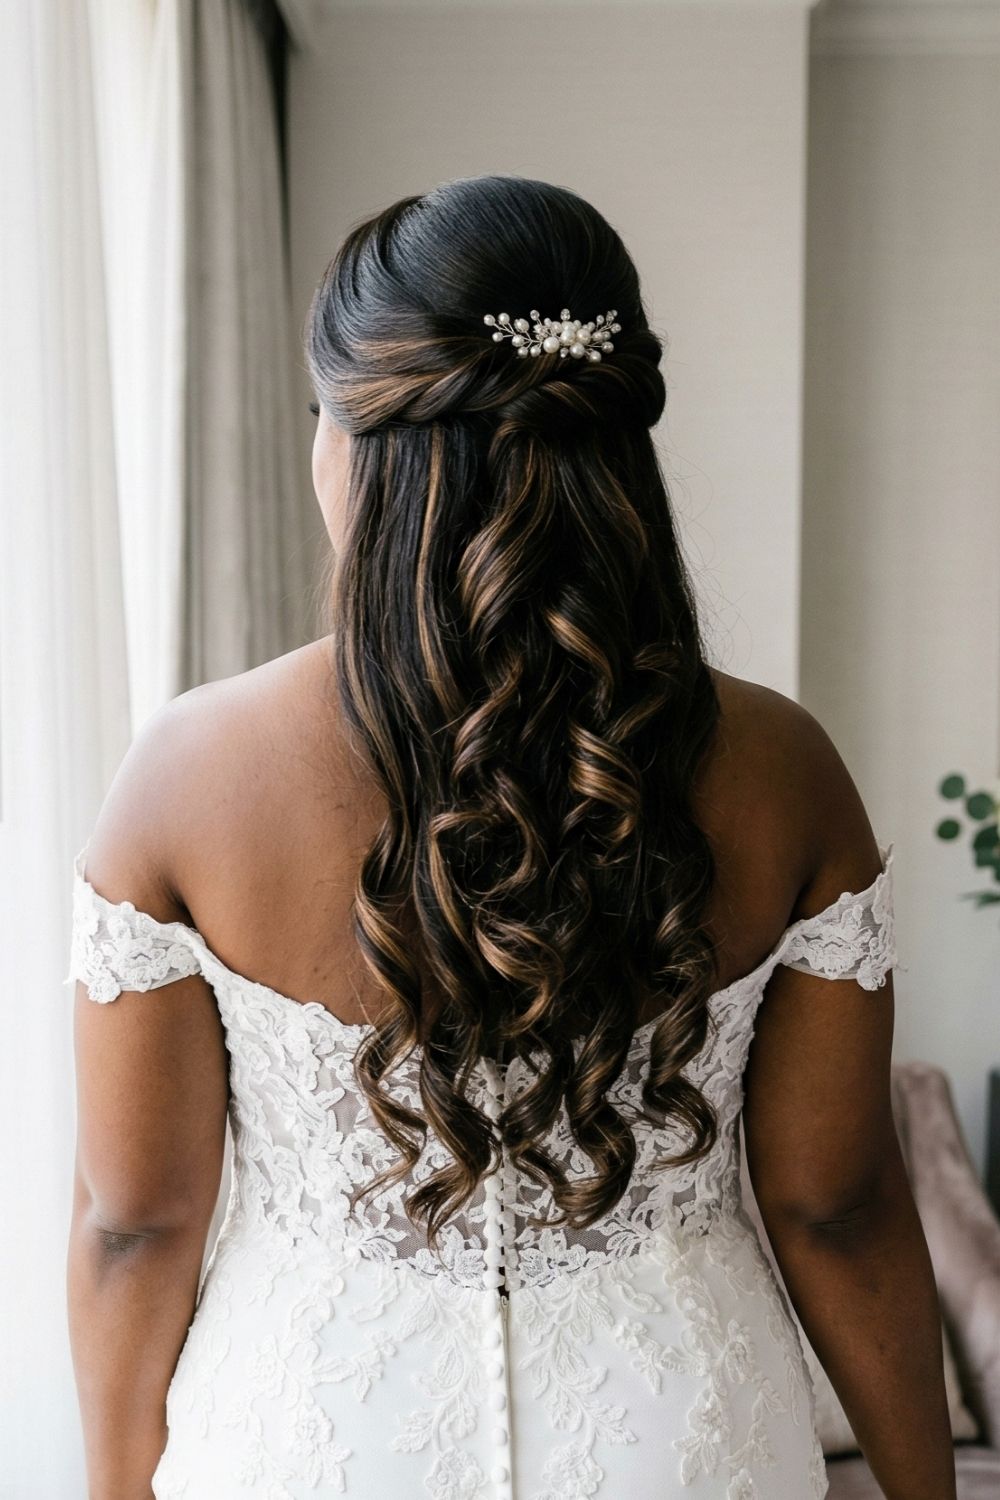
How to recreate it
- Curl the hair with a 1-inch iron for more definition.
- Twist the side sections back and pin them in an X underneath the meeting point.
- Slide the pearl comb into the seam so it secures the twist and finishes the look.
Quick adjustments
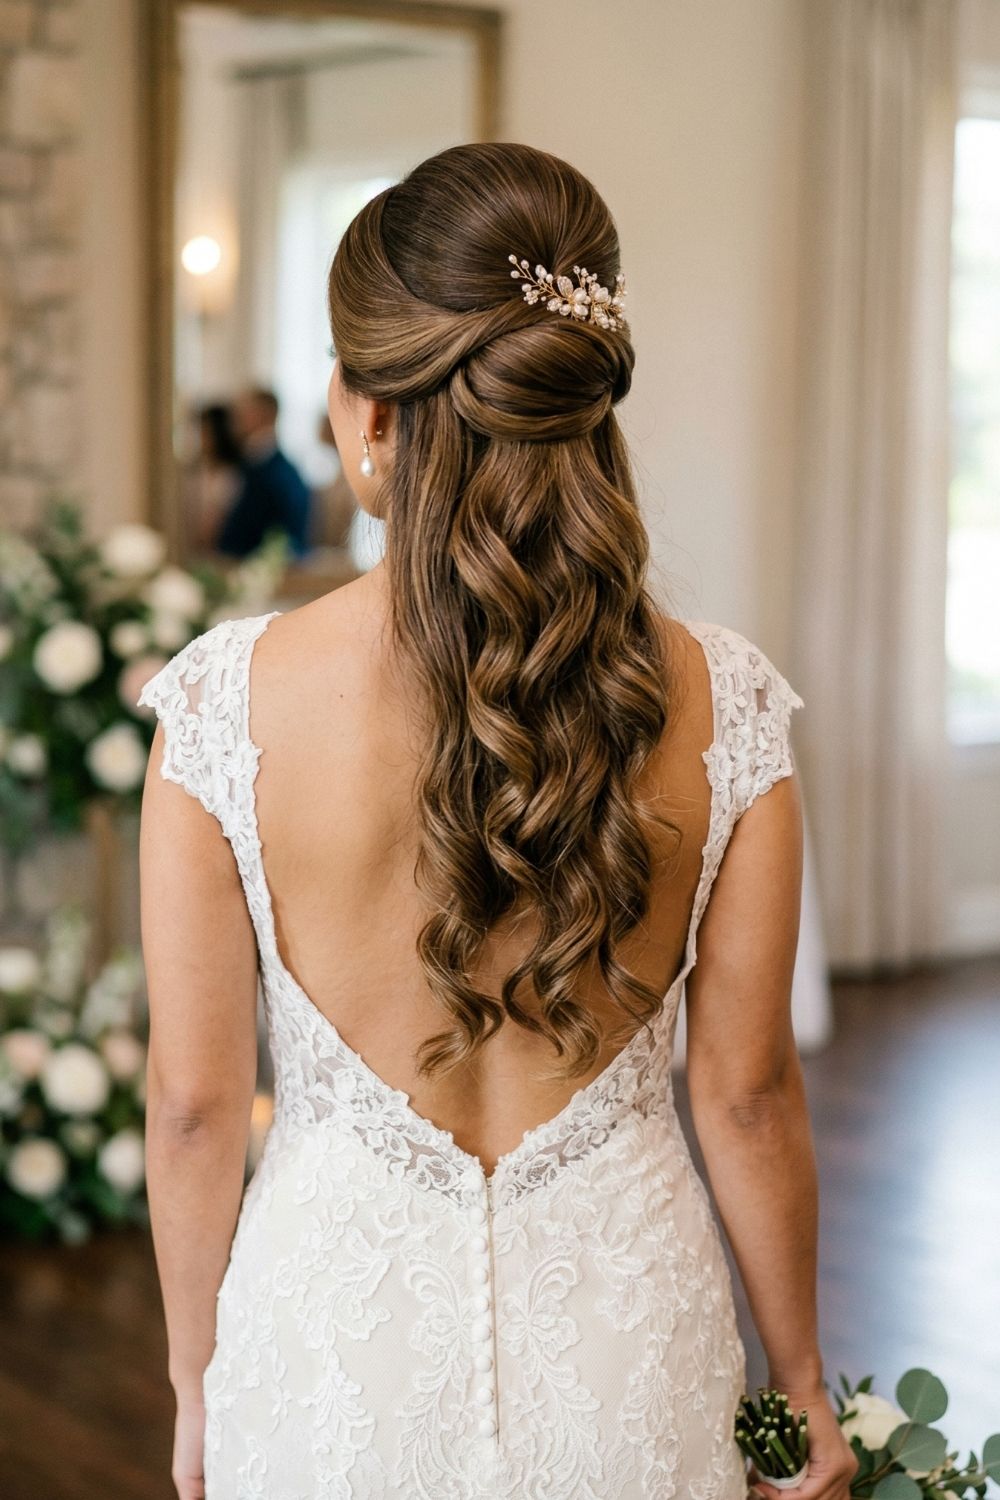
How to recreate it
- Curl the hair with a 1-inch iron for a more defined curl pattern and separate the curls lightly with your fingers.
- Pull the side sections back with a clear elastic and flip the ponytail through itself.
- Tuck the flipped section into a rounded roll, pin it with U-pins, and place a pearl or crystal comb into the seam.
Quick adjustments
How to Choose the Right Half-Up Wedding Hairstyle
If you’re torn between a few looks, start here: do you want your finish to feel soft and effortless, or sleek and structured?
That question clears up a lot.
If you love movement, a more relaxed texture, and a romantic shape, go for styles with brushed waves, rope twists, baby’s breath, or looser braids. If you want something cleaner and more sculpted, look at tucked rolls, polished half-up ponies, and smoother twists with combs or pearl pins.
Think about how your hair actually behaves, not how you wish it behaved on a perfect day. Fine hair often needs hidden elastics, texture spray, or a little teasing. Thick hair usually needs stronger pins and a bit more sectioning. Natural texture can be a real advantage, especially in softer half hair up half hair down hairstyles with wave or curl definition already built in.
Comfort matters too. You’ll be wearing this style for hours through photos, hugs, ceremony nerves, dinner, dancing, maybe wind, maybe heat, maybe both. The best bride half-up half-down hair choice is the one that still feels good halfway through the day, not just the one that looked prettiest in a saved photo.
A wedding hairstyle is not just supposed to look good in the first 20 minutes. It has to last, and it has to feel like you.
FAQs
Are half-up and half-down hairstyles good for weddings?
Do half-up wedding styles work on fine hair?
What is the best half-up style for thick hair?
Can I wear hair half-up half-down with curls if I have natural texture?
The best half-up and half-down hairstyles are the ones that match both your wedding look and your actual hair behavior. That means paying attention to texture, density, weather, comfort, and how much structure you really want.
Some brides want soft waves and flowers. Others want a polished twist, a sleek pony, or a tucked roll that holds all day. Both approaches can work beautifully.
What matters most is that the style still feels like you when the ceremony starts, when the photos happen, and when the dance floor gets busy later on. Pretty matters, but comfort matters too. When you find the right balance, these half up and half-down hairstyles can give you both.