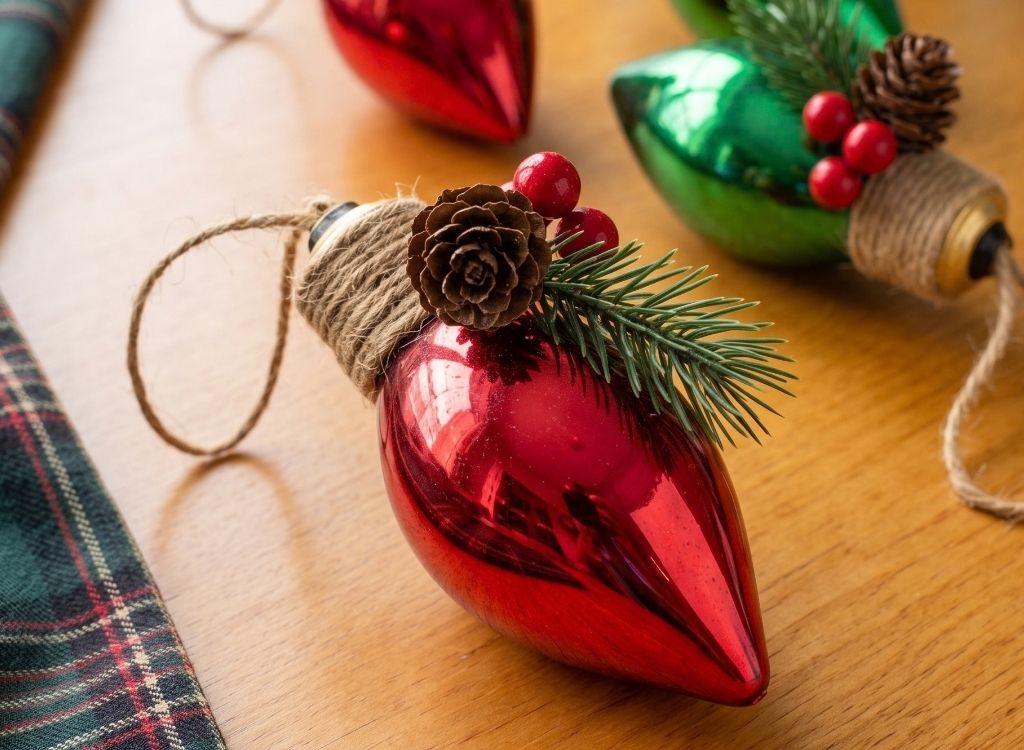
Oversized vintage-style Christmas bulbs already bring plenty of color to a tree, so they only need a few simple details to feel more distinctive. These DIY vintage Christmas light ornaments combine colorful bulb ornaments with natural jute twine, evergreen sprigs, red berries, and mini pinecones.
The contrast between the bright bulbs and rustic decorations gives them a nostalgic Christmas look without requiring complicated techniques or specialty tools.
Disclosure: Some of the links on this article are affiliate links. If you make a purchase through one of them, we may earn a small commission at no extra cost to you.
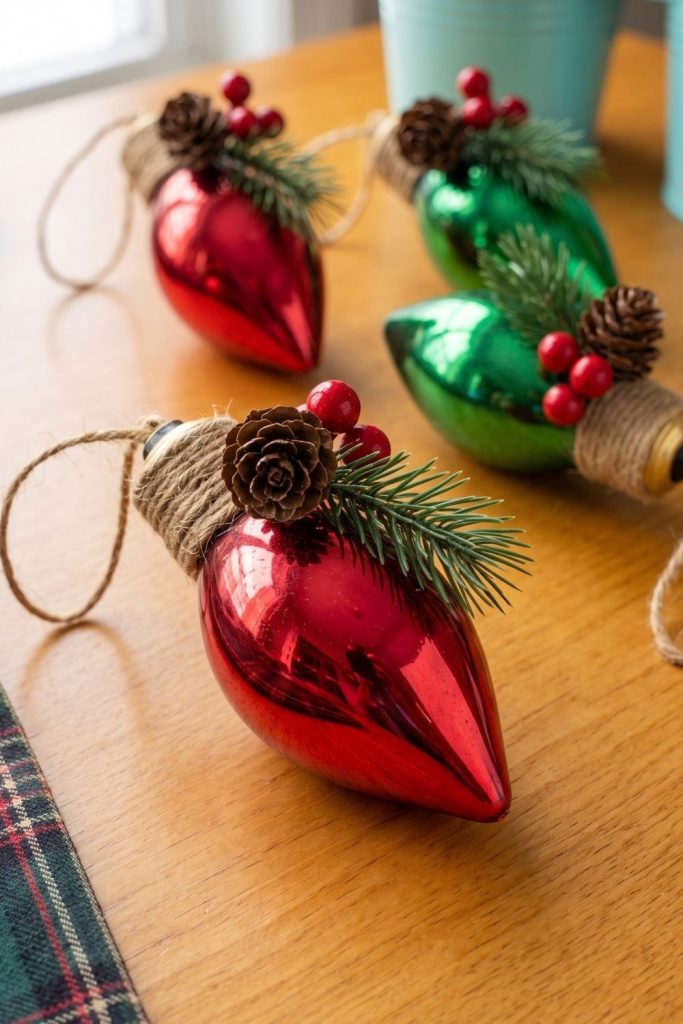
This project is also an easy way to update large bulb ornaments you already own. Red, green, and blue look especially festive together, but you can use any combination that works with your existing Christmas decor.
What You'll Need for DIY Vintage Christmas Light Ornaments
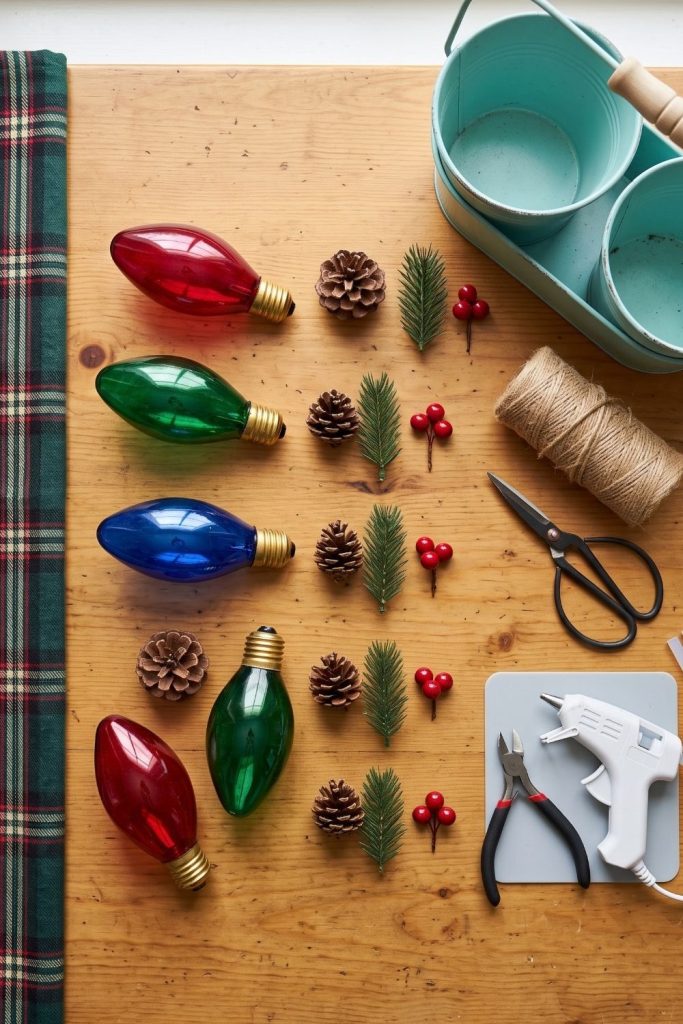
Gather:
The ornaments shown here use large teardrop-style bulbs, but other oversized vintage Christmas bulb ornaments can work too.
What matters most is having enough space around the top of each ornament to wrap the base with twine and attach a small decorative cluster without covering too much of the colored bulb.
Step 1: Cut the Greenery and Berries
Prepare the small decorative pieces before you start using the hot glue gun.
Trim the evergreen into short sprigs with scissors or wire cutters. Each piece only needs to extend slightly across the upper part of the bulb.
Cut the berry picks into small clusters of about three berries. If your pinecones are larger, choose the smallest ones available or trim any long stems before attaching them.
The decorations should add texture near the top while allowing the colorful bulb to remain the main feature.
Step 2: Wrap the Bulb Base With Twine
Start where the gold or metallic-looking base meets the colored ornament.
Secure the end of the jute twine with a small dot of hot glue, then begin wrapping it snugly around the base. Keep each row close to the previous one so the twine forms an even band.
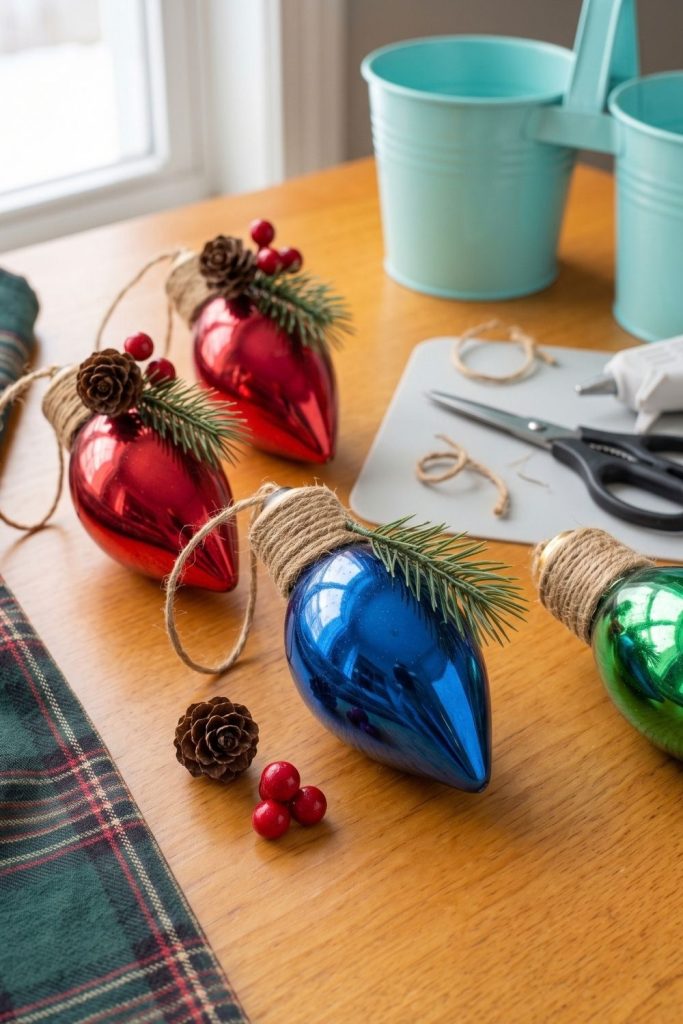
Continue wrapping until most of the bulb base is covered, then secure the loose end at the back with another small dot of glue.
You do not need to hide every bit of the metallic surface. Leaving a little gold or silver visible can help preserve the old-fashioned Christmas light appearance.
Step 3: Attach the Evergreen
Place a small evergreen sprig just below the wrapped section.
Angle it slightly downward so it follows the curve of the ornament instead of sticking straight out. Add a small amount of hot glue beneath the stem and press it into place for a few seconds.
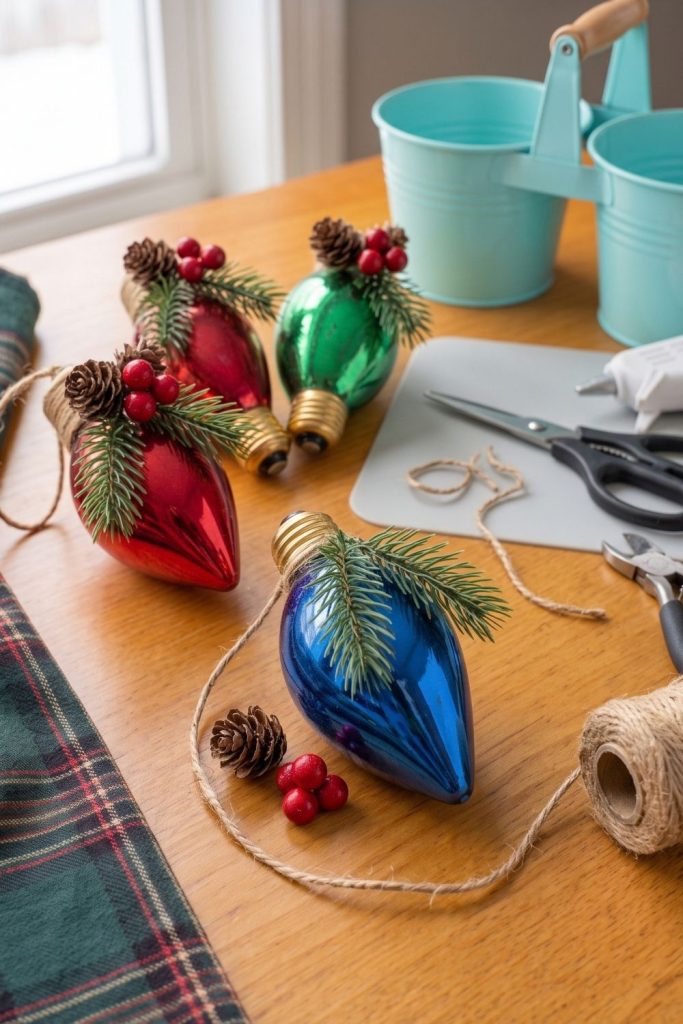
Use the glue sparingly, especially if the bulb surface is smooth and glossy. Small dots are easier to hide beneath the pinecone and berries than large beads of visible glue.
Before moving on, make sure the greenery sits flat enough that it will not catch easily when the ornament is stored or hung on the tree.
Step 4: Add the Mini Pinecone
Glue one small pinecone near the top of the evergreen sprig.
Position it close to the twine-wrapped neck so it covers part of the greenery stem and visually anchors the decorative cluster.
If the pinecone has a long stem, trim it first so it sits closer to the surface of the ornament. A smaller pinecone usually works better because the colored bulb should still dominate the design.
Hold the pinecone in place briefly while the glue begins to set.
Step 5: Add the Red Berries
Tuck a small cluster of red berries beside the pinecone.
Secure the stem with a tiny dot of hot glue and position the berries slightly above or beside the greenery so they remain clearly visible.
At this point, the ornament should have three contrasting textures: soft greenery, a small brown pinecone, and glossy red berries. That mix is enough to give these DIY Christmas light bulb ornaments a finished, layered look without adding too many embellishments.
If the cluster begins to feel crowded, remove or shorten one element rather than adding more.
Step 6: Add the Hanging Loop
Cut a piece of jute twine about 8 to 10 inches long.
Thread or secure it around the top of the ornament, depending on the design of the bulb, then tie the ends together to create a hanging loop.
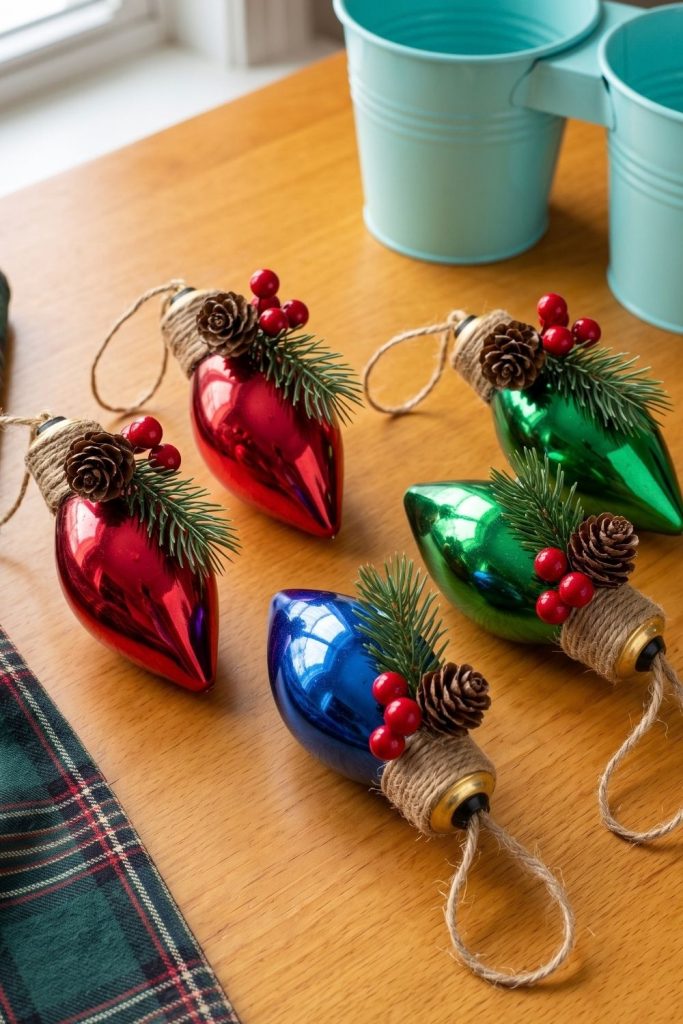
Before placing the ornament on the tree, gently tug the loop to make sure it feels secure. Oversized bulb ornaments can be heavier than standard baubles, so the hanger should comfortably support the full weight.
If your ornament already has a strong hanging loop, you can tie the twine directly through it instead of creating another attachment point.
One Useful Amazon Find
Natural 2 mm jute twine works well for this project because it is thick enough to show clearly around the bulb base while remaining flexible enough to wrap and knot.
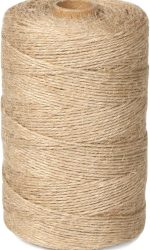
There is no need for specialty cord. Regular natural craft jute is enough to give these rustic Christmas tree ornaments their textured finish.
Step 7: Repeat With the Other Bulbs
Decorate the remaining ornaments with the same basic combination of greenery, pinecones, berries, and twine.
They do not all need to match exactly. Small differences can make the finished set look more natural and handmade.
For example:
- Place the pinecone on the left side of one ornament and the right side of another.
- Use slightly longer greenery on larger bulbs.
- Add two small berry clusters instead of one.
- Leave a little more of the metallic base exposed on some ornaments.
Keeping the same core materials throughout the set is enough to make the ornaments feel coordinated.
If you are making several decorations for the season, you can also pair these with other easy DIY Christmas decorations that use greenery, pinecones, berries, or natural twine.
How to Keep the Decorations From Looking Too Bulky
Because the bulb itself is already large and colorful, the decorative cluster should stay relatively small.
Try to keep the greenery, berries, and pinecone concentrated around the top third of the ornament. This creates enough detail to make the bulb feel special without covering its shape or color.
If a pine sprig reaches halfway down the ornament, trim it shorter. If the pinecone hides most of the neck, switch to a smaller one.
A useful test is to step back after attaching the first few pieces. If your eye goes to the greenery before the bulb, the decoration may be too large.
Easy Ways to Customize Vintage Christmas Bulb Ornaments
You can change the style without changing the basic method.
For a more neutral look, use cream, white, or gold bulbs with greenery and pinecones, then leave out the red berries. For a snowy version, lightly dry-brush the tips of the pinecones with white craft paint before gluing them in place.
You could also replace the red berries with:
- Tiny gold bells
- White berries
- Mini wooden stars
- Small velvet bows
Natural twine works with all of these options, so the same technique can be adapted for different trees, rooms, or color schemes.
For a more traditional tree, red berries and pinecones work especially well with plaid ribbon and warm white lights. For a simpler rustic look, reduce the decoration to evergreen, twine, and one small pinecone.
Where to Use These Ornaments
These ornaments work especially well on a traditional Christmas tree where their larger scale can fill visual gaps between smaller baubles.
You can also tie them onto a wreath, attach them to garland, or use them as decorative accents on wrapped gifts if the ornaments are lightweight enough for the application.
Because the bulbs are oversized, only a few may be needed to create noticeable color across a tree. They can be especially useful on larger trees where standard ornaments sometimes look too small from a distance.
Frequently Asked Questions
What type of bulb ornaments work best for this project?
Large decorative Christmas light bulb ornaments with enough room around the neck for twine and embellishments work best. Plastic ornaments are especially practical because they are lightweight and less fragile than glass.
Can I make these ornaments without hot glue?
How large should the greenery cluster be?
Can I use real pine instead of artificial greenery?
These DIY vintage Christmas light ornaments work best when the embellishments stay simple. A narrow band of twine, a small evergreen sprig, one mini pinecone, and a few red berries add texture while letting the bright bulb remain the focal point.
There is no need to make every ornament identical. Repeat the same core materials, vary the placement slightly, and keep each decorative cluster compact.
The result is a coordinated set of rustic Christmas tree ornaments with a colorful vintage feel that can work on a tree, wreath, garland, or other handmade Christmas display.