Disclosure: Some of the links on this article are affiliate links. If you make a purchase through one of them, we may earn a small commission at no extra cost to you.
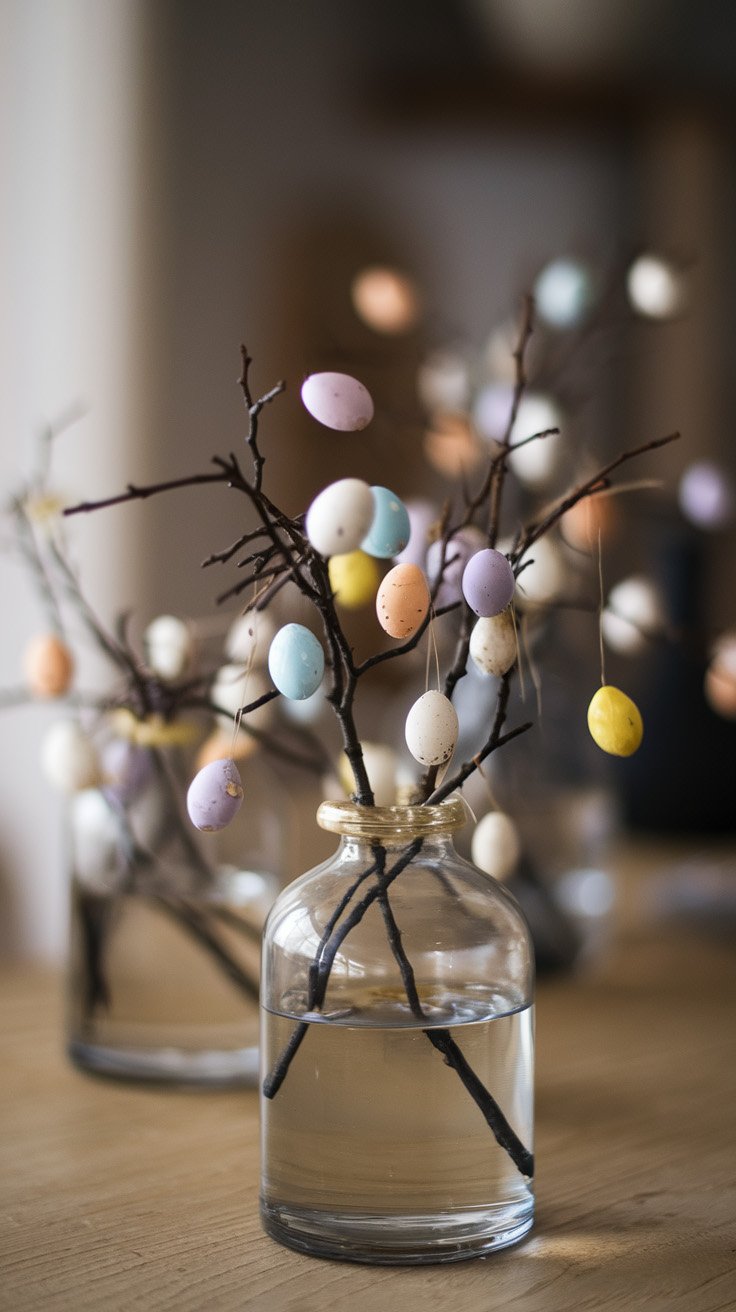
Easter Egg Tree Centerpiece
What You’ll Need:
- A small glass vase or jar
- A few dry branches (from your backyard or craft store)
- Mini hanging Easter eggs (plastic or wooden)
- Thin thread or twine for hanging
- Optional: floral foam or decorative pebbles for stability
Steps:
- Fill the vase with water, decorative stones, or floral foam to keep the branches in place.
- Arrange the branches inside the vase, making sure they fan out naturally.
- Tie a small piece of thread to each egg and hang them on the branches at varying heights.
- Adjust the placement of the eggs to create a balanced, whimsical look.
Pro Tip: Use scented branches like eucalyptus or lavender for a fresh spring aroma!

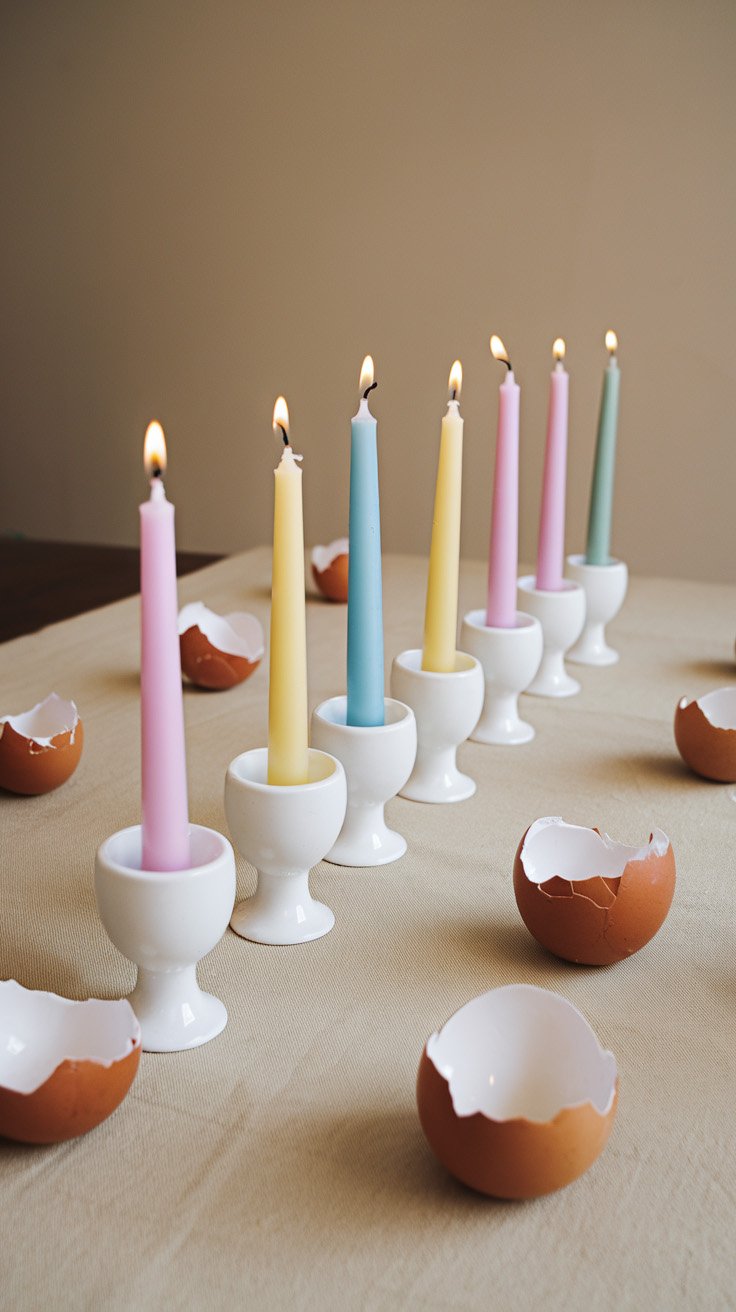
Elegant Egg Cup Candle Holders
What You’ll Need:
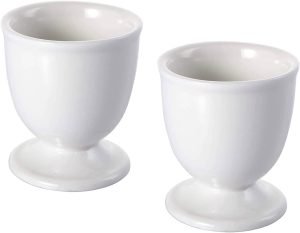
- White ceramic egg cups
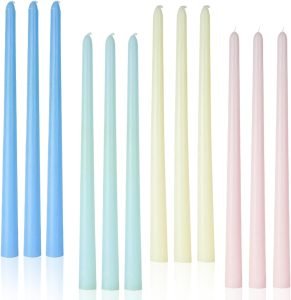
- Pastel-colored taper candles
- A lighter or matchstick
- Optional: melted wax for extra stability
Steps:
- Place each taper candle inside an egg cup. If the fit is too loose, drip a small amount of melted wax inside the cup and press the candle in place.
- Let the wax cool for a few seconds to secure the candle.
- Arrange the egg cup candle holders along your table in a straight line or a scattered formation.
- Add cracked eggshells around the display for a natural Easter touch.
Pro Tip: Use unscented candles if placing them near food, or choose light floral scents for a fresh spring vibe.
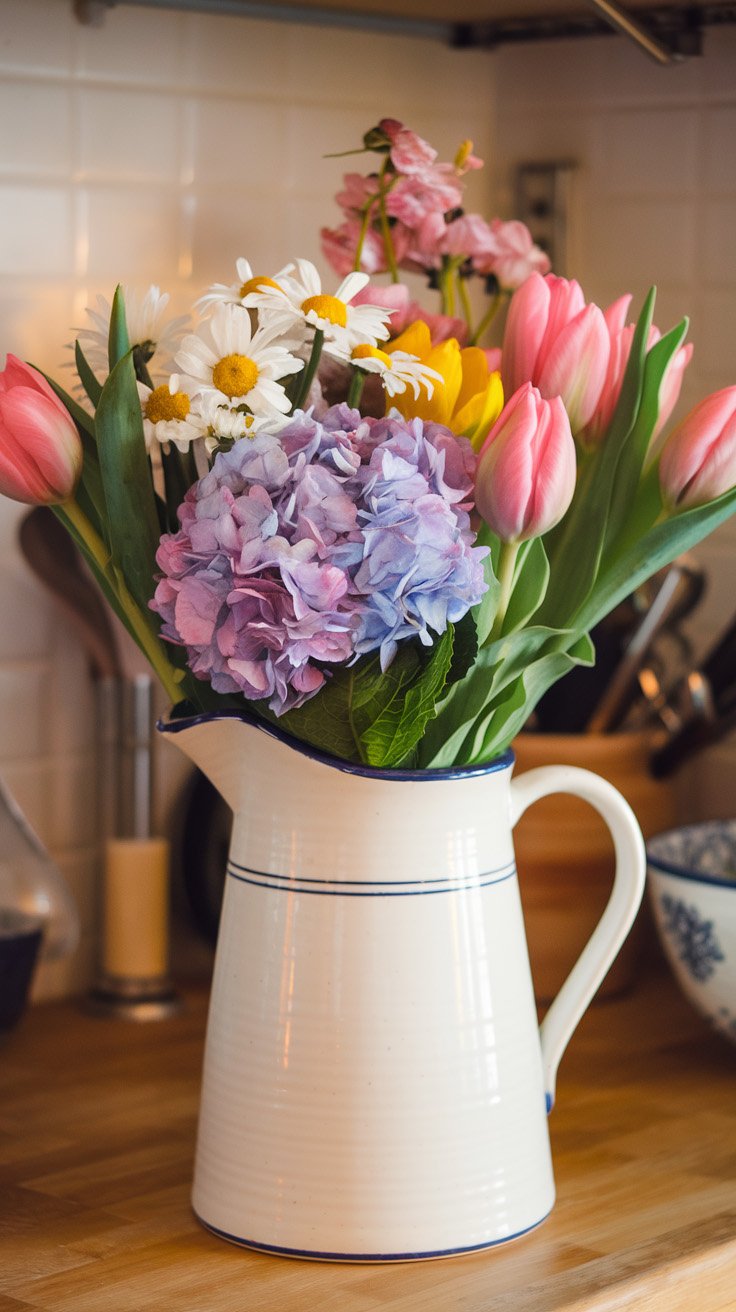
Vintage Pitcher Easter Floral Arrangement
What You’ll Need:
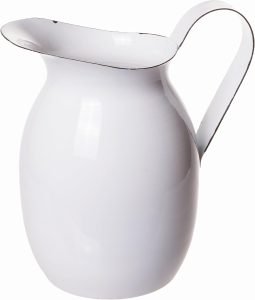
- A vintage-style enamel or ceramic pitcher
- Fresh spring flowers (tulips, daisies, hydrangeas, ranunculus, or any favorites)
- Floral shears or scissors
- Water for the pitcher
Steps:
- Fill your pitcher about halfway with water to keep the flowers fresh.
- Trim the stems of your flowers at an angle to help them absorb water better.
- Start by placing the largest flowers (like hydrangeas) as the base, then add taller blooms (like tulips and daisies) for height.
- Adjust the arrangement until you achieve a natural, slightly loose and effortless look.
- Place the pitcher on your countertop, dining table, or kitchen island for a beautiful Easter touch!
Pro Tip: For a long-lasting display, change the water daily and keep the arrangement away from direct sunlight.
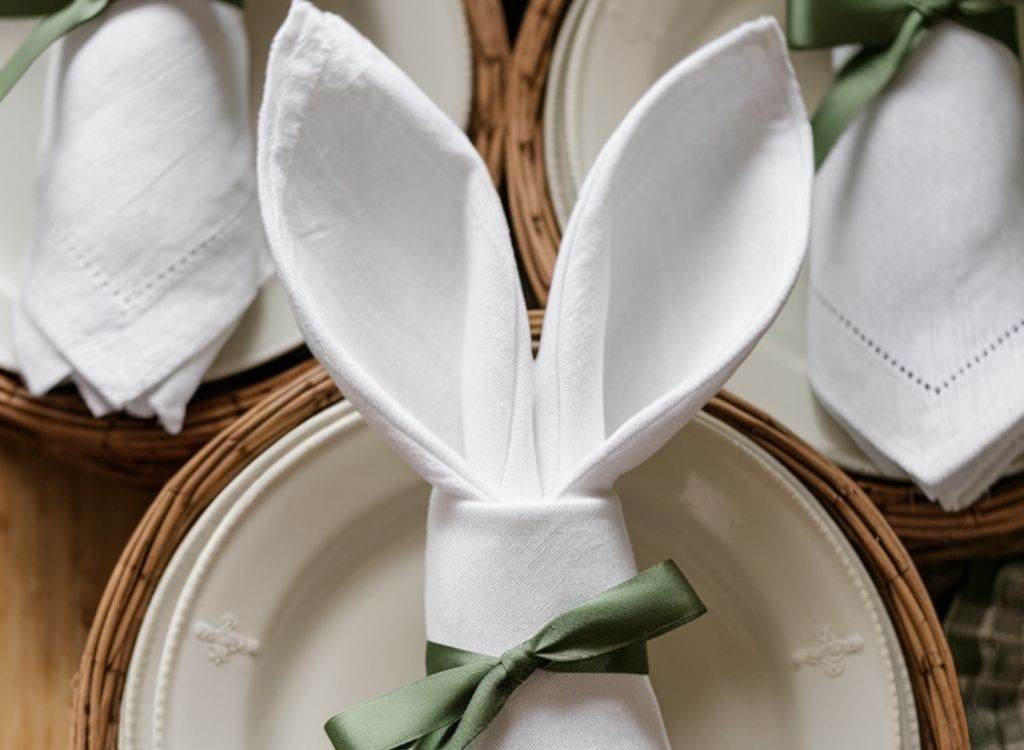
Bunny Ear Napkin Fold
What You’ll Need:
- White linen or cotton napkins
- Satin ribbon (green or any pastel shade)
- Optional: Decorative name tags for personalization
Steps:
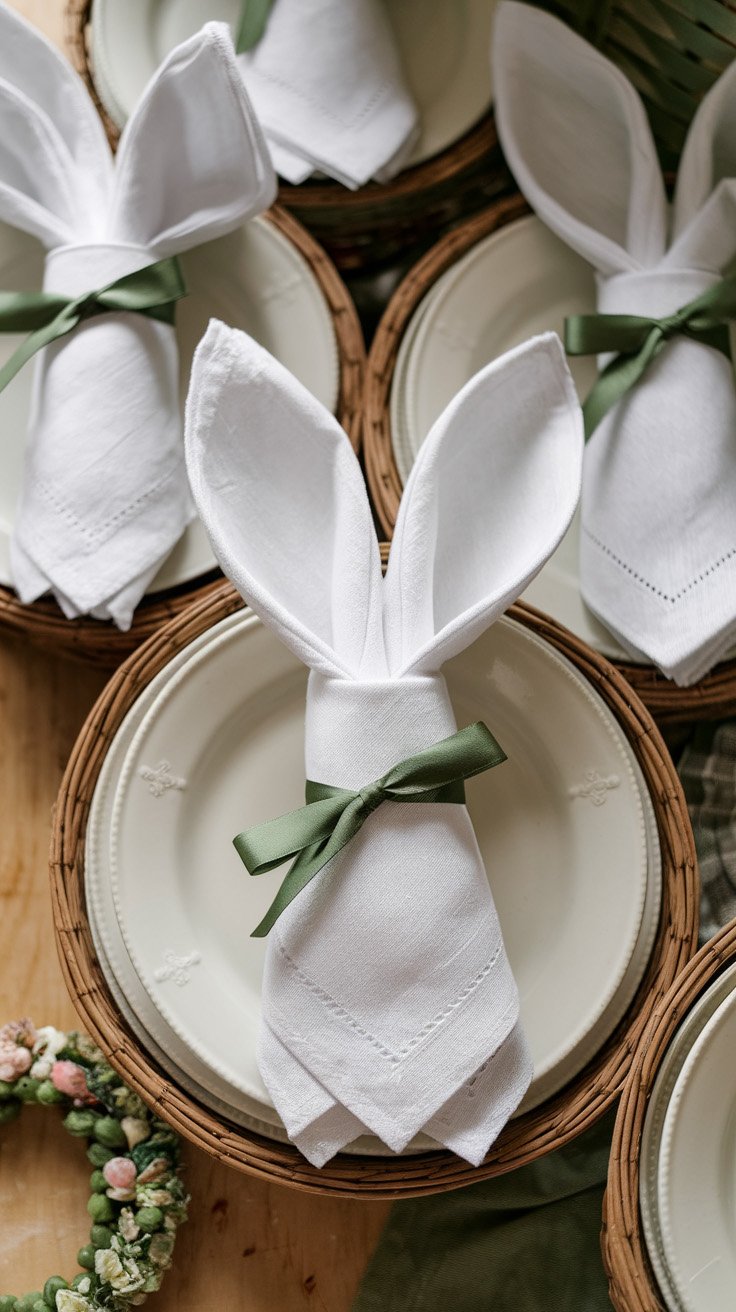
- Lay the napkin flat and fold it in half diagonally to form a triangle.
- Roll the napkin tightly from the widest edge to the point.
- Fold the rolled napkin in half, bringing the two ends upward to form bunny ears.
- Secure the base with a ribbon, tying it into a neat bow.
- Adjust the ears slightly to shape them evenly, then place them on your dinner plates.
Pro Tip: Use cloth napkins with a slight texture for better structure, helping the bunny ears stand up neatly.
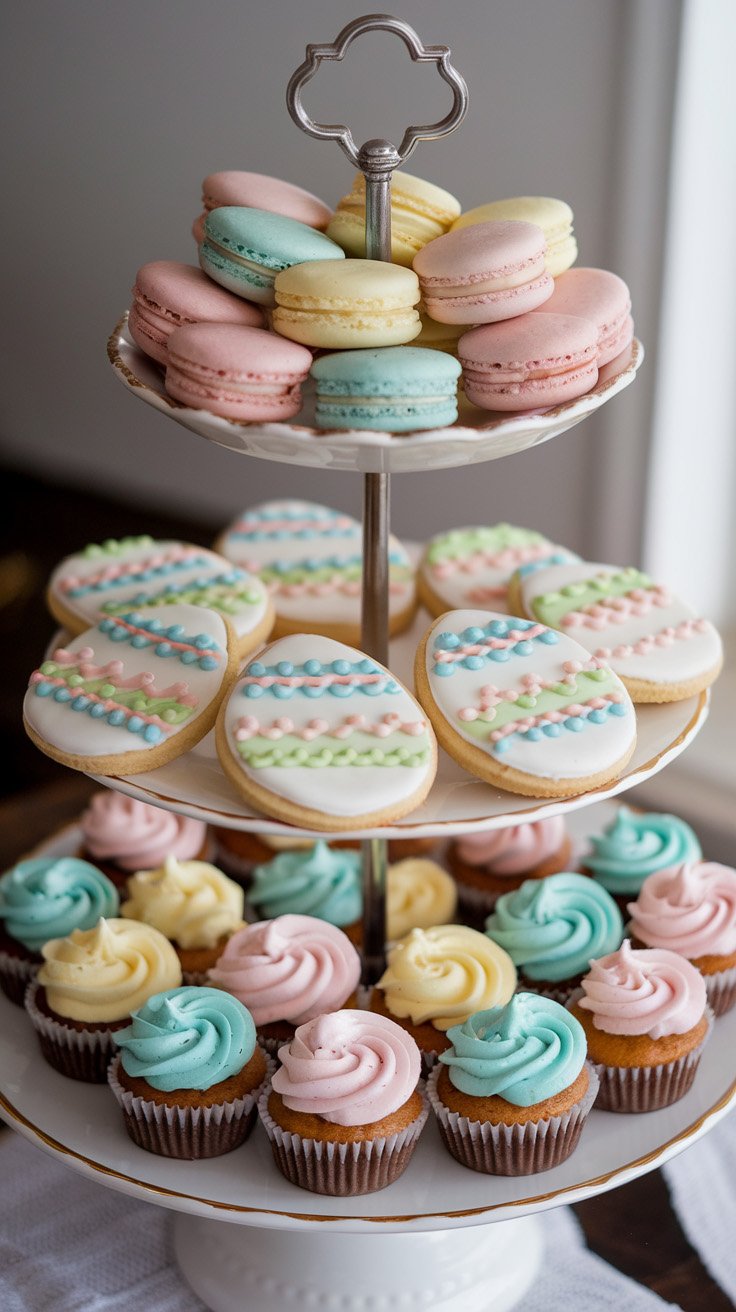
Pastel Easter Dessert Stand
What You’ll Need:
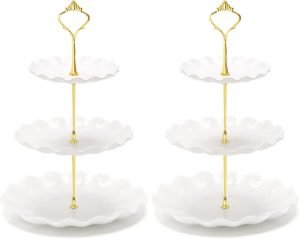
- A three-tiered dessert stand
- Macarons in pastel colors (store-bought or homemade)
- Easter egg sugar cookies with royal icing
- Mini cupcakes with pastel frosting
- Piping bags and decorative tips (for icing details)
Steps:
- Place a stylish tiered dessert stand at the center of your table.
- Place them on the top tier for an elegant and colorful look.
- Use pastel royal icing to create Easter egg designs, then place them on the middle tier.
- Use a piping bag with a star tip to swirl pastel buttercream onto mini cupcakes before arranging them on the bottom tier.
- Add a few edible pearls or sprinkles for extra charm!
Pro Tip: If making sugar cookies, let the icing dry completely before stacking to prevent smudging.
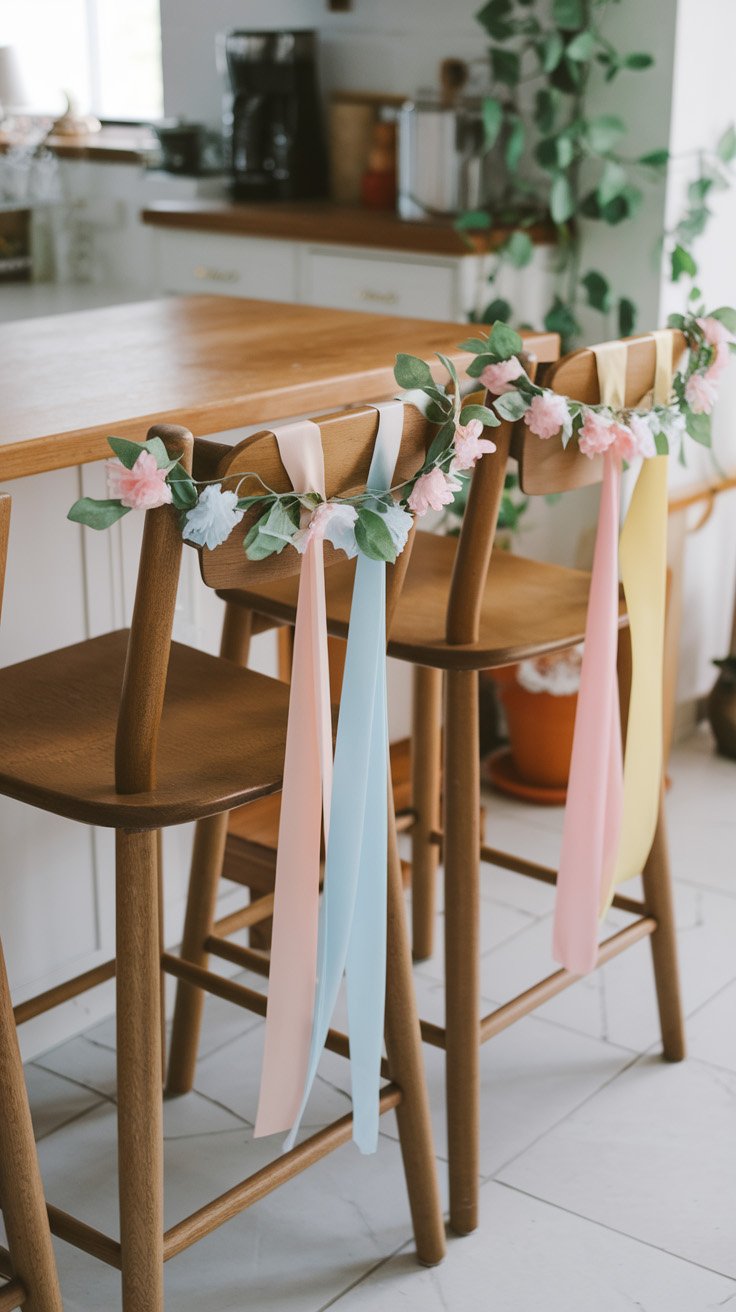
Easter Chair Garland
What You’ll Need:
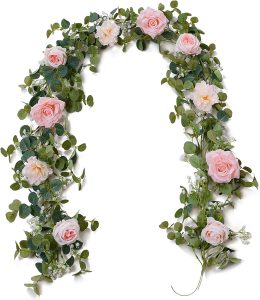
- Faux floral garland with greenery
- Satin ribbon in pastel shades
- Scissors
- Floral wire or twist ties (optional for extra security)
Steps:
- Measure the length of the chair backs and cut your floral garland accordingly.
- Drape the garland across the top of each chair, securing it in place with floral wire or twist ties if needed.
- Cut satin ribbon into long strands and tie them at even intervals along the garland, letting them hang freely for an elegant look.
- Adjust the placement of the flowers and ribbons to ensure a balanced, natural flow.
Pro Tip: Use garlands with built-in wire stems so they hold their shape better when draped.
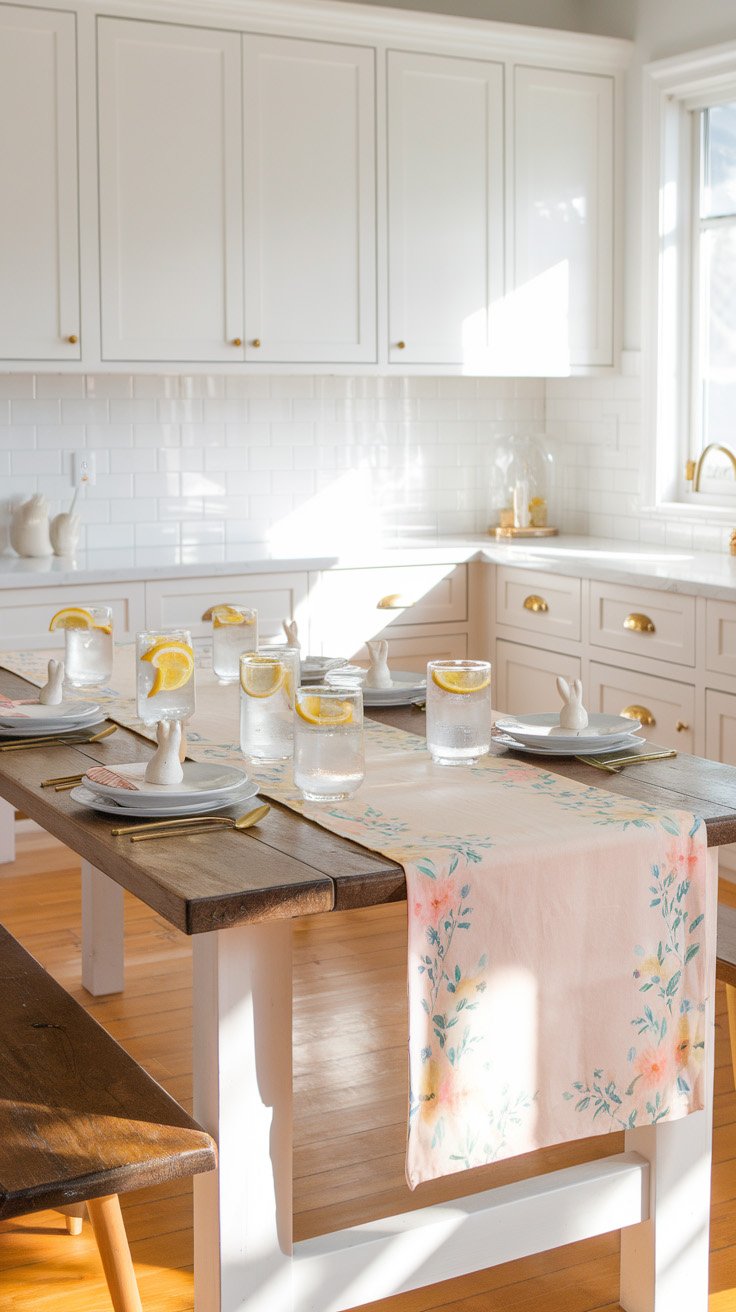
Soft & Elegant Easter Table Setting
What You’ll Need:
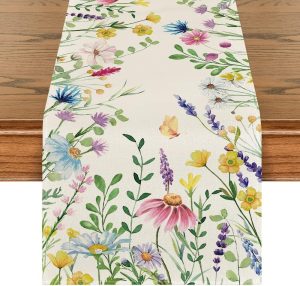
- A floral or pastel table runner
- Neutral dinnerware (white or soft gray)
- Gold or brass flatware
- Glass tumblers with lemon slices
- Small ceramic bunny figurines
Steps:
- Lay a floral or soft pastel table runner down the center of your table to create a subtle yet festive foundation.
- Stack neutral-colored dinner plates with a simple linen napkin to keep the look minimal and refined.
- Place gold or brass flatware on each setting for a touch of warmth and elegance.
- Add a small ceramic bunny figurine to each plate for an Easter-themed accent.
- Serve water or lemonade in clear glasses with lemon slices to bring in a fresh, springtime feel.
Pro Tip: Choose a table runner with watercolor-style florals for a soft, organic look that blends beautifully with a modern farmhouse or minimalist kitchen.
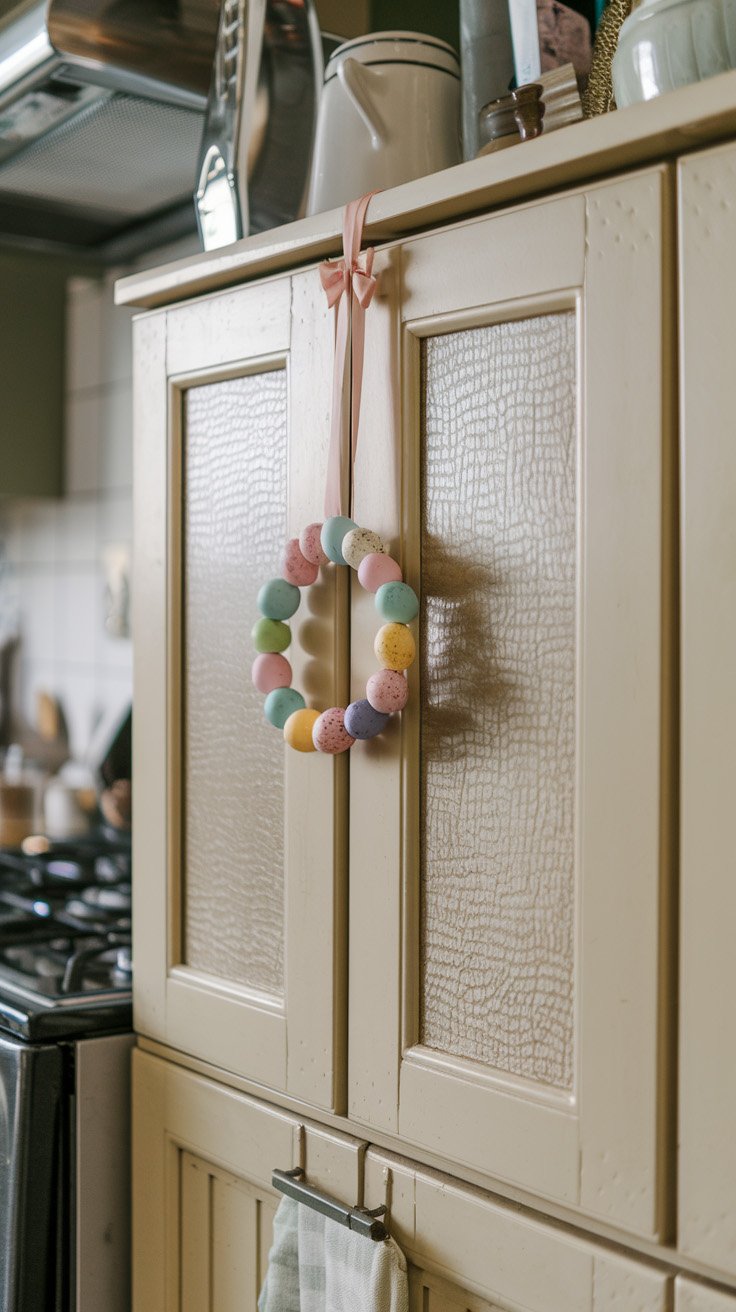
Mini Easter Egg Wreath
What You’ll Need:
- Faux speckled Easter eggs (plastic or foam)
- A small wire or grapevine wreath base
- Hot glue gun
- Pastel satin ribbon
- Scissors
Steps:
- Arrange the faux eggs around the wreath base to determine placement before gluing.
- Use a hot glue gun to secure each egg onto the wreath base, spacing them evenly.
- Cut a length of pastel satin ribbon and tie it at the top of the wreath.
- Hang the wreath on a cabinet door, using a small adhesive hook or looping the ribbon over the top of the door.
Pro Tip: If you want a fuller wreath, add small faux flowers or greenery between the eggs for extra texture.
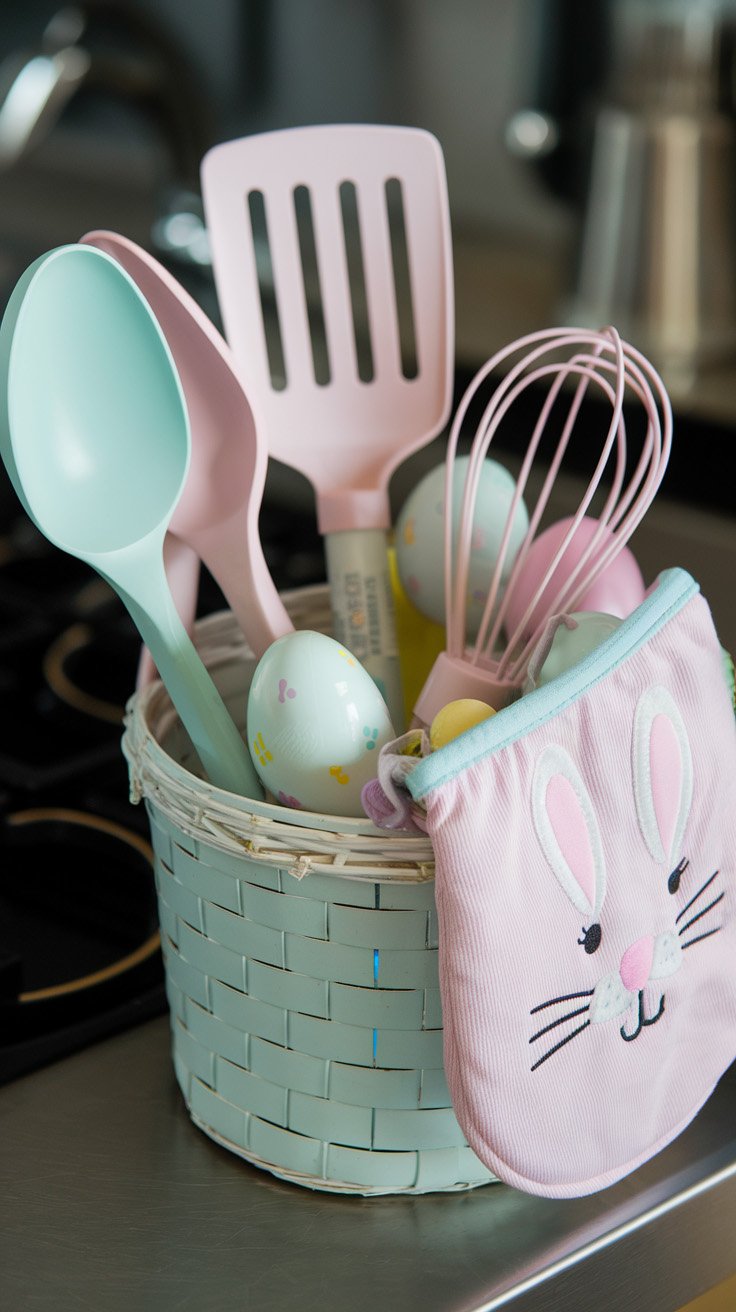
Easter-Themed Kitchen Gift Basket
What You’ll Need:
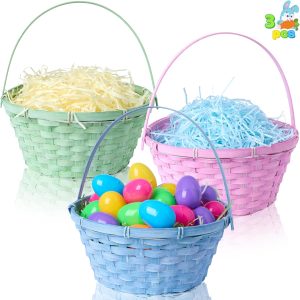
- A woven Easter basket (pastel or neutral tones)
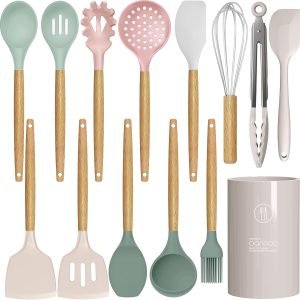
- Silicone cooking utensils (spatula, whisk, spoon, etc.)
- Decorative Easter eggs (plastic or ceramic)
- A festive bunny-themed oven mitt or towel
- Optional: Cookie cutters, a rolling pin, or a recipe card for a baking-themed touch
Steps:
- Start by placing a small towel or crinkled paper filler at the bottom of the basket for support.
- Arrange the kitchen utensils inside, making sure the handles fan out for a balanced look.
- Add decorative Easter eggs around the utensils to fill in empty spaces.
- Drape the bunny oven mitt over the edge of the basket for a cute, cozy detail.
- If gifting, wrap the basket in clear cellophane and tie it with a pastel ribbon for a polished finish.
Pro Tip: Personalize the basket by adding a handwritten Easter recipe card or a small jar of homemade seasoning mix!
Neutral & Elegant Easter Table Setting
What You’ll Need:
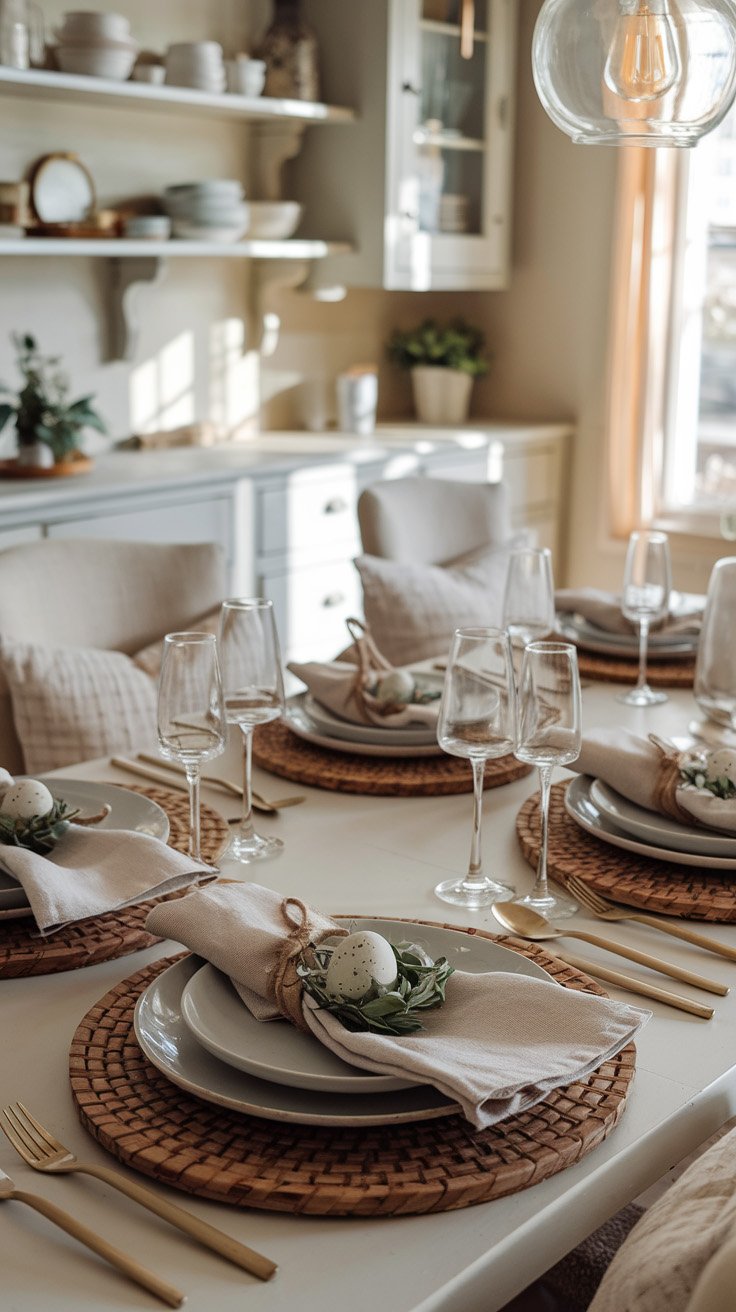
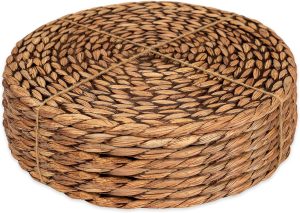
- Woven or rattan charger plates
- Neutral-colored dinnerware (white, beige, or light gray)
- Soft linen napkins (natural or taupe tones)
- Twine or jute string for tying napkins
- Faux speckled eggs and small greenery sprigs
- Gold or brass flatware
- Champagne or wine glasses
Steps:
- Lay out woven chargers at each setting to add texture and warmth.
- Stack dinner and salad plates in neutral tones on top of each charger.
- Fold or loosely drape linen napkins and tie them with twine, securing a small sprig of greenery and a decorative egg on each.
- Arrange gold or brass flatware neatly beside each plate for an elegant contrast.
- Complete the look with sparkling glassware and soft candlelight for an inviting ambiance.
Pro Tip: Use fresh rosemary or eucalyptus instead of faux greenery for a fragrant, organic touch.
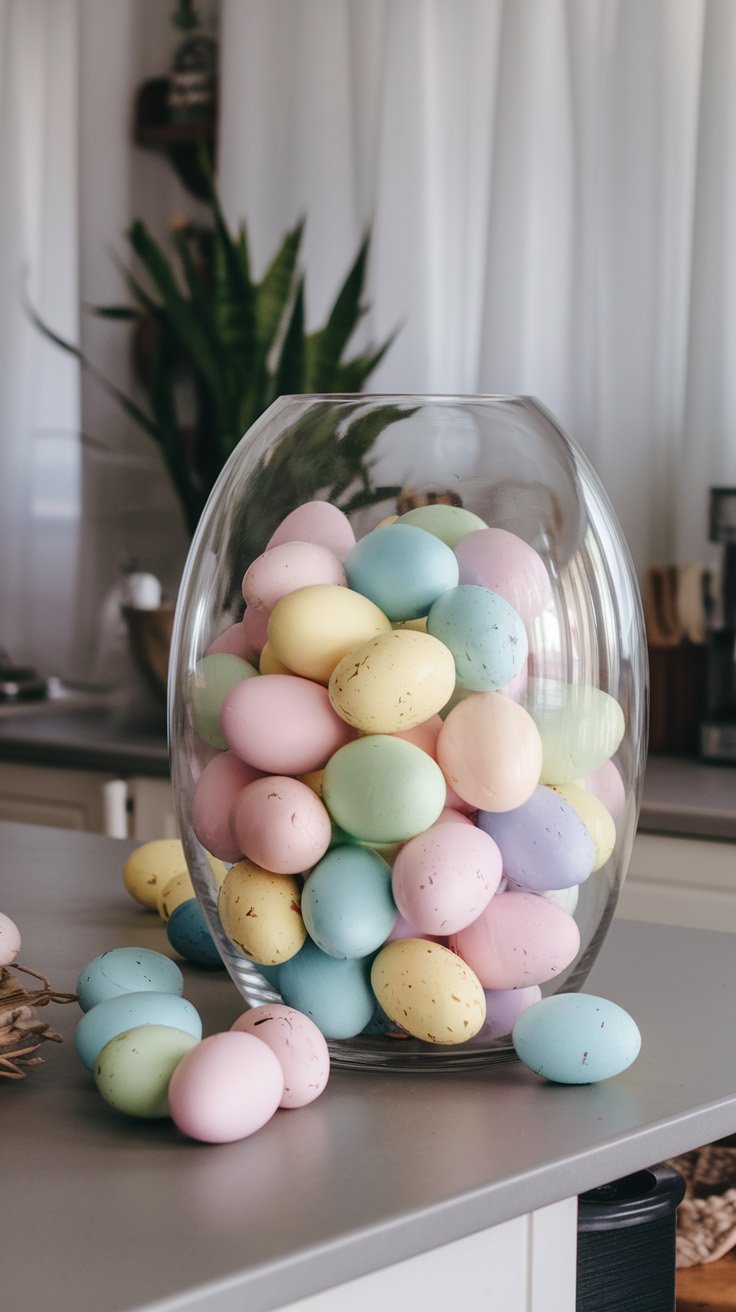
Speckled Easter Egg Vase
What You’ll Need:
- A large clear glass vase or jar
- Speckled pastel Easter eggs (plastic, wooden, or real blown-out eggs)
- Optional: Fairy lights or decorative moss for extra texture
Steps:
- Clean and dry your glass vase to ensure a crystal-clear look.
- Fill the vase with pastel speckled eggs, layering them to create a balanced mix of colors.
- For added charm, tuck in a string of battery-operated fairy lights or a few pieces of decorative moss between the eggs.
- Place the vase in the center of your kitchen island, dining table, or coffee table for an easy yet elegant Easter touch.
Pro Tip: Use different-sized eggs or mix in a few metallic ones for a more dynamic look!
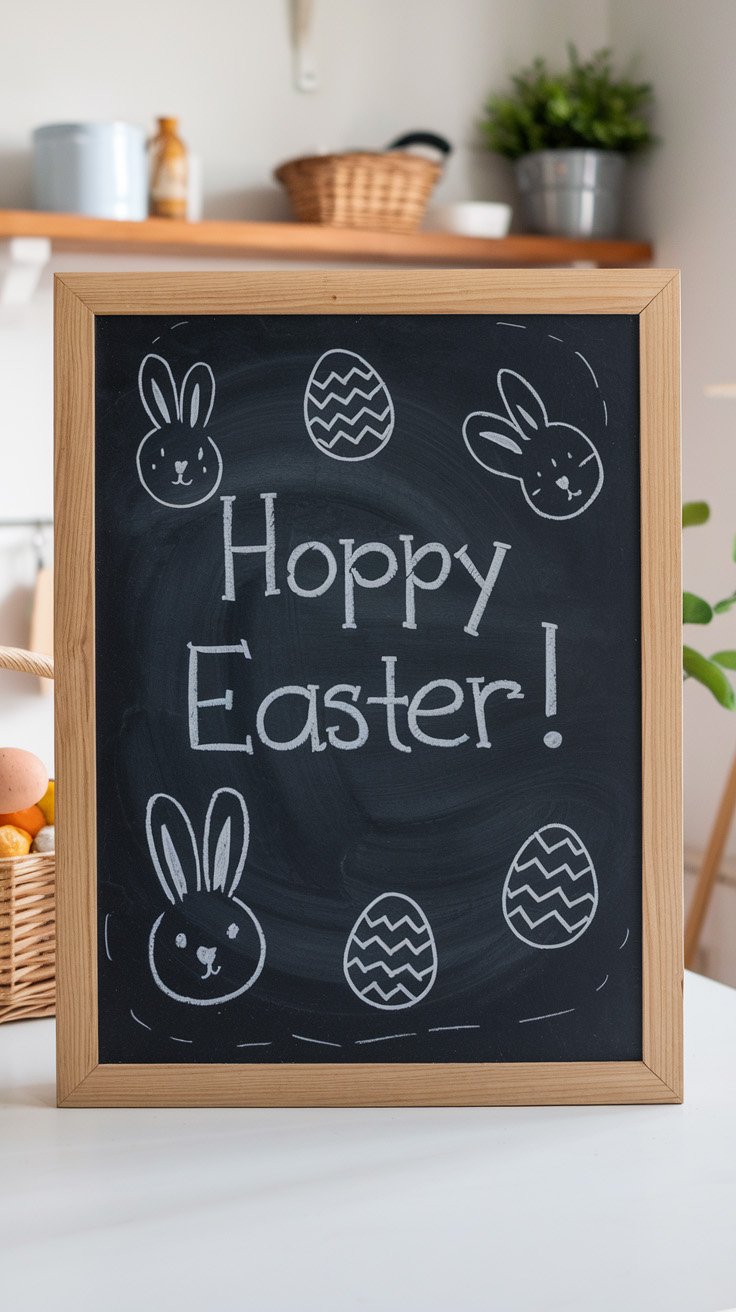
Easter Chalkboard Sign
What You’ll Need:
- A framed chalkboard or chalkboard easel
- White chalk or chalk markers
- Easter-themed stencils (optional for cleaner designs)
- A damp cloth for touch-ups
Steps:
- Place your chalkboard on a countertop, wall, or shelf.
- Using white chalk or a chalk marker, write a fun Easter message like “Hoppy Easter!” or “Some Bunny Loves You!”
- Add simple Easter doodles such as bunny ears, eggs, or flowers. If freehand drawing isn’t your thing, use stencils for a neat, polished look.
- Adjust and clean up any lines with a damp cloth to keep the design crisp.
- Display your sign in a high-traffic area for a festive touch!
Pro Tip: Use colored chalk for a more vibrant look or switch up the message throughout the season!
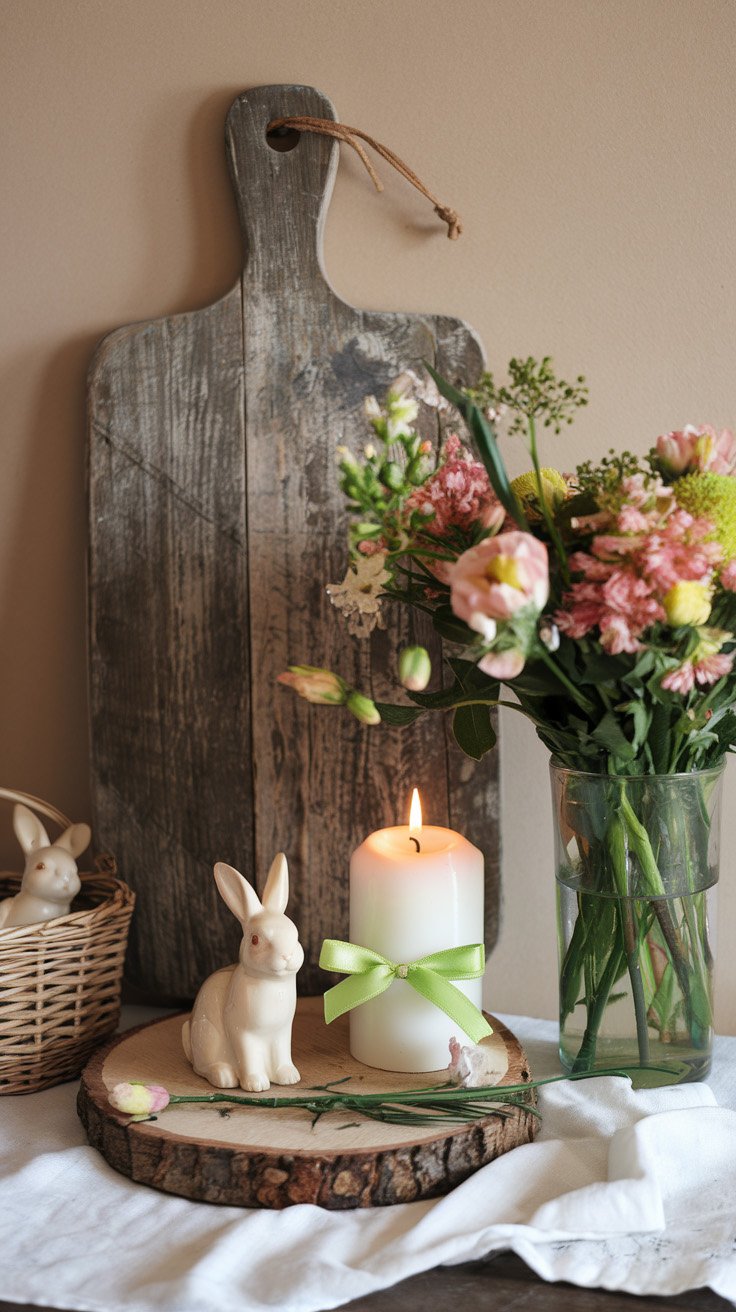
Rustic Easter Vignette
What You’ll Need:
- A wooden slice or small rustic tray
- A white pillar candle with a pastel ribbon
- A ceramic or wooden bunny figurine
- A glass vase with fresh or faux flowers
- A woven basket for additional decorative elements
- A neutral linen cloth for layerin
Steps:
- Place a linen cloth on your surface to create a soft base for the arrangement.
- Position the wooden slice or tray in the center as the foundation for your decor.
- Tie a pastel ribbon around a white pillar candle and place it on the wooden slice.
- Add a ceramic bunny next to the candle for a festive Easter touch.
- Arrange a vase with fresh flowers to bring height and color to the display.
- Complete the vignette with small decorative elements, like a woven basket with extra bunny figurines or dried flowers.
Pro Tip: Use seasonal wildflowers or soft pink and yellow blooms for a fresh, organic look that complements the rustic theme.