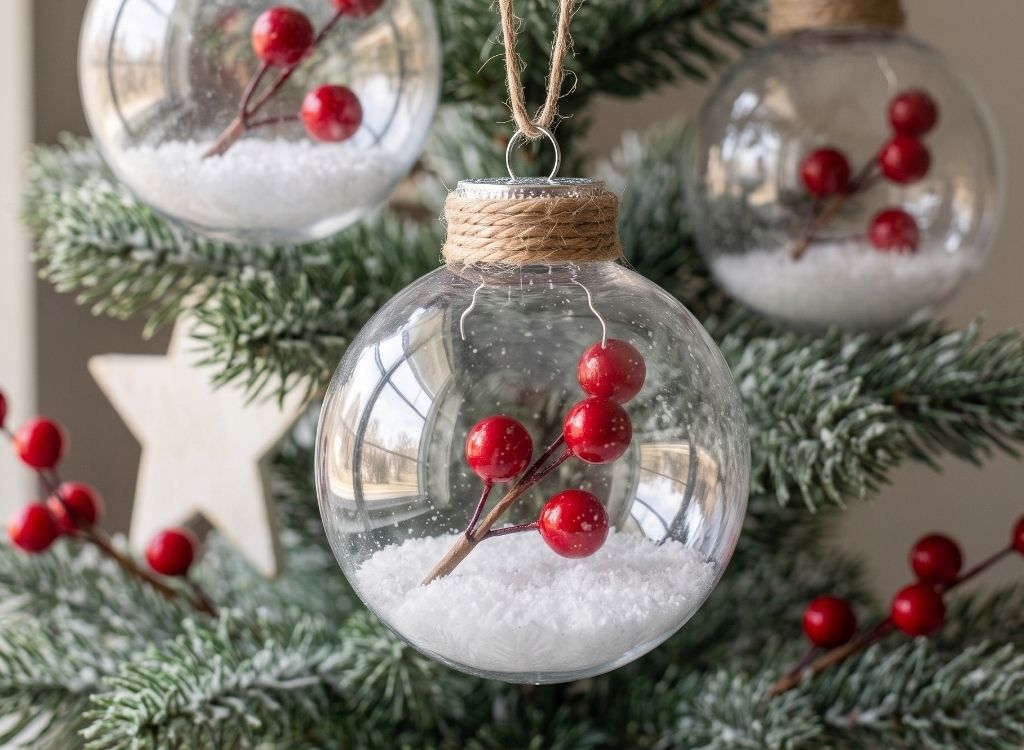
These DIY snow globe Christmas ornaments look detailed once they are hanging on the tree, but they are surprisingly simple to make. Clear fillable baubles, faux snow, red berry sprigs, and jute twine are enough to create the miniature winter scenes.
The white snow and bright berries give the ornaments a classic Christmas look, while the twine around the top adds a slightly rustic finish.
Disclosure: Some of the links on this article are affiliate links. If you make a purchase through one of them, we may earn a small commission at no extra cost to you.
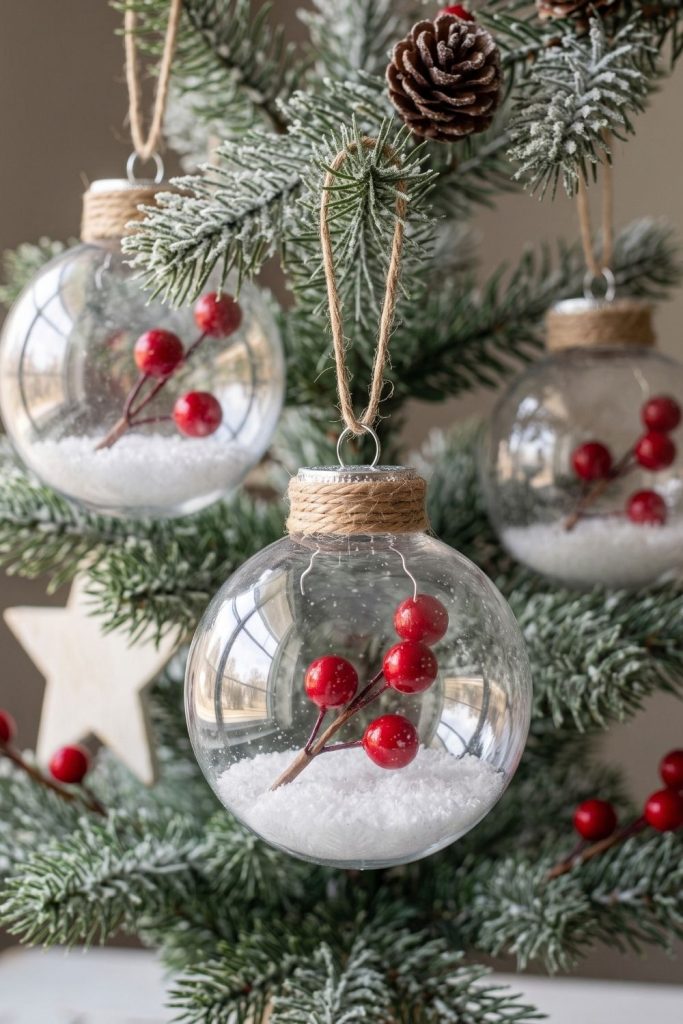
They are also easy to make in batches. If you want several matching handmade ornaments without spending too much time on each one, you can prepare the materials assembly-line style and complete several baubles at once.
What You'll Need for DIY Snow Globe Christmas Ornaments
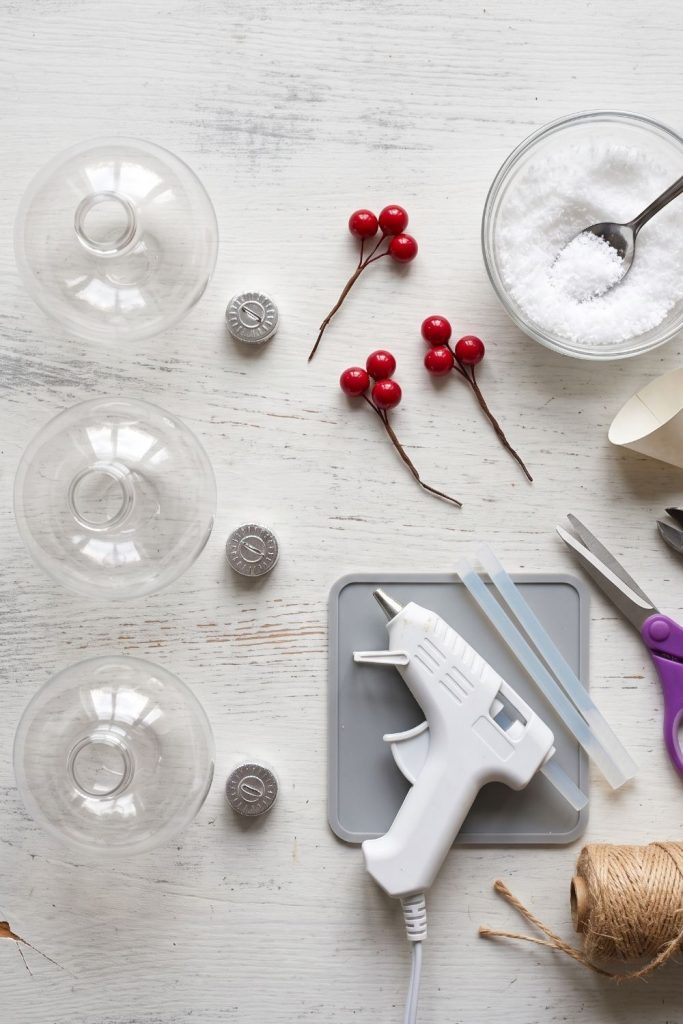
Gather:
- Clear fillable Christmas ornaments
- Faux snow
- Small artificial red berry sprigs
- Jute twine
- Hot glue gun
- Glue sticks
- Small funnel or paper funnel
- Scissors
- Wire cutters
- Ornament caps, if they are not included with the clear baubles
Plastic fillable ornaments are especially easy to work with because they are lightweight and will not break while you are filling or hanging them.
One Useful Amazon Find
The main supply worth buying for this project is a set of clear fillable plastic Christmas ornaments. Look for round ornaments with removable tops and openings wide enough to accommodate small berry stems.

The rest of the project can be completed with basic craft supplies you may already have at home.
Step 1: Remove the Ornament Tops
Carefully pull the metal or plastic cap from each clear ornament.
Set the caps aside somewhere safe so they are easy to find when it is time to close the ornaments again. If you are making several at once, removing all the tops first is quicker than completing each ornament individually from start to finish.
Handle the clear baubles gently while working, particularly if you are using a thinner plastic style that can dent when squeezed.
Step 2: Add the Faux Snow
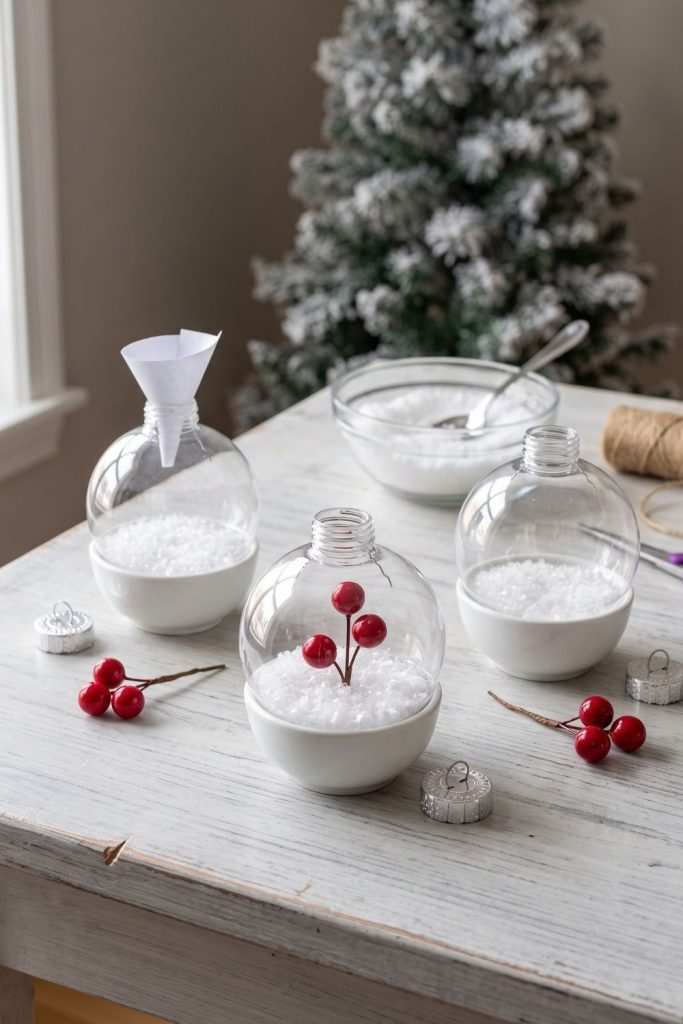
Use a small funnel to pour faux snow through the opening at the top of each ornament.
Step 3: Trim the Berry Sprigs
Cut the artificial berry stems into smaller pieces with wire cutters.
Each section should be short enough to fit through the ornament opening while still standing slightly upright once it rests in the faux snow. About three or four berries per ornament is usually enough to create a noticeable splash of color without overcrowding the bauble.
Before cutting, hold each berry sprig against the outside of the ornament. This gives you a quick way to judge the length and angle before trimming the stem.
Step 4: Insert the Berries
Slide one berry sprig carefully through the opening.
Position the stem so the lower end rests in the faux snow while the berries remain clearly visible through the front of the ornament. You may need to turn or gently shake the bauble until the branch settles into a position you like.
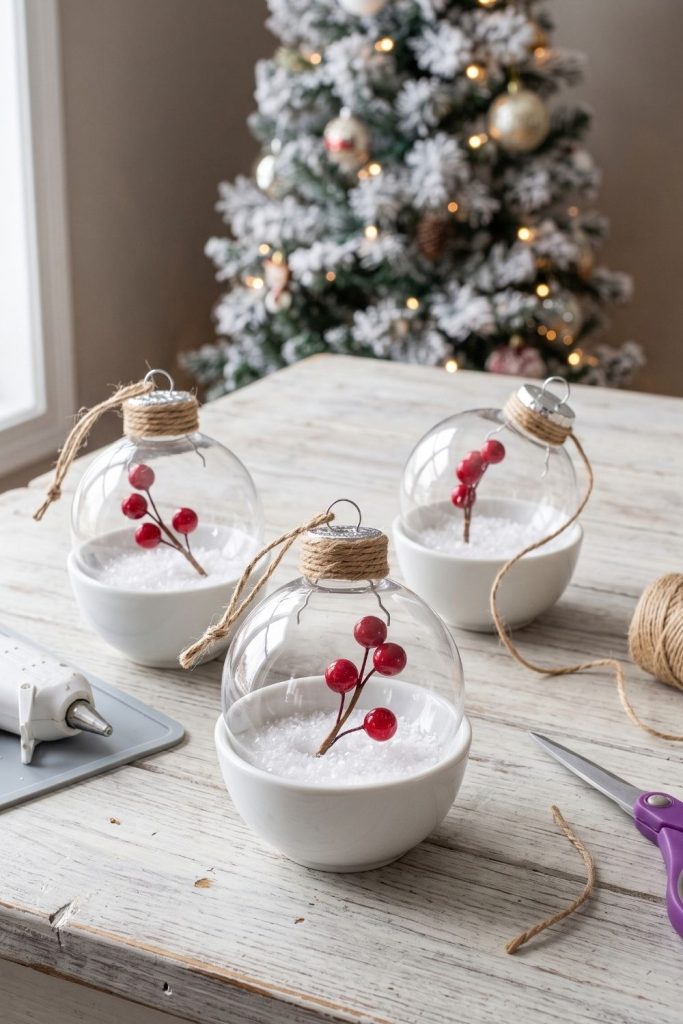
The berries do not need to sit perfectly in the center. A slight angle can make the miniature snowy scene feel more natural.
Repeat the process with the remaining clear bauble ornaments, adjusting the stems slightly from one ornament to the next if you want the set to feel handmade rather than identical.
Step 5: Replace the Ornament Caps
Once you are happy with the amount of snow and the position of the berries, replace the cap on each ornament.
Make sure each cap is firmly attached before lifting the ornament by its hanging loop. A secure cap is particularly important because the faux snow can spill if the top comes loose.
If one feels unstable, add a very small dot of hot glue around the neck before securing it. Use as little glue as possible so it does not remain visible through the clear plastic.
Step 6: Wrap the Top With Twine
Cut a length of jute twine and wrap it around the neck of the ornament several times.
Secure the first end with a small dot of hot glue. Continue wrapping until the ornament neck is covered, then fix the final end in place with another small amount of glue.
This simple detail hides the plain top of the bauble and adds a rustic finish that works especially well with the red berries and white faux snow.
Take care when using the hot glue gun around plastic ornaments. A small amount of glue is all you need to secure the twine.
Step 7: Add the Hanging Loop
Cut another piece of twine around 8 to 10 inches long.
Thread it through the ornament’s metal hanging loop, bring the ends together, and tie them securely. You can shorten or lengthen the twine depending on how low you want the ornament to hang from the branch.
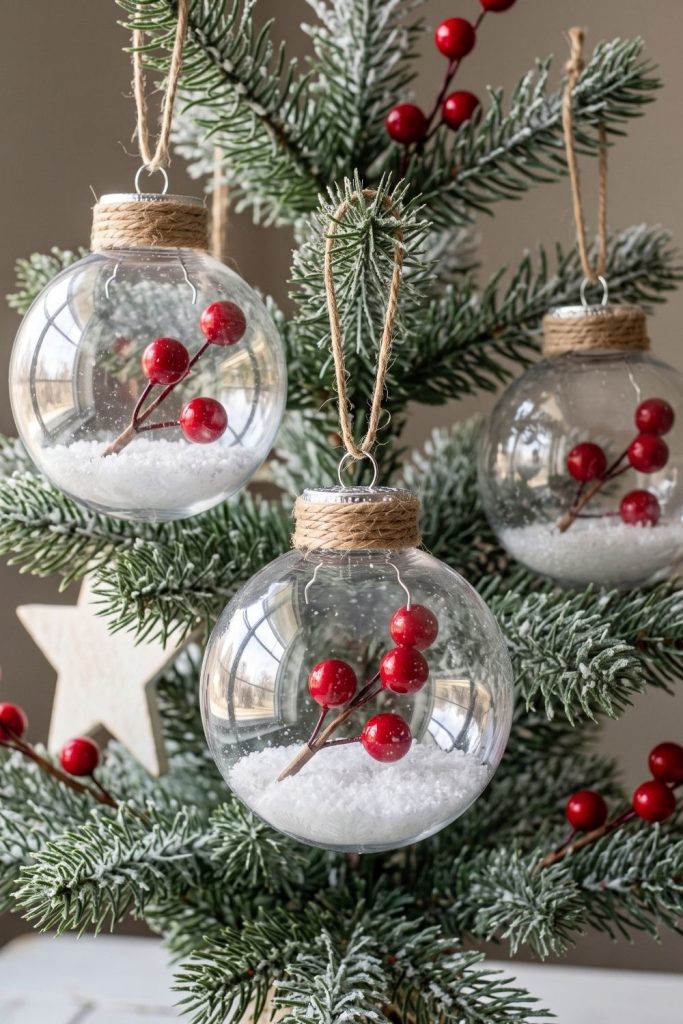
At this point, the ornament is ready for the Christmas tree. Before hanging it, give the cap and twine loop a gentle check to make sure both are secure.
Step 8: Make a Matching Set
Repeat the same steps with the rest of your ornaments.
They do not all need to be identical. One might have three berries while another has four, and the stems can rest at slightly different angles inside each bauble.
Using the same faux snow, jute twine, and red berries throughout the set is enough to make these DIY Christmas tree ornaments look coordinated when they are grouped together on the tree.
How Much Faux Snow Should You Use?
A small amount works best for these ornaments.
You want enough faux snow to create a visible white base, but the berries should remain the main feature inside the clear bauble. Filling roughly the bottom quarter gives you a useful starting point.
Begin with less than you think you need. You can always add a little more before replacing the ornament cap, but removing excess snow is more awkward once the berry sprig is in position.
There is also no need to pack the snow down firmly. Leaving it loose helps the base retain the soft appearance of freshly fallen snow.
Easy Ways to Customize Clear Bauble Ornaments
Once you have made the basic version, you can change the look simply by swapping the filling or the ribbon around the top.
Try filling the ornaments with:
- Tiny pine sprigs
- Miniature pinecones
- Small wooden stars
- Gold berries
- Tiny bottle-brush trees
You can also replace the jute twine with narrow velvet ribbon for a softer, less rustic finish. For a more neutral Christmas tree, try white berries with natural twine instead of red.
If you are planning several handmade decorations this year, these ornaments can also be combined with other easy DIY Christmas decorations to carry similar colors and natural textures throughout your holiday decor.
Frequently Asked Questions
Can I use glass ornaments instead of plastic ones?
What kind of faux snow works best inside clear ornaments?
How much should I fill clear bauble ornaments?
Can I make DIY snow globe Christmas ornaments without red berries?
These DIY snow globe Christmas ornaments work well because the design stays simple. The faux snow creates a bright winter background, the red berries provide one strong seasonal detail, and the jute twine gives the clear baubles a handmade finish.
Make three or four for a small coordinated group, or use the same process to create a larger batch of DIY Christmas tree ornaments. Keeping the materials consistent while allowing slight differences in each berry sprig gives the finished set a coordinated look without making every ornament exactly the same.